DIY Chippy Paint with Vaseline
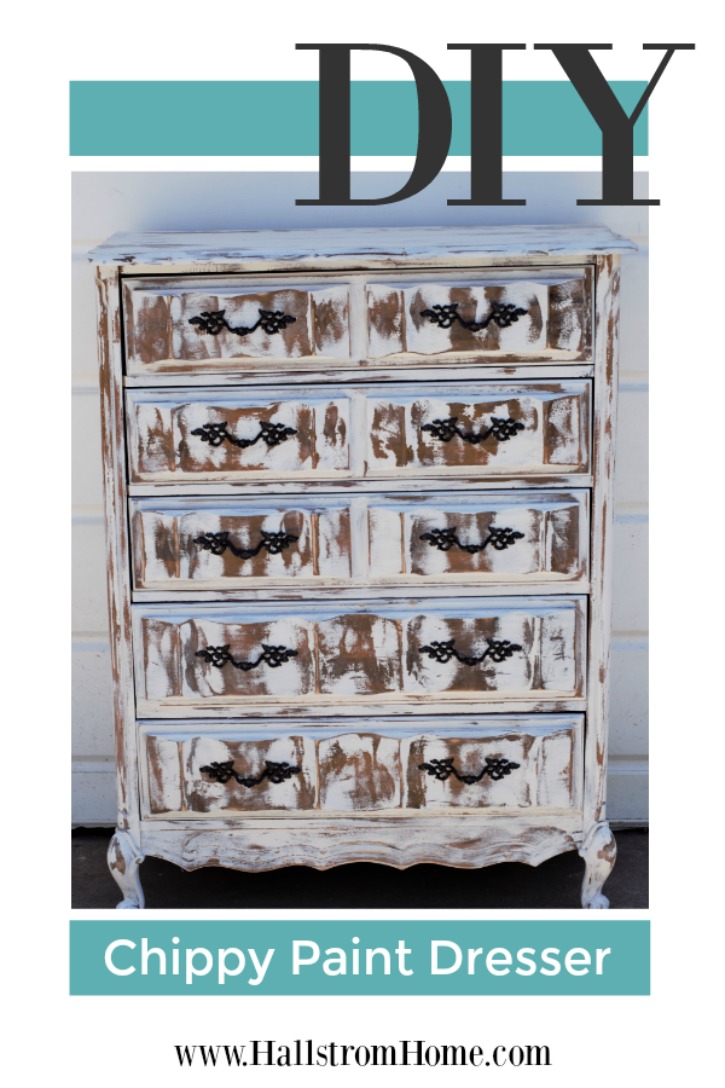
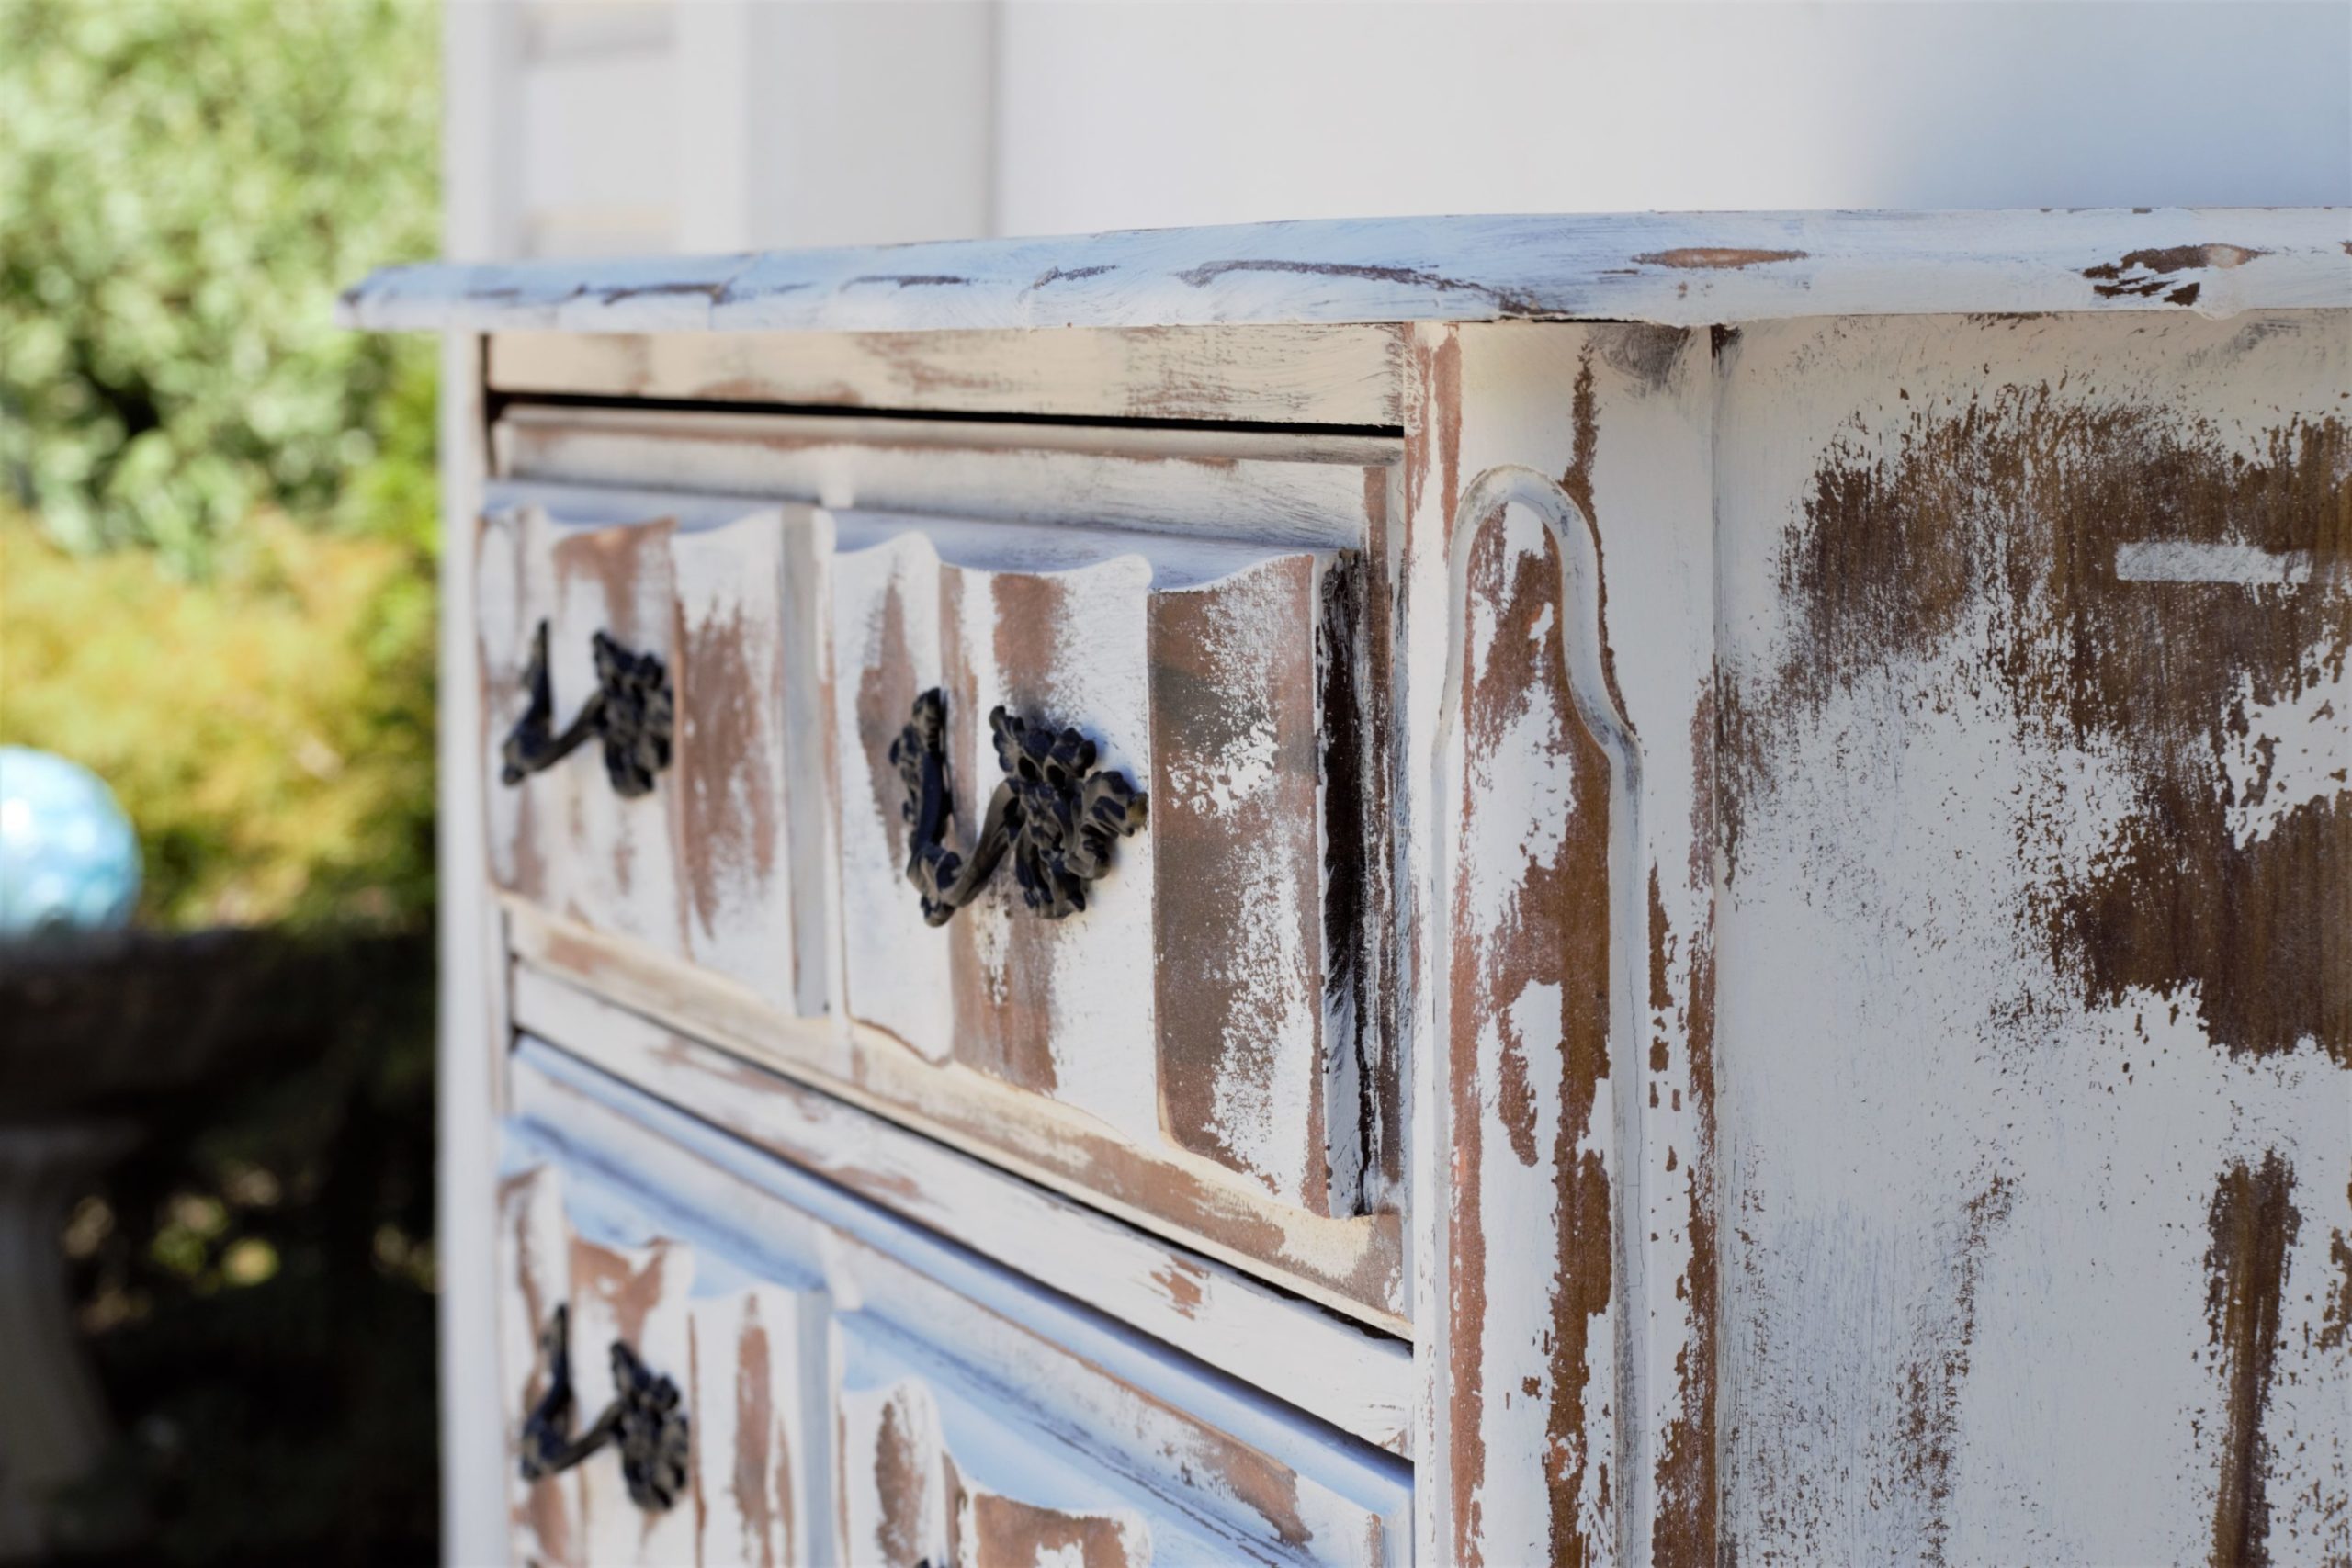
This DIY Chippy Paint with Vaseline, is such a fun and easy way to transform a piece of furniture. In just some simple steps you can update your dresser and make it something you love. I will help you out with steps below.
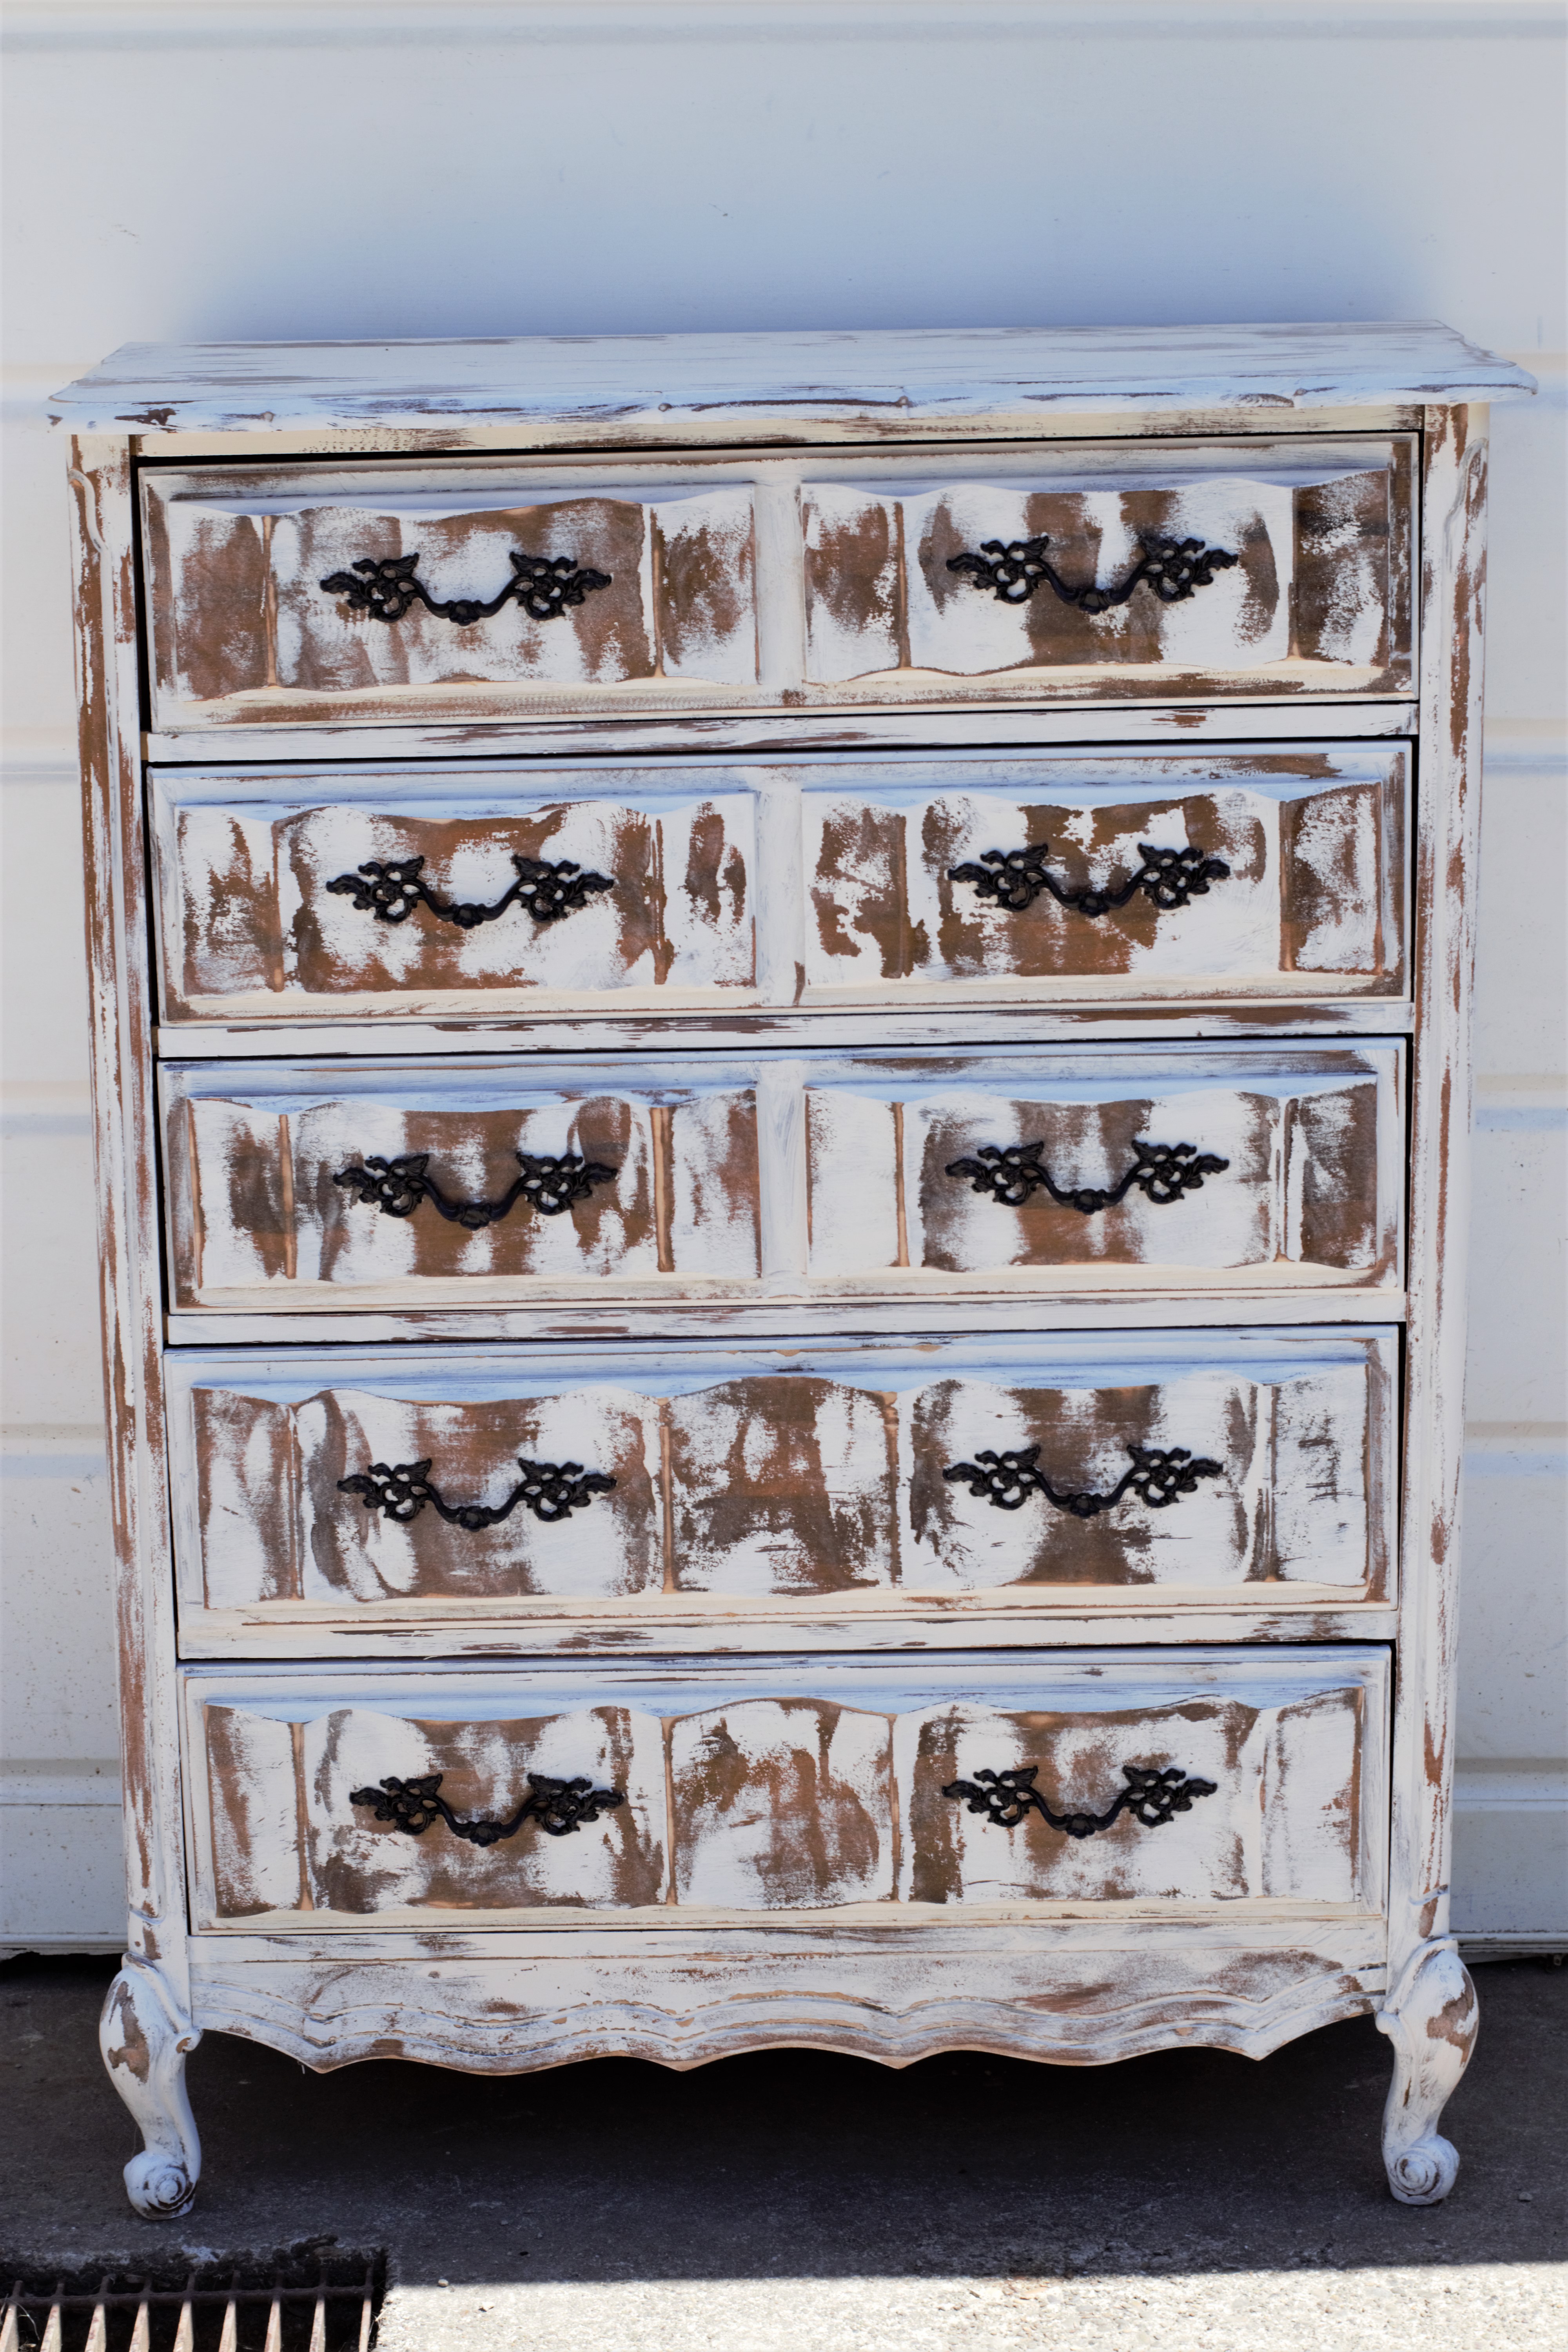
Step 1
Find your dresser- Antique stores, Goodwill, the side of the road, a garage sale. All theses are perfect for finding a good dresser.
I think I need a sign that says “Stop hard for free stuff,” free stuff is the best!
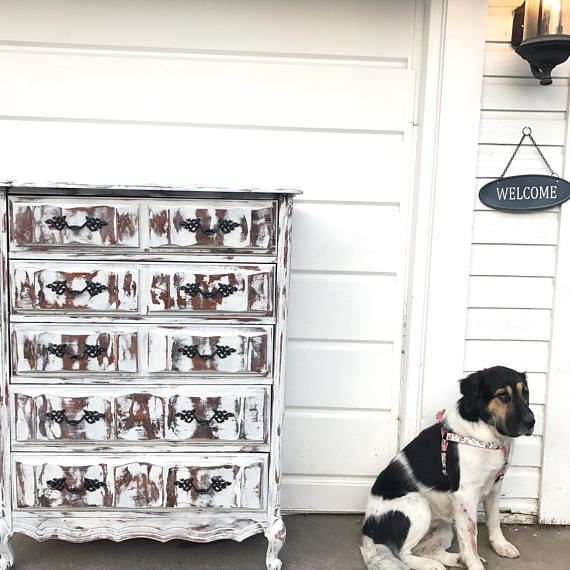
Step 2
Clean with blue Dawn Dish Soap and a damp rag. This works wonders for heavy grime. And sometimes with that free stuff, oh there’s grime.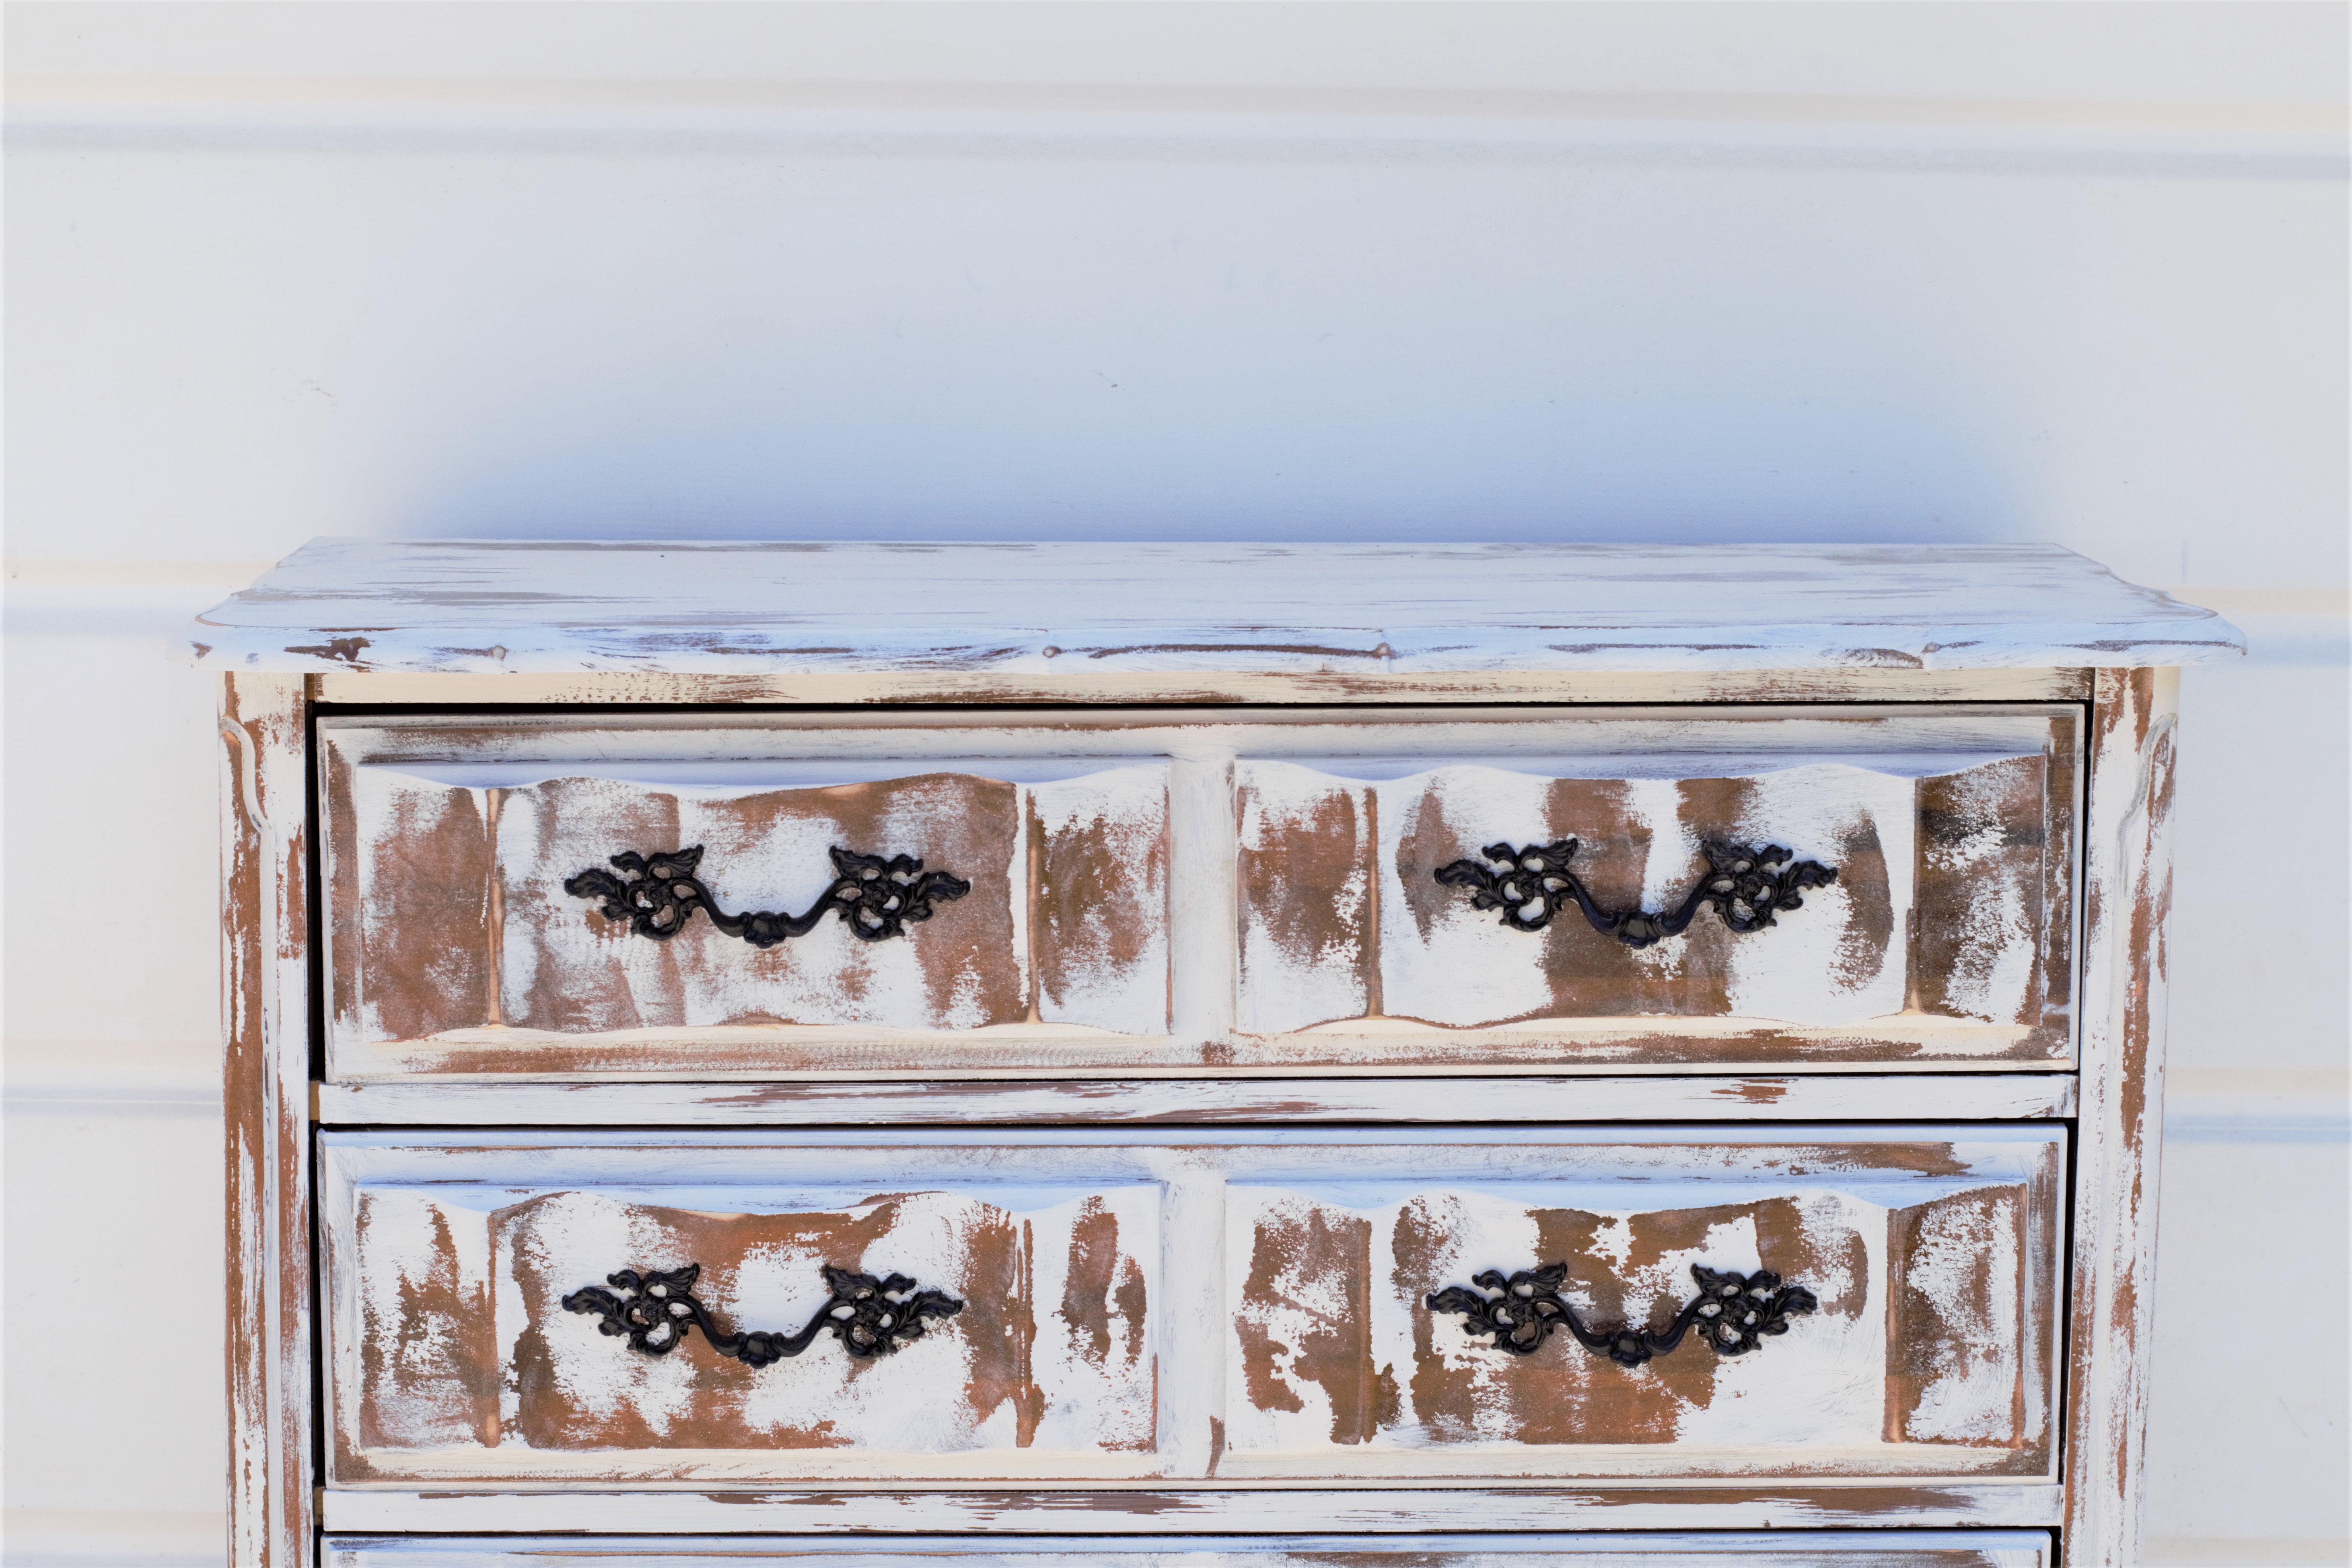
Step 3
Next you’re going to want to remove the handles and soak them in Coke, if they are rusty, crusty, or tarnished. Otherwise they are ready for paint. I use chalk paint while doing this.
Step 4
Remove the drawers to paint.
Step 5
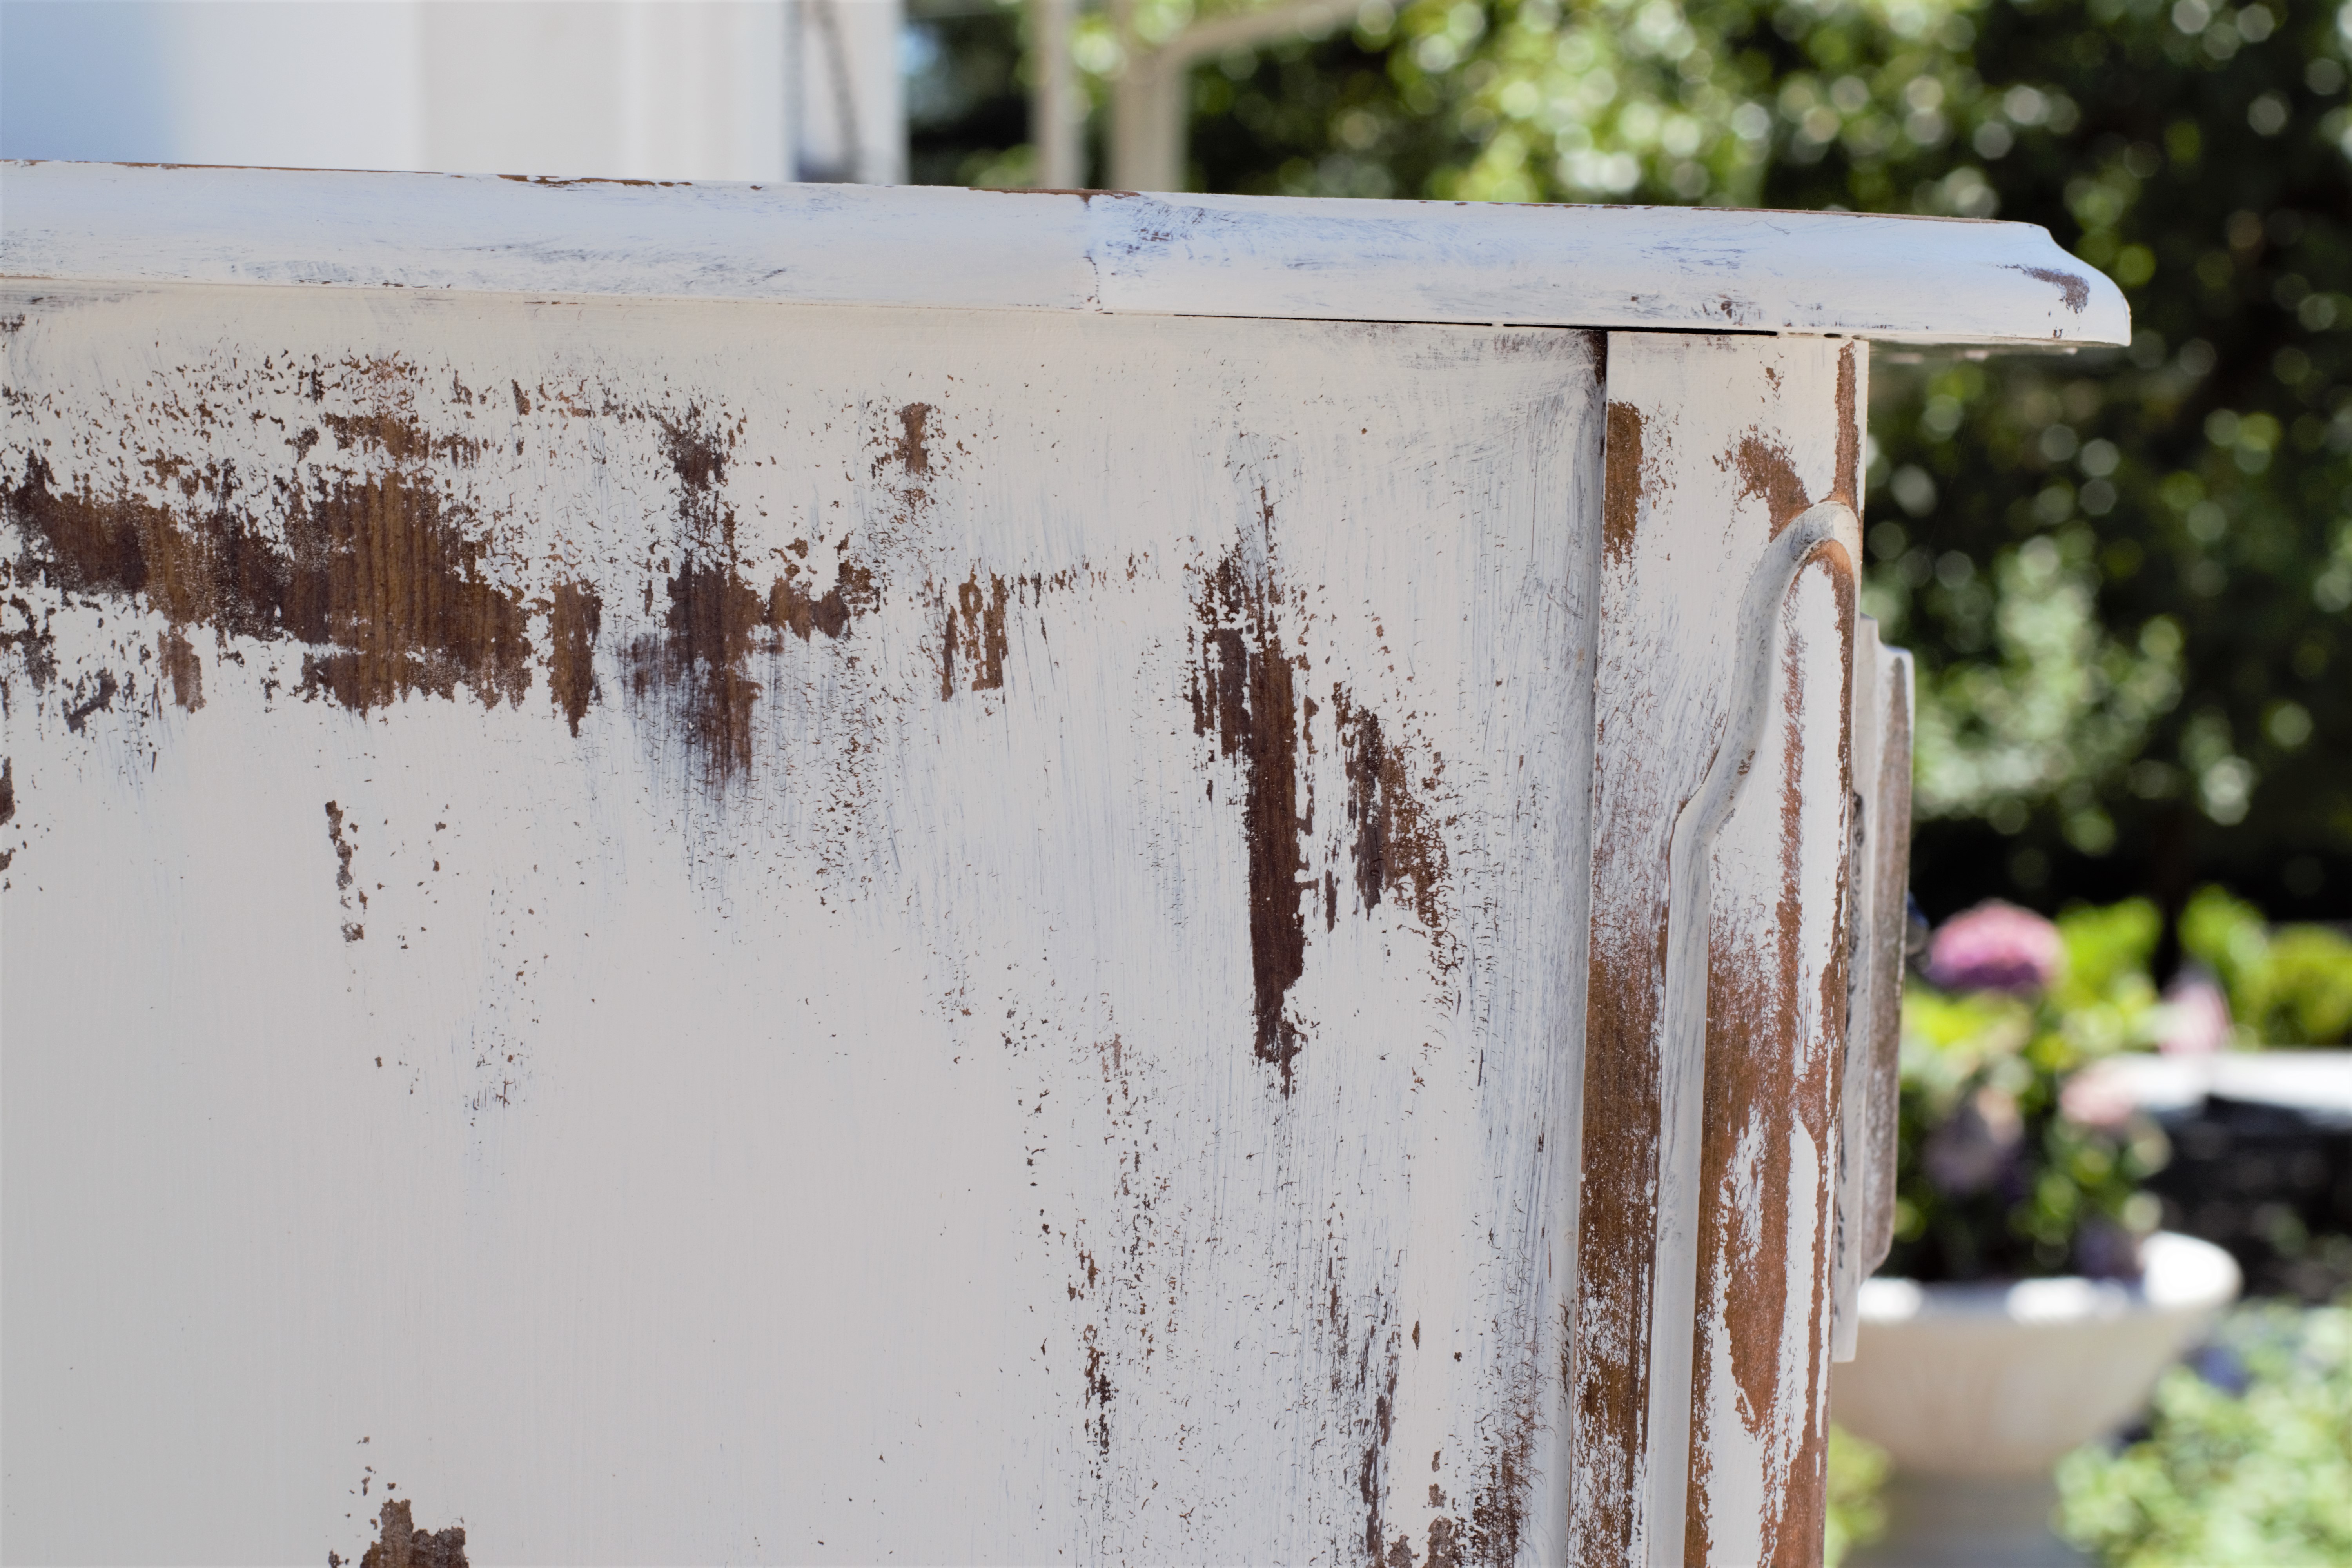
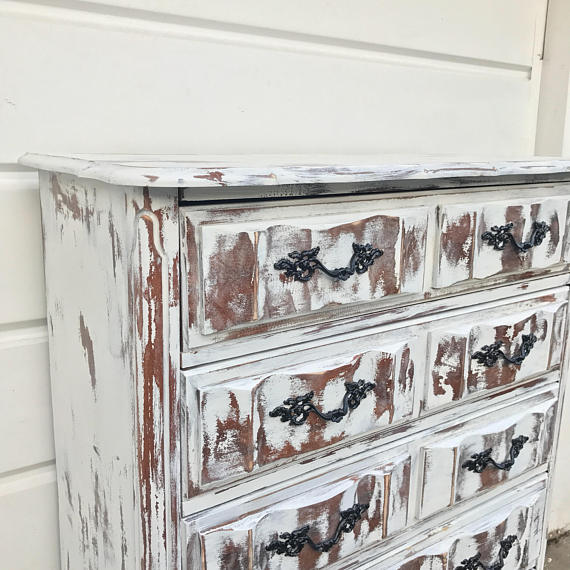
Apply Vaseline with a rag or chippy brush where you don’t want the paint to stick.

Step 6
Paint as normal. Cover with Vaseline as well.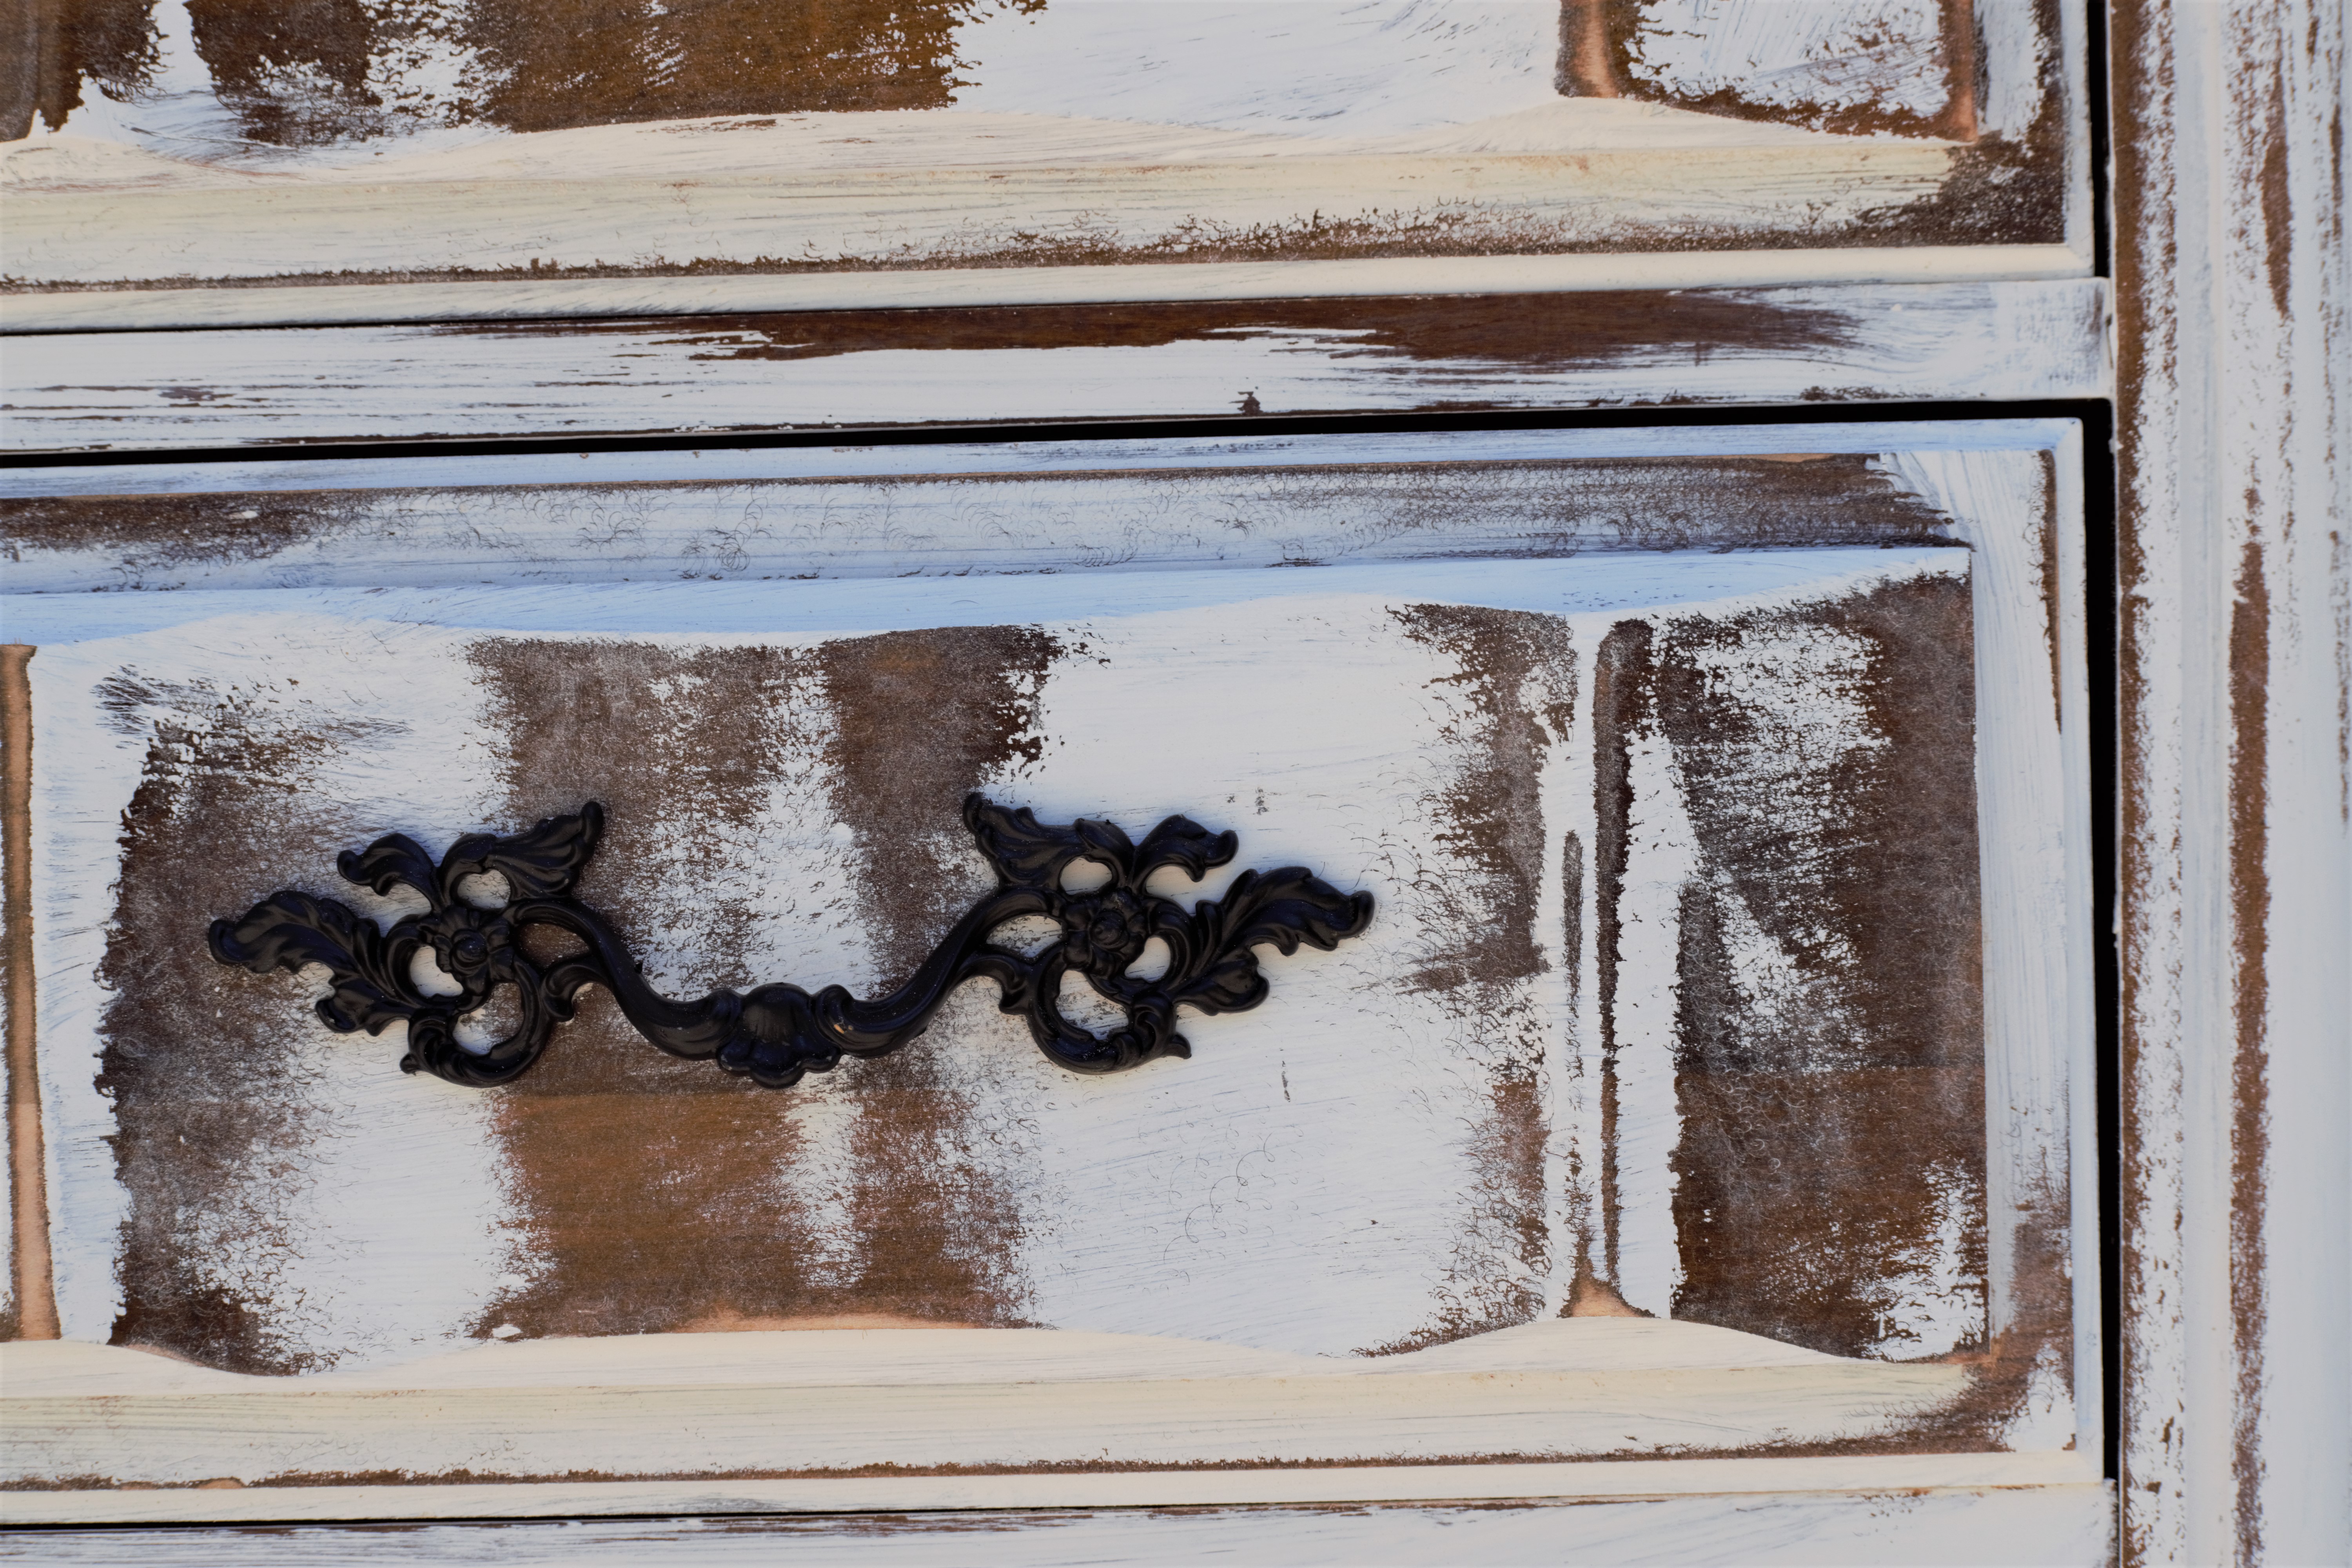
Step 7
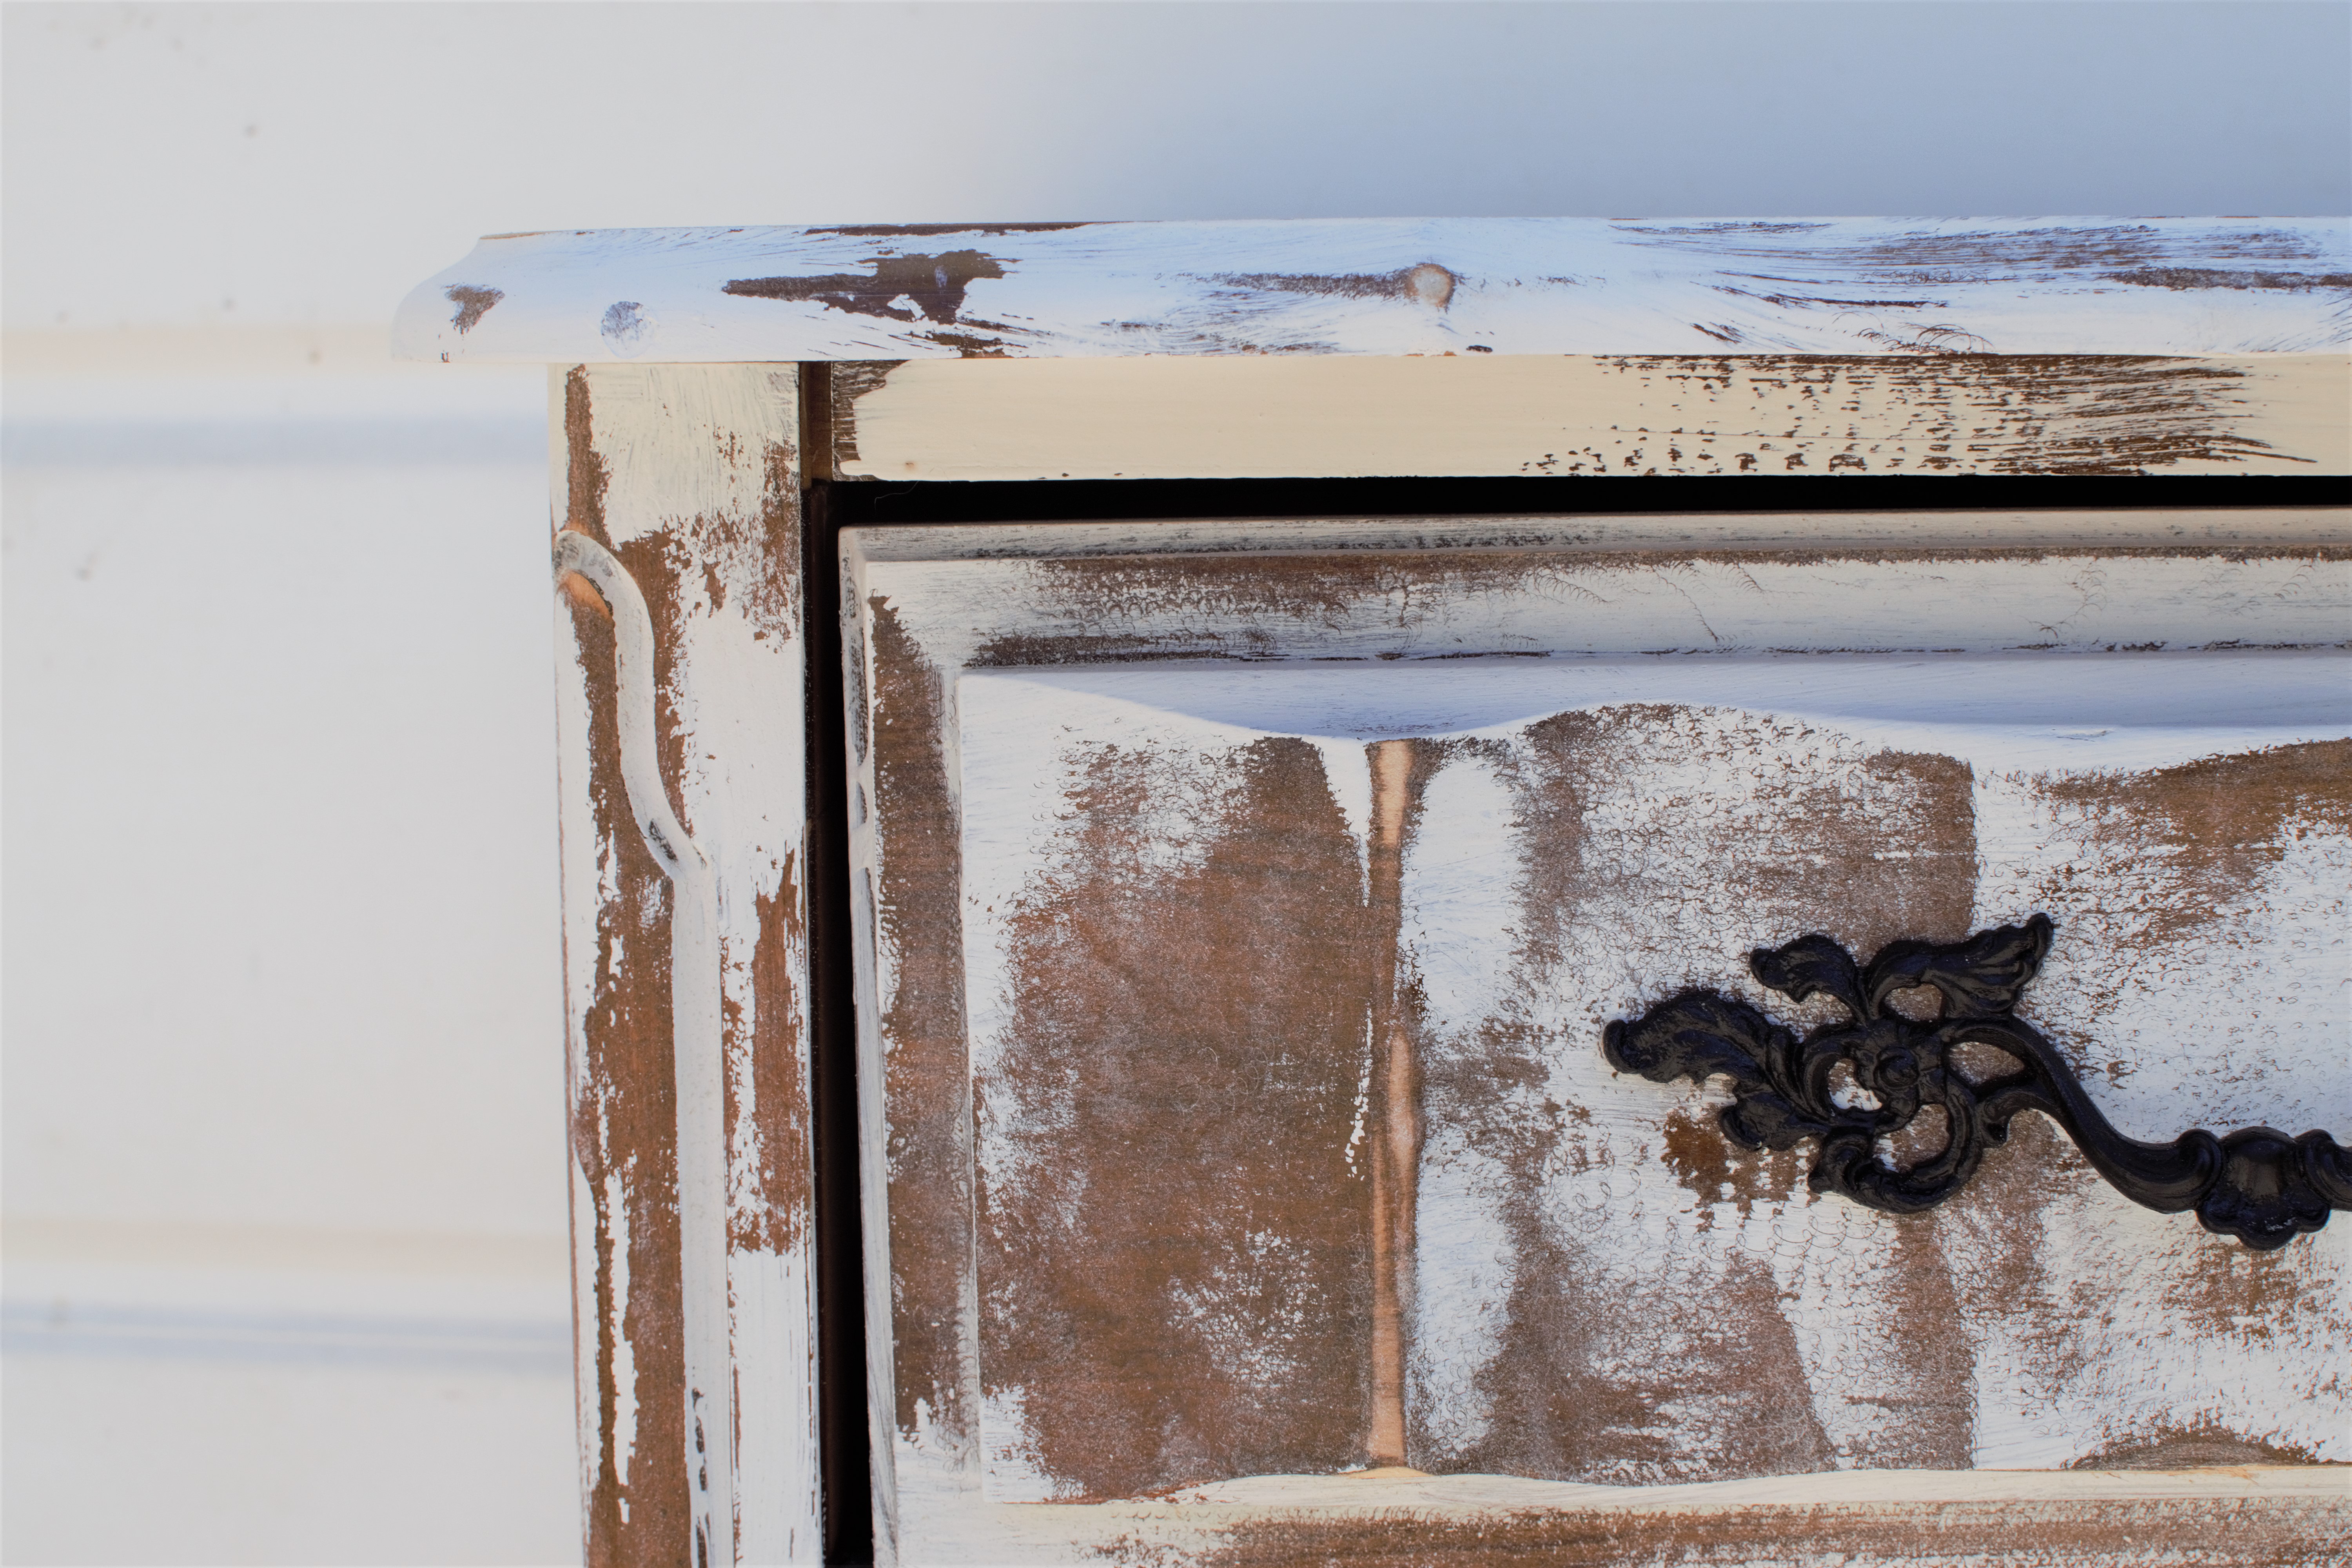
Once dry, sand the spot where the Vaseline will chip off and look heavily distressed. You can use a hand held electric sander or just a hand sander. I think every girl needs a sander in her life.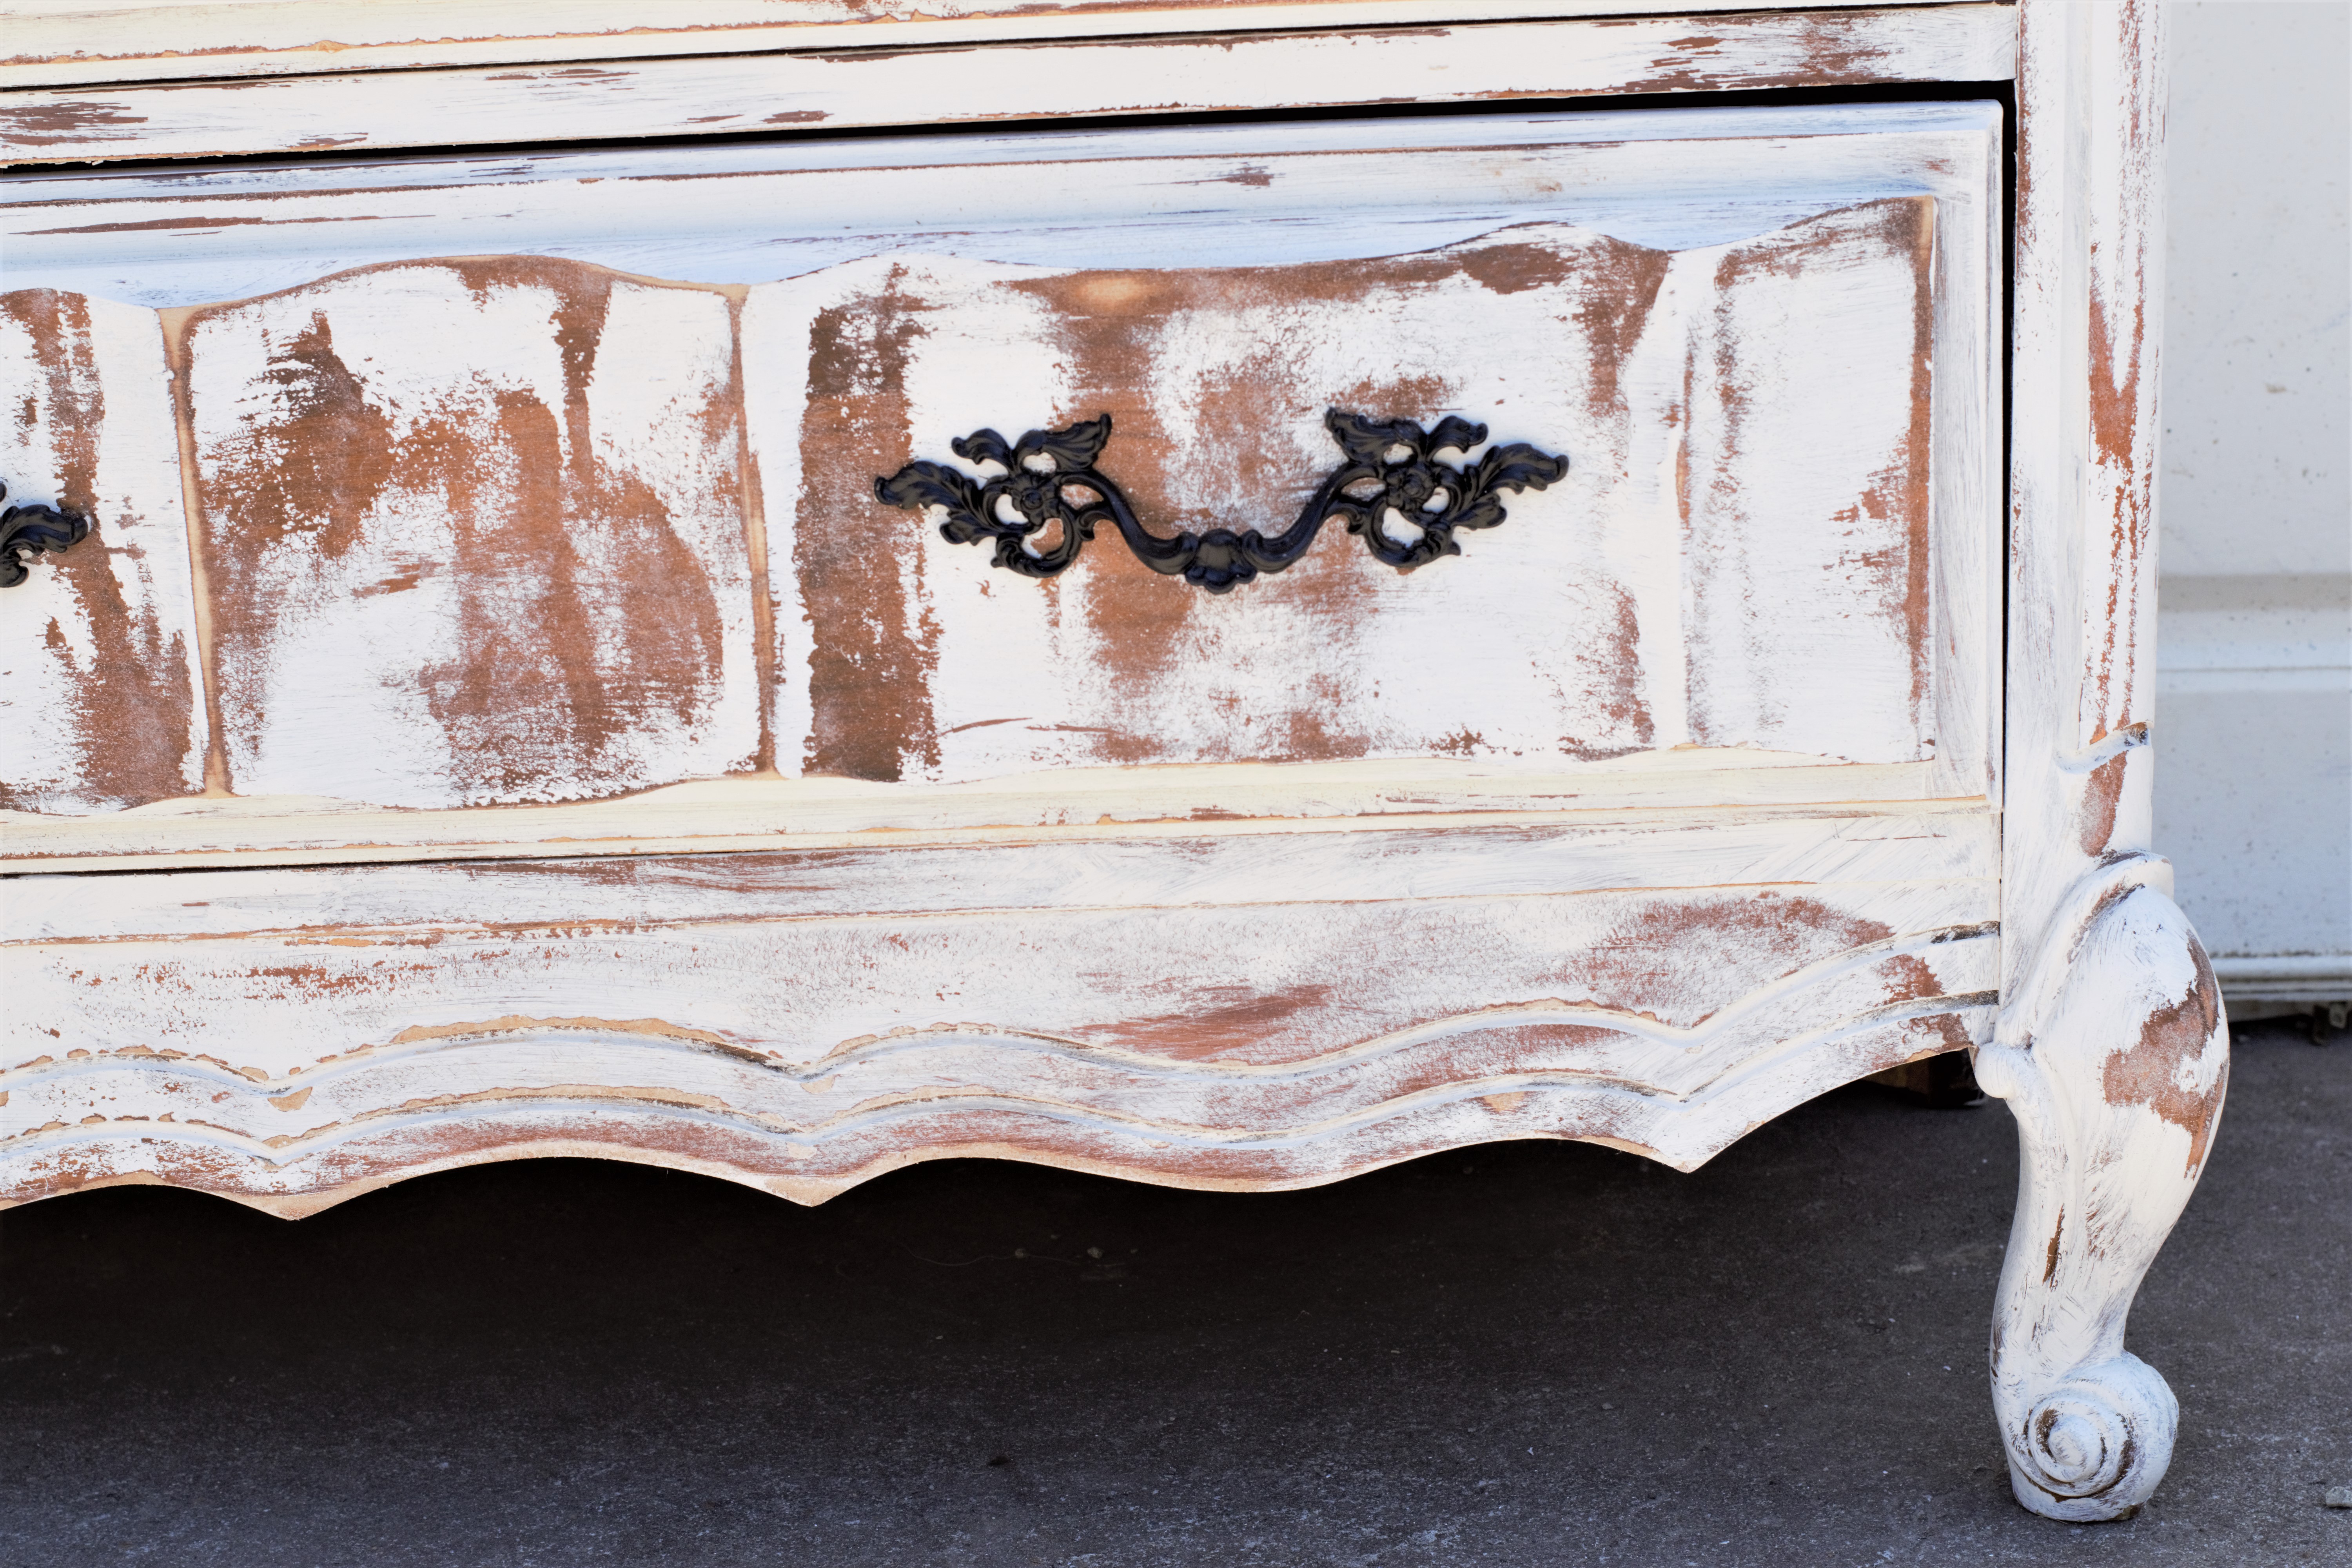
DIY Chippy Paint with Vaseline
Step 8
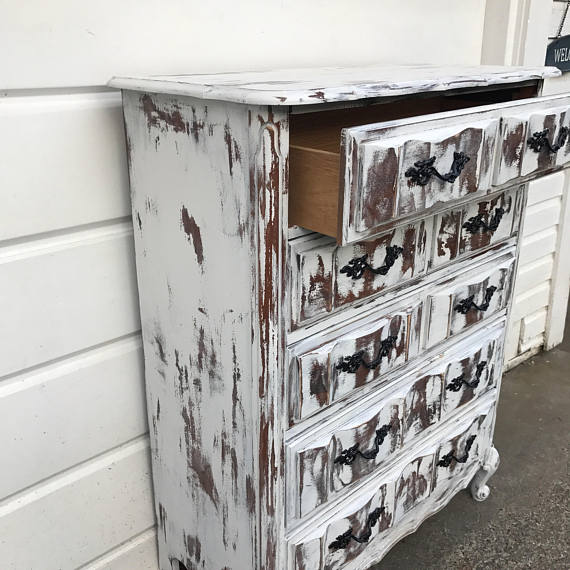
Spray with Polycrylic. I use Krylon- non yellowing for long lasting results.
Step 9
Wax may be used if preferred, but we found it to be more scratch-able with this product.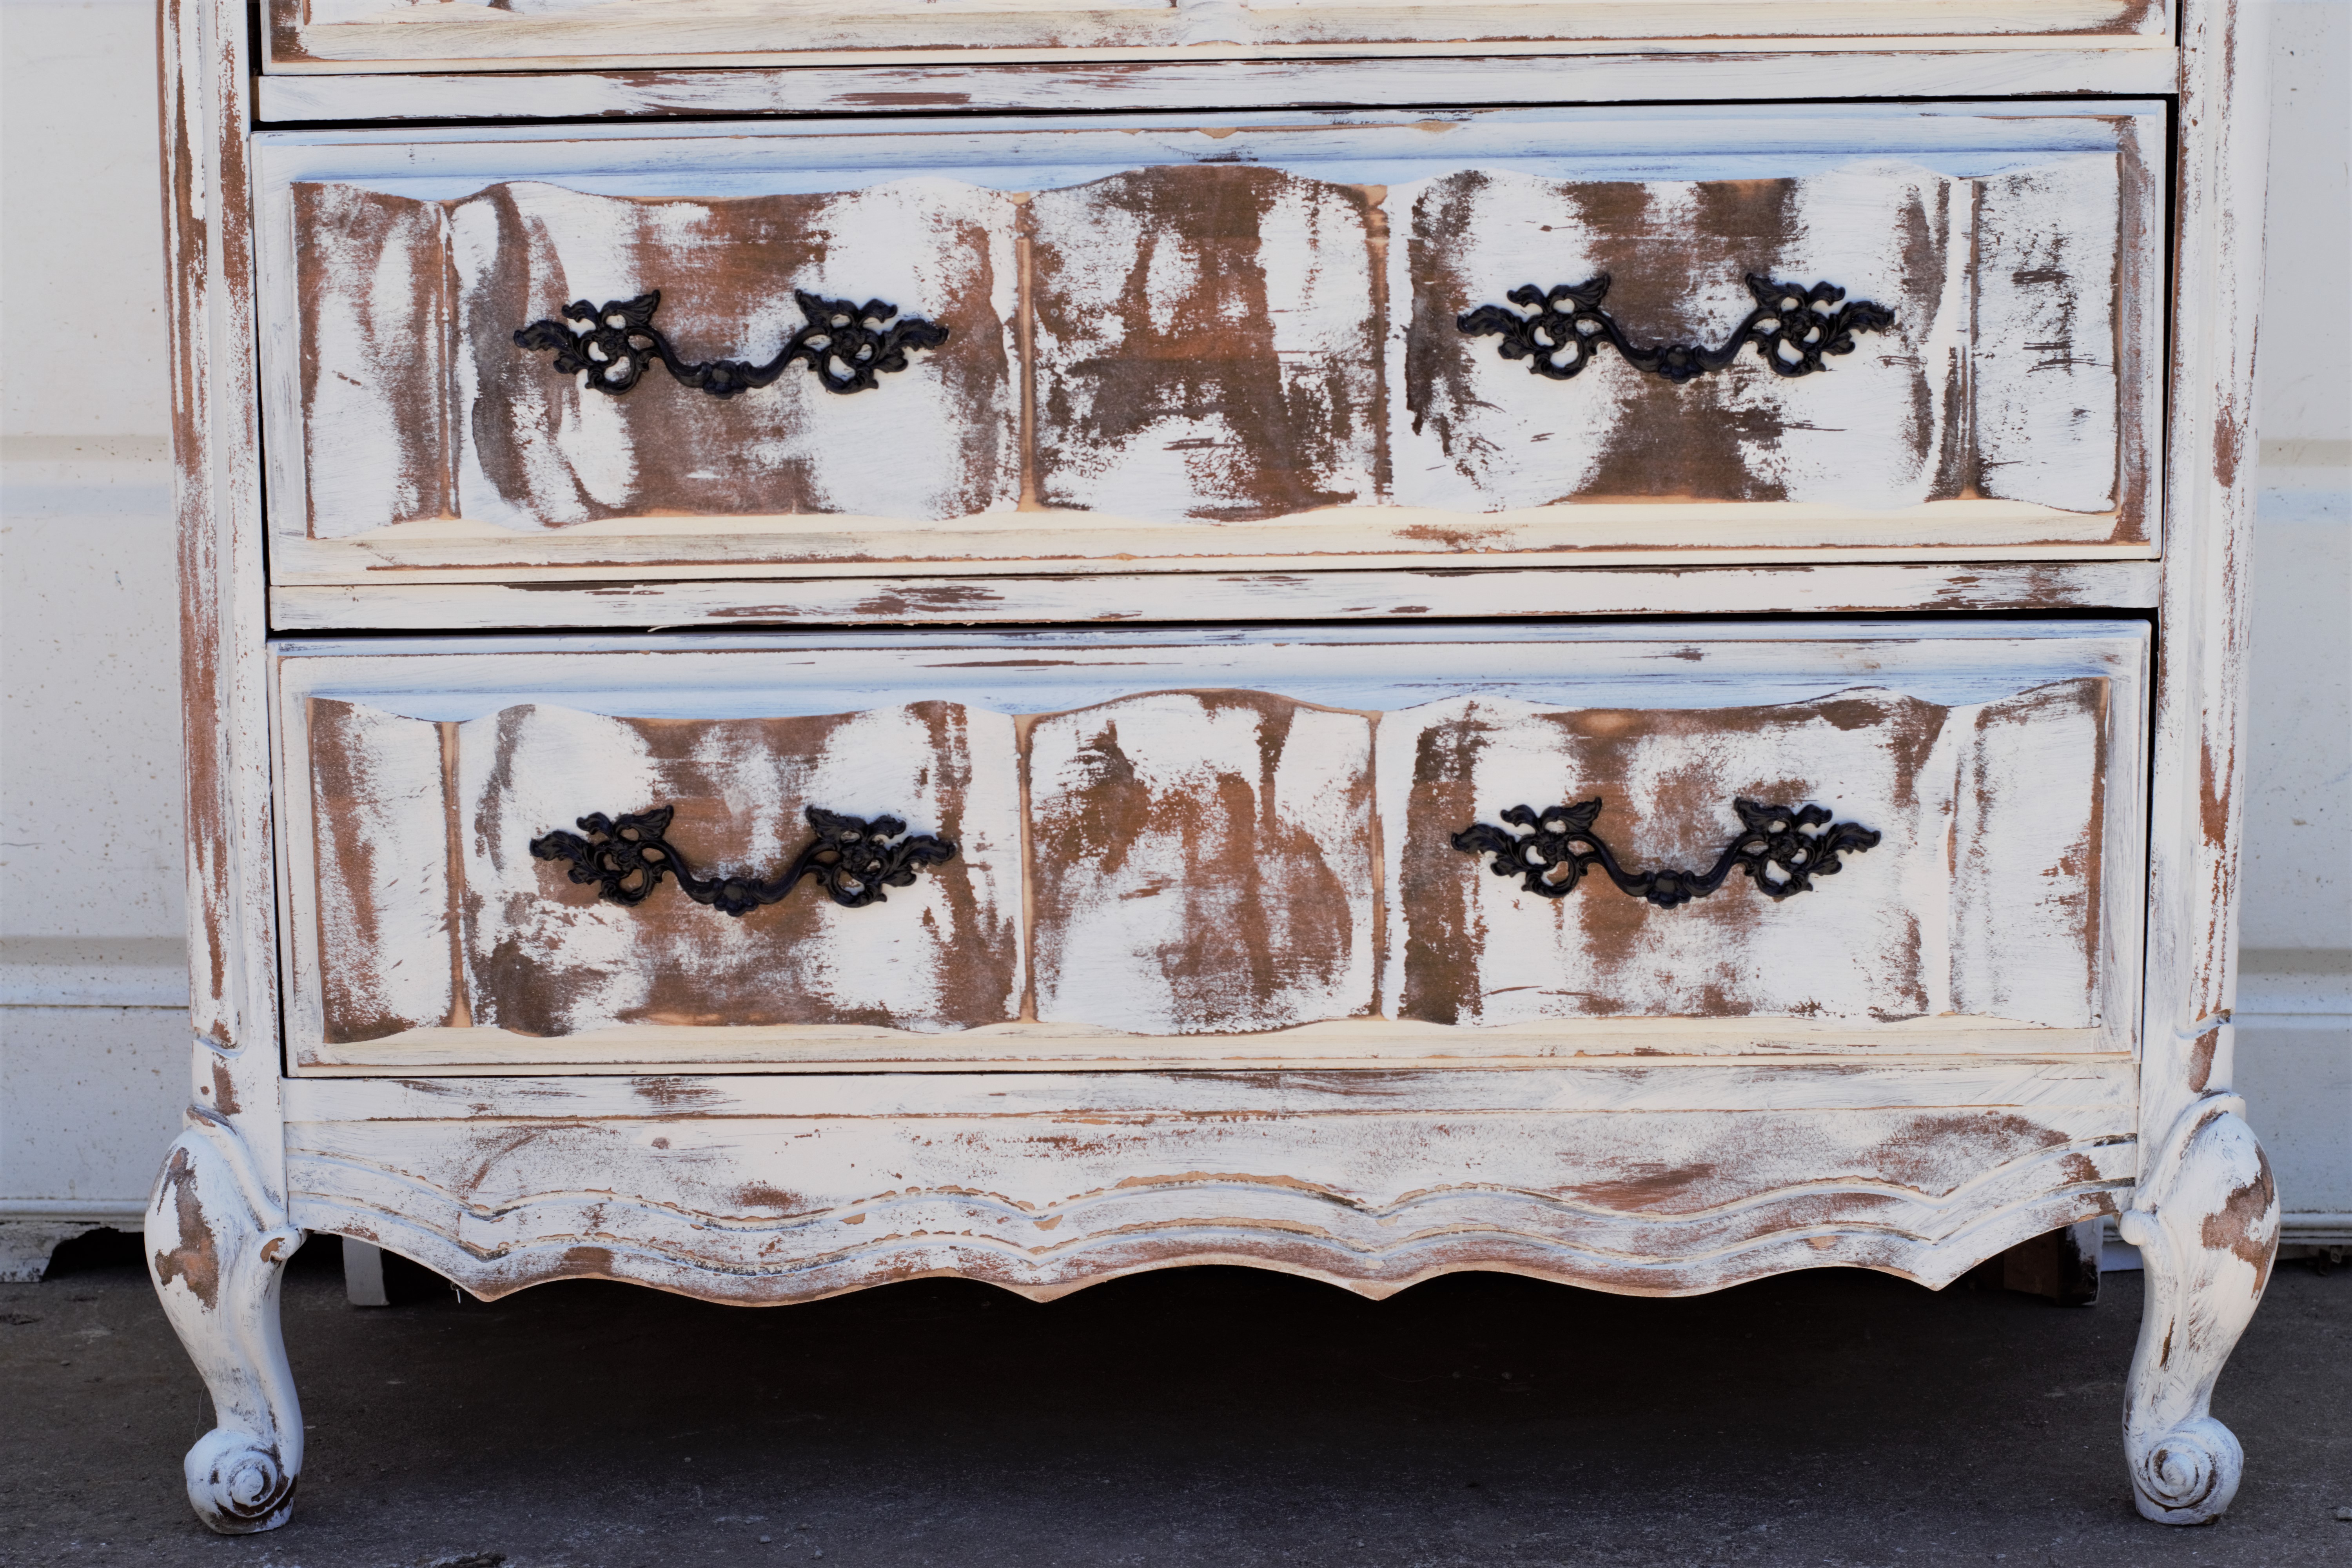
Step 10
Attach painted handles and place drawers back in.
If you want more techniques on how to paint, check out my post here. If your’e the type that’s not so crafty, you can check out similar furniture in my shop here. For a great paint brush, go to my blog here to find out my favorite.



 Hey there! I am Rhonda Hallstrom, creator and designer of Hallstrom Home. Making beautiful home decor is my way to inspire you to follow your dreams and amibitions. So come check out my shop and blog, I hope to get to know you. Thanks for stopping by at Hallstrom Home, Rhonda.
YOU are the BEST 🙌🏻🙌🏻 Love everything you touch Rhonda!!!! Thank you for taking so much of your time to create all these hints hacks and tutorials!!! Your the best!! Well Daisy might have my heart first 💛💛