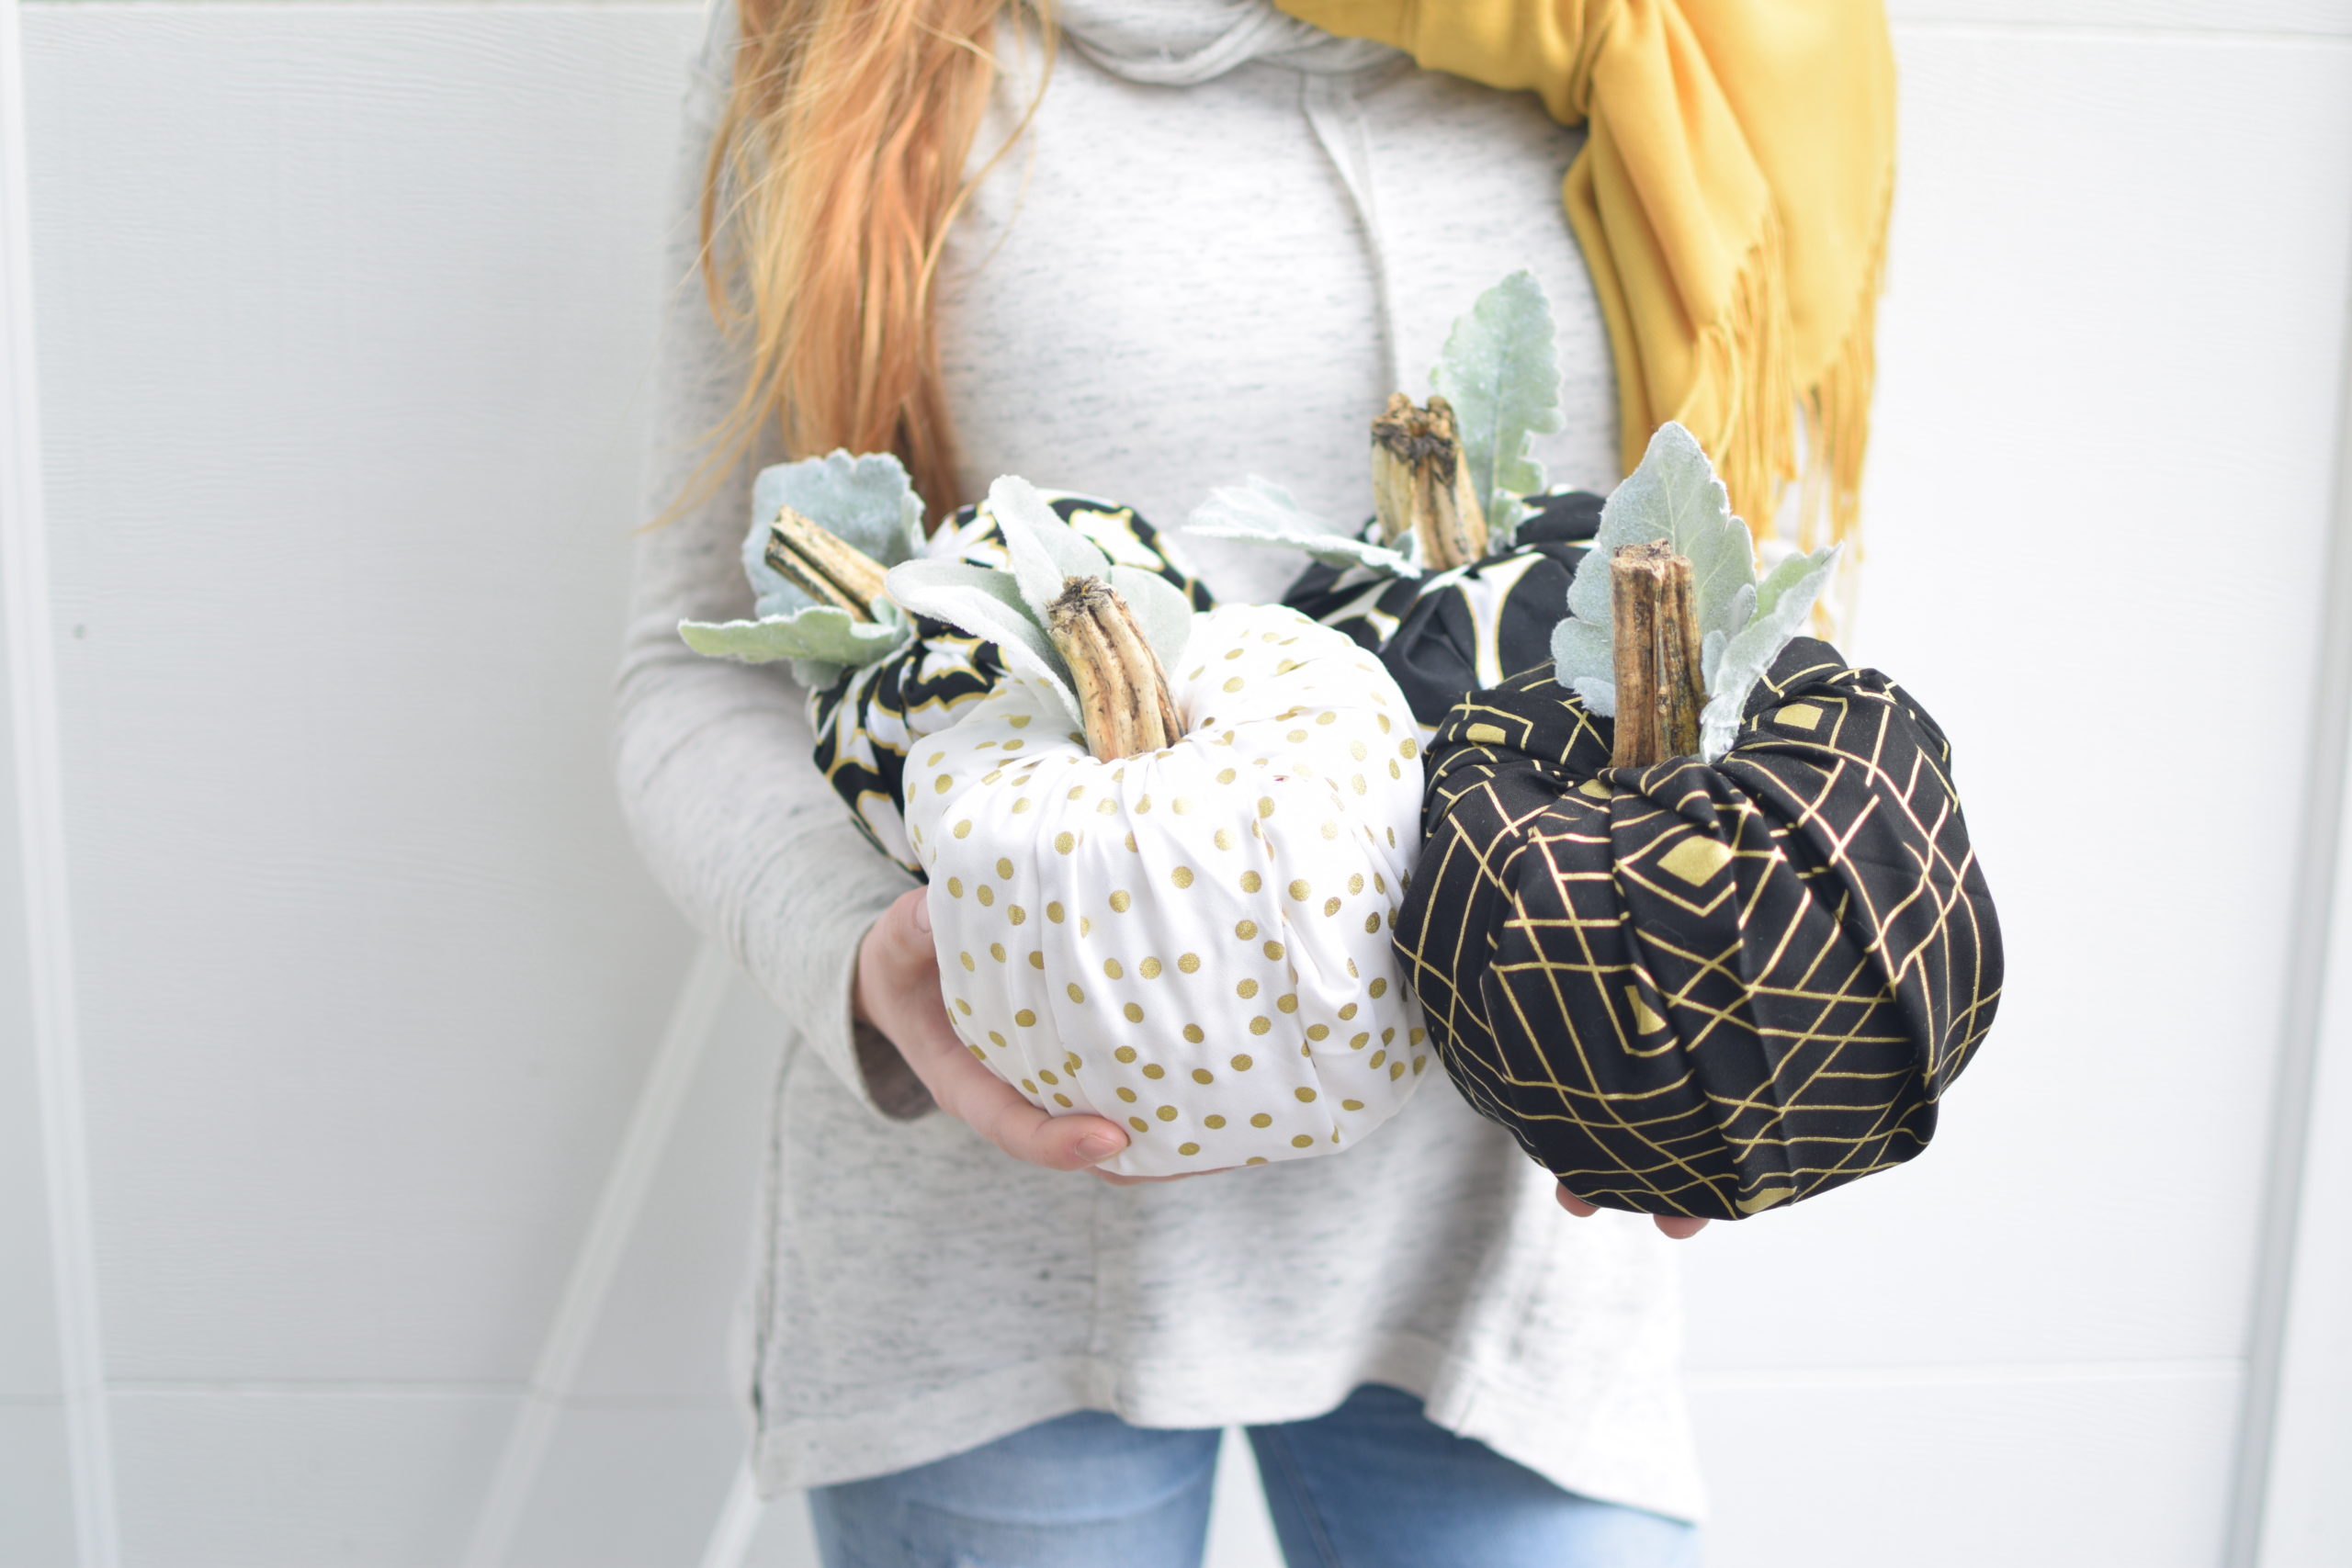
Lets get crafty with easy fabric pumpkins. You won’t have to go to the fabric store for this No Sew Tutorial. Plus these only take about five minutes to make for beautiful fall decorating that your kids can make.
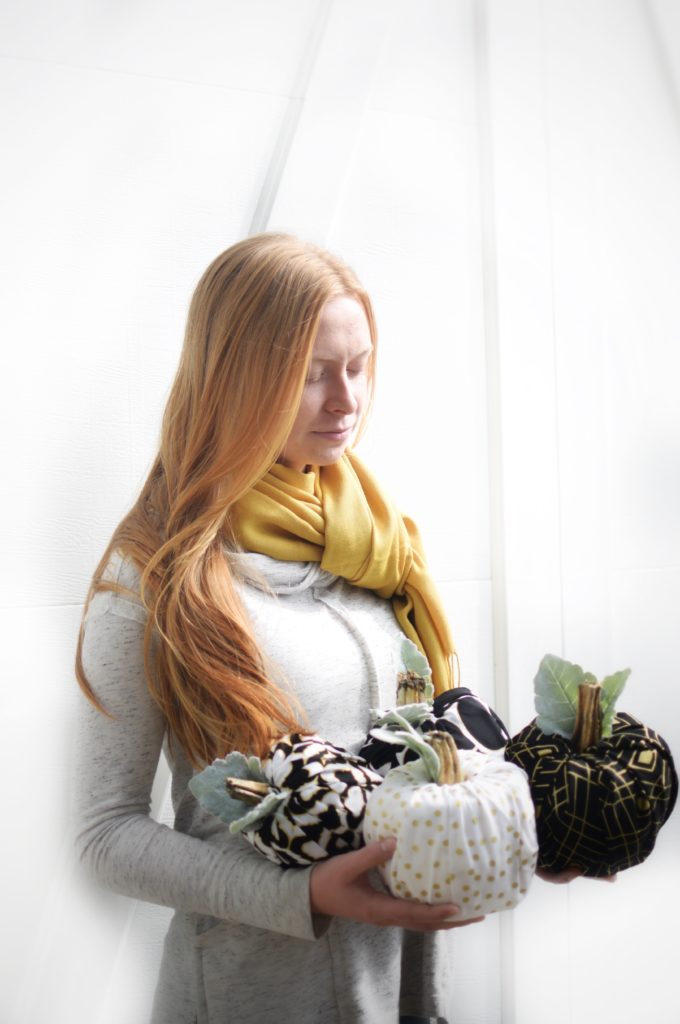
Easy Fabric Pumpkins/No Sew Tutorial
Step 1: Cut Fabric into 18″ squares. You can use an old sweater, tea towel, flannel shirt or quilting fabric like I did with mine. These fabric squares were pre-cut at Walmart in the quilting section. I liked how they all matched and I wanted some fun prints for this fall season. No sew makes these fabric pumpkins so easy and versatile.
Be sure to sign up for my email to get new recipes, crafts and home ideas in your inbox!
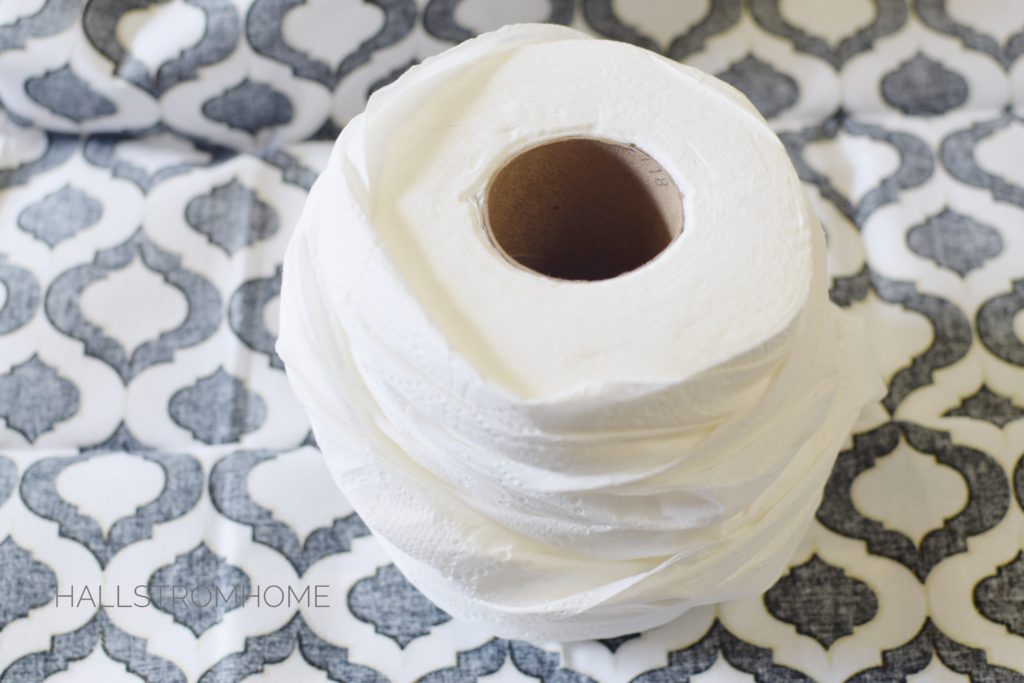
Step 2: Get out the toilet paper! yep that’s what I said. Keep in mind that the Costco toilet paper rolls are slightly larger than other brands. They still work and that’s what I used. You will want to unroll several feet of the toilet paper and then start wrapping back about the roll is a messy manner. This helps your fabric pumpkins look round like little pumpkins should be.
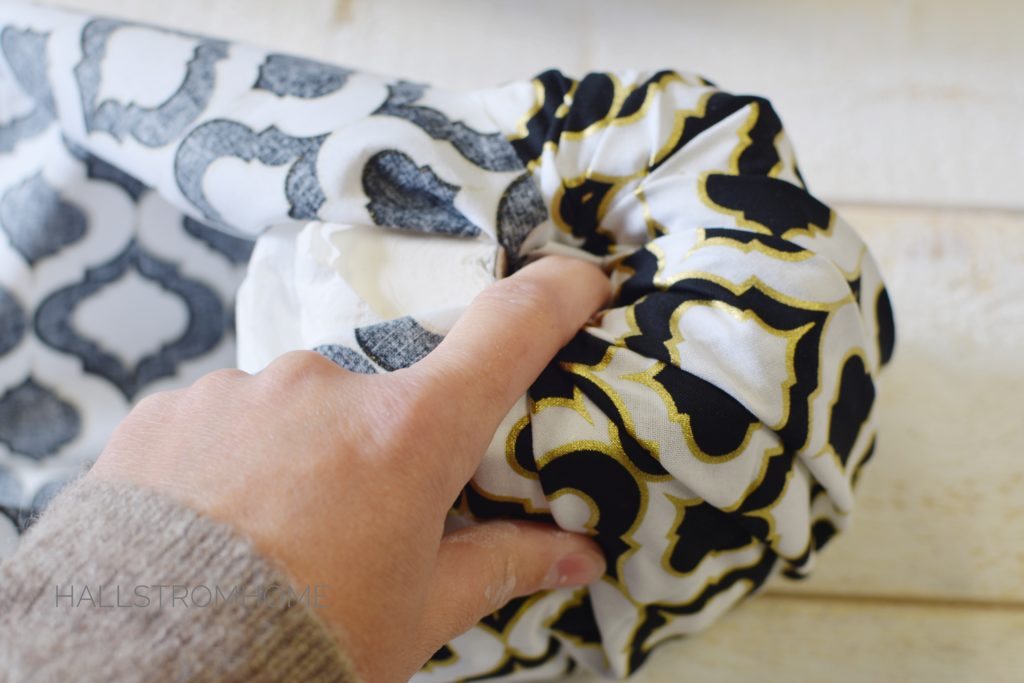
Easy Fabric Pumpkins/No Sew Tutorial
Step 3: Place toilet paper roll that has been re-wrapped into the center of your fabric square that is facing print side down. Now grab your fabric and start tucking into the middle of the toilet paper roll. I start with the materiel closest to the roll fist and then tuck the longer edge pieces in last.
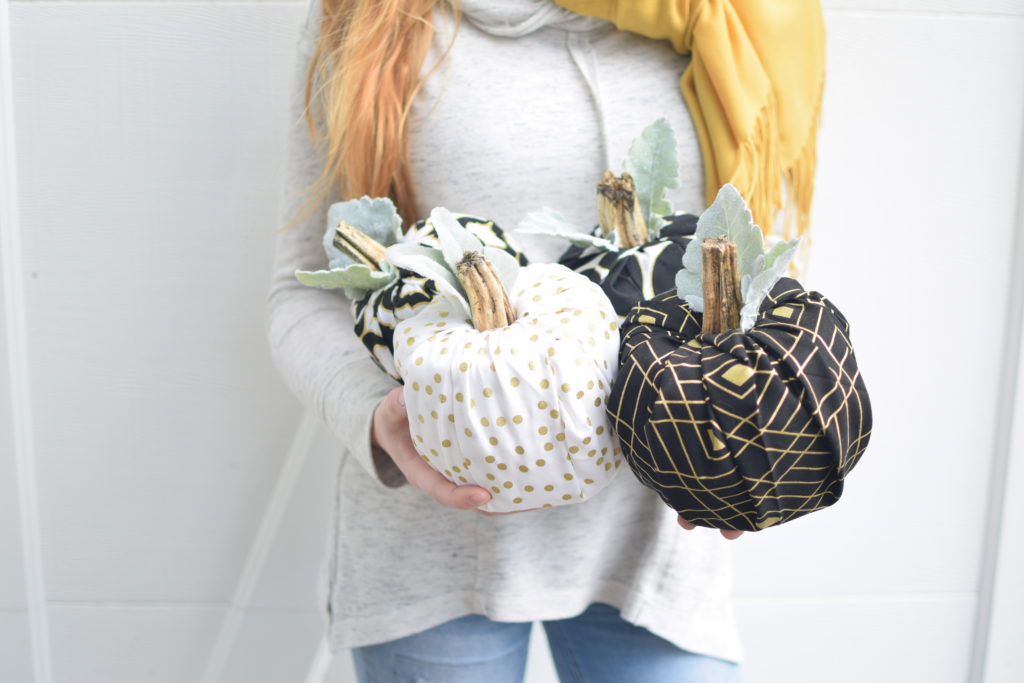
Step 4: Place your stem inside the middle of the fabric covered toilet paper roll. I used real pumpkin stems for mine but you can buy dried ones on Amazon or Etsy. You may also get craft and use twigs, drift wood or twine covered wood for your stems.
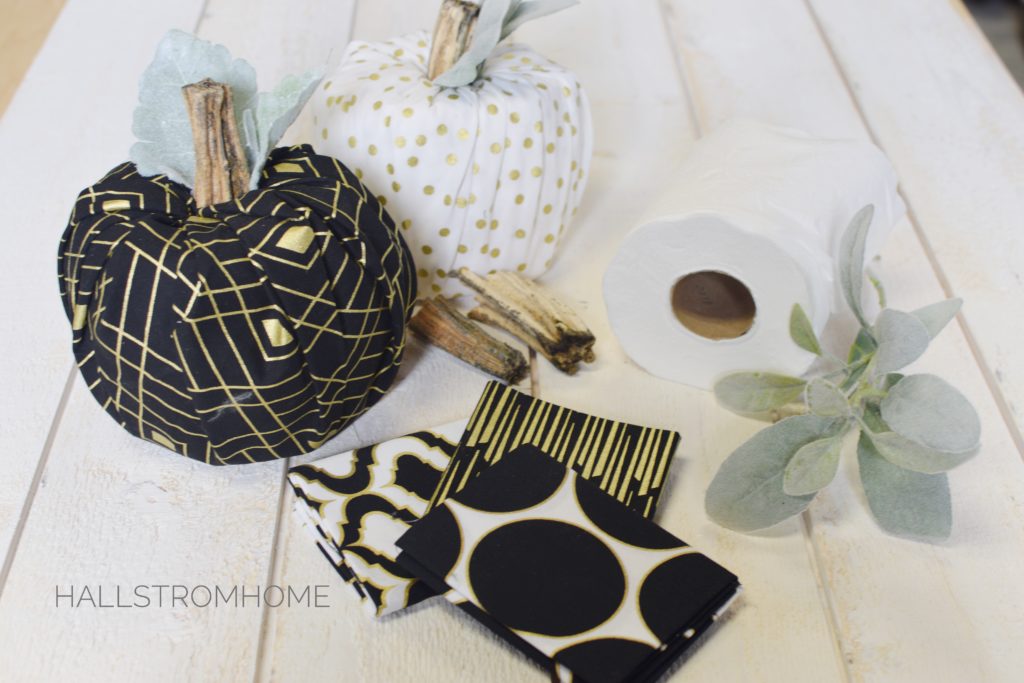
Step 5: Add faux leaves or any other kind of decorative trims, feathers, fabric cut into leaves or paper cutouts for the finishing touch on your fabric pumpkins. I just shoved these down into the fabric covered toilet paper roll without using glue. That’s what makes this no sew tutorial so easy.
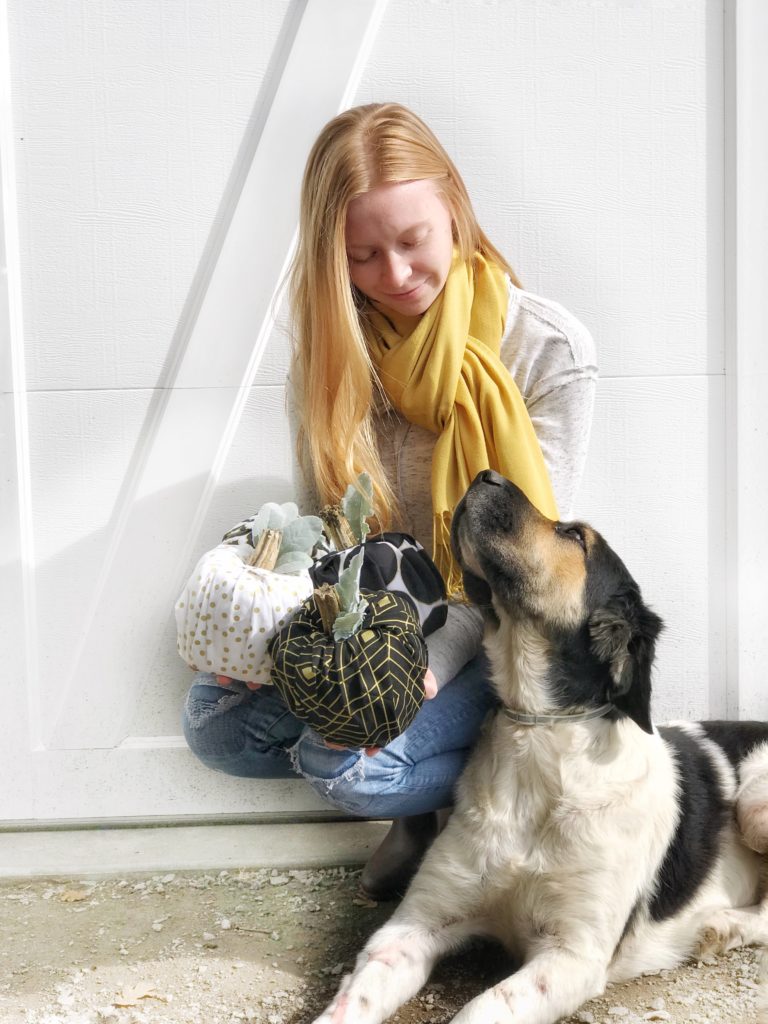
Step 6: Decorate. This is the fun part! You can style your table, classroom or even give as gifts so you can keep making more. If you ever run out of toilet paper because you and the kids were getting crafty then you have backup.
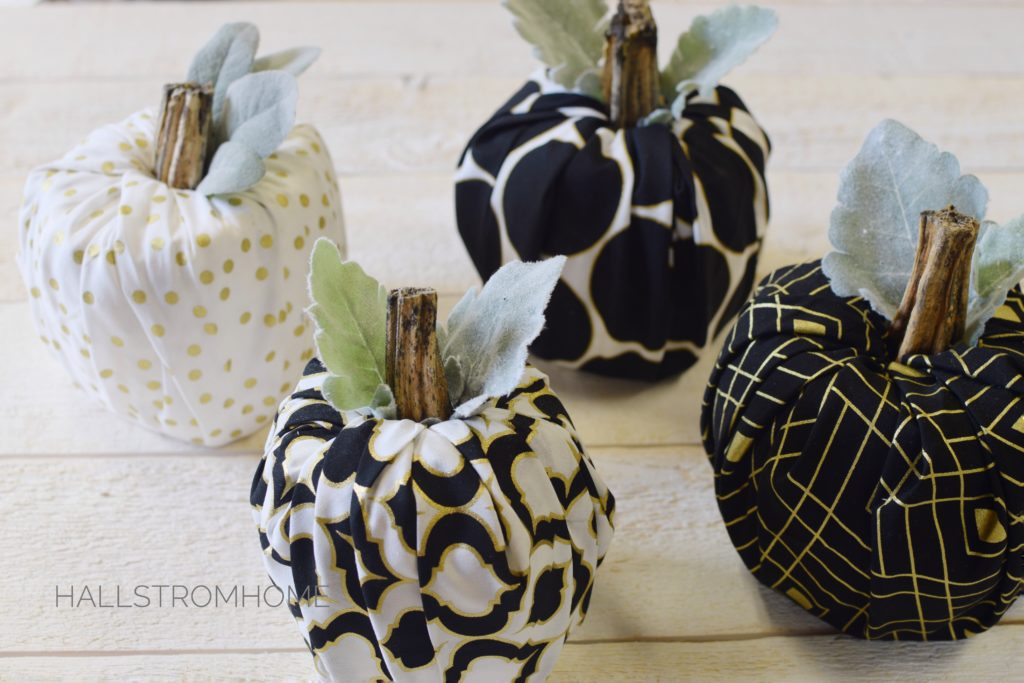
Step 7: Share on Instagram by tagging me @HallstromHome and use Hashtag #housebeautifulhomefall so I can re-share your fall decor.
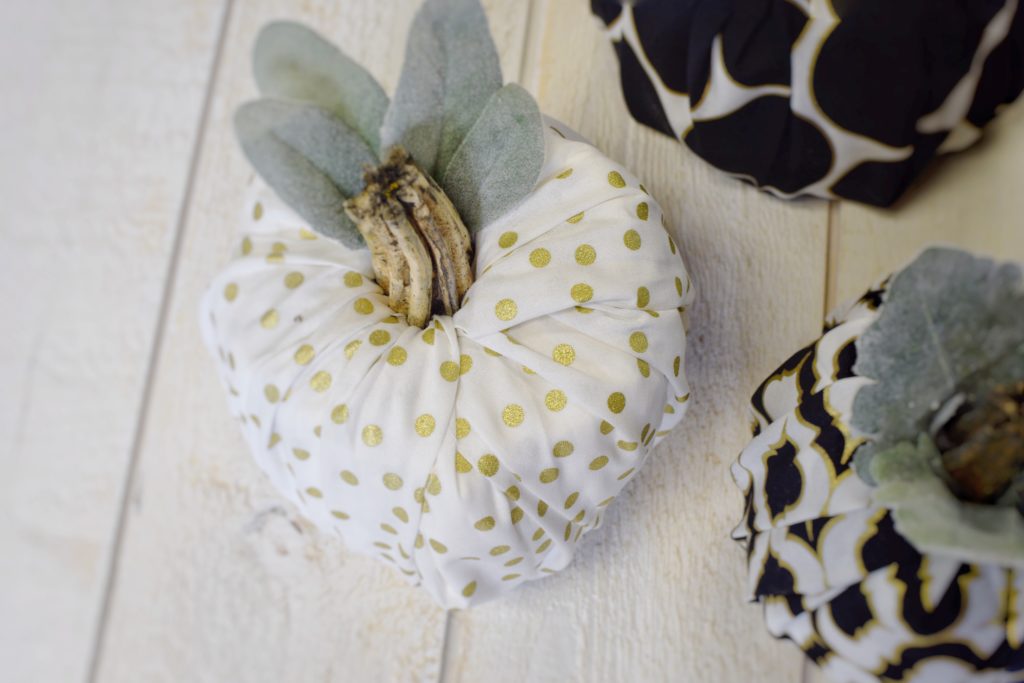
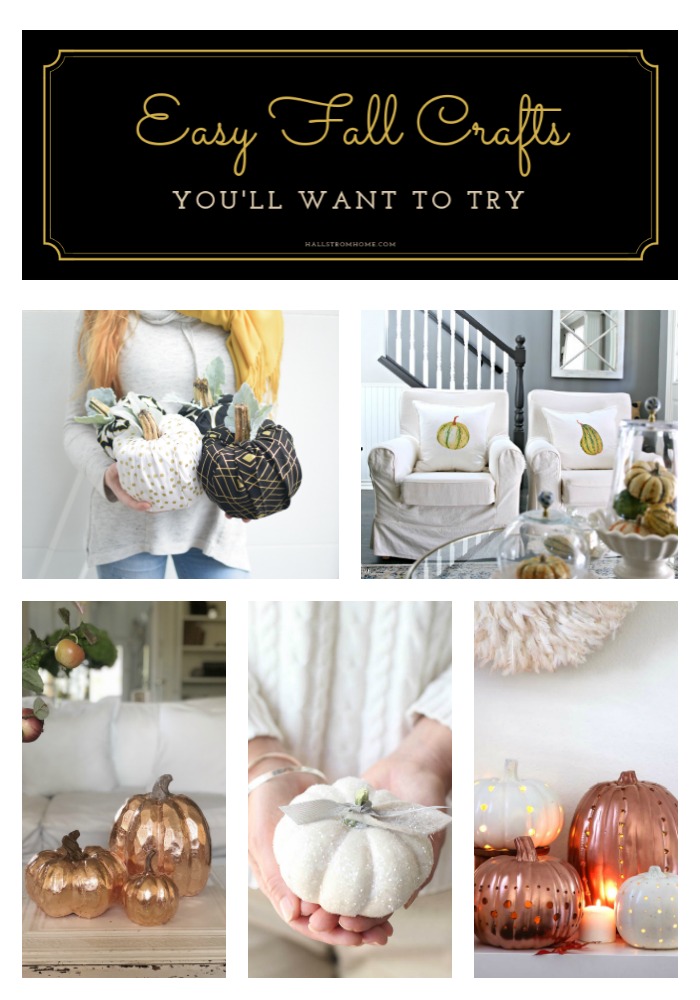
Step 8: Take a look at more fall DIY crafts by a few of my favorite friends below. There are Glitter Pumpkins, Lighted Pumpkin Lanterns, Copper Leaf Pumpkin Tutorial and DIY Pillows for Fall.
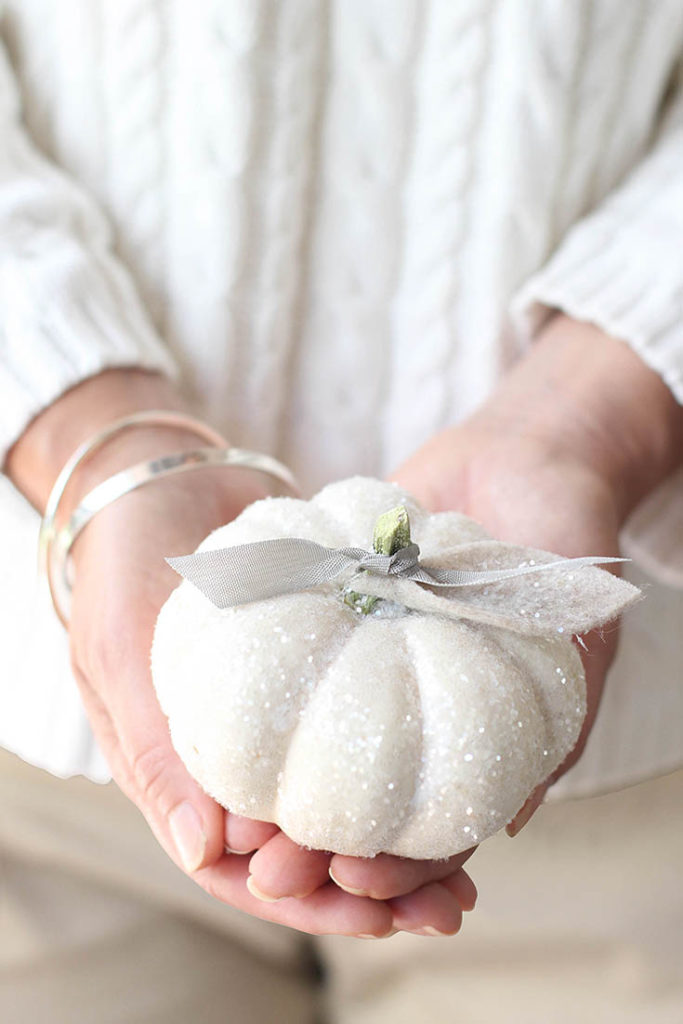
Check out my friend Janine at Happy Happy Nester with her Glitter Pumpkin tutorial.
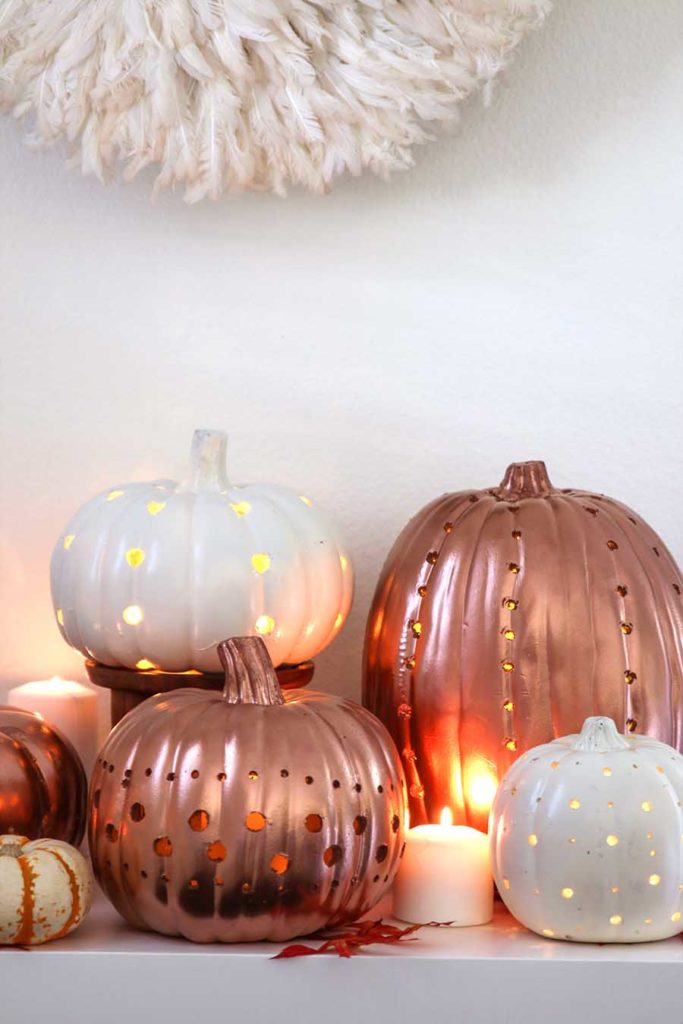
Here is a wonderful tutorial on How to Make Faux Pumpkin Lanterns by Ashley at Modern Glam.
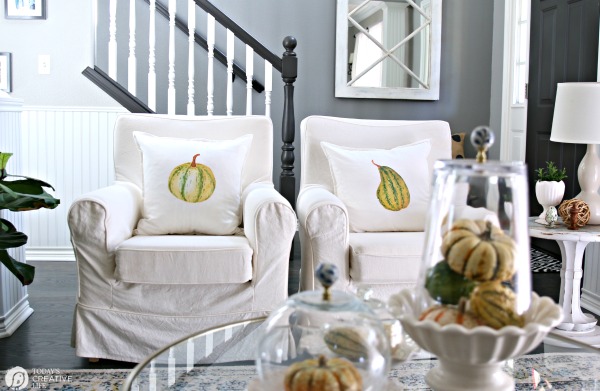
My freind Kim at Today’s Creative Life has some great DIY Fall Decor ideas. Check out her diy pillows for Fall!
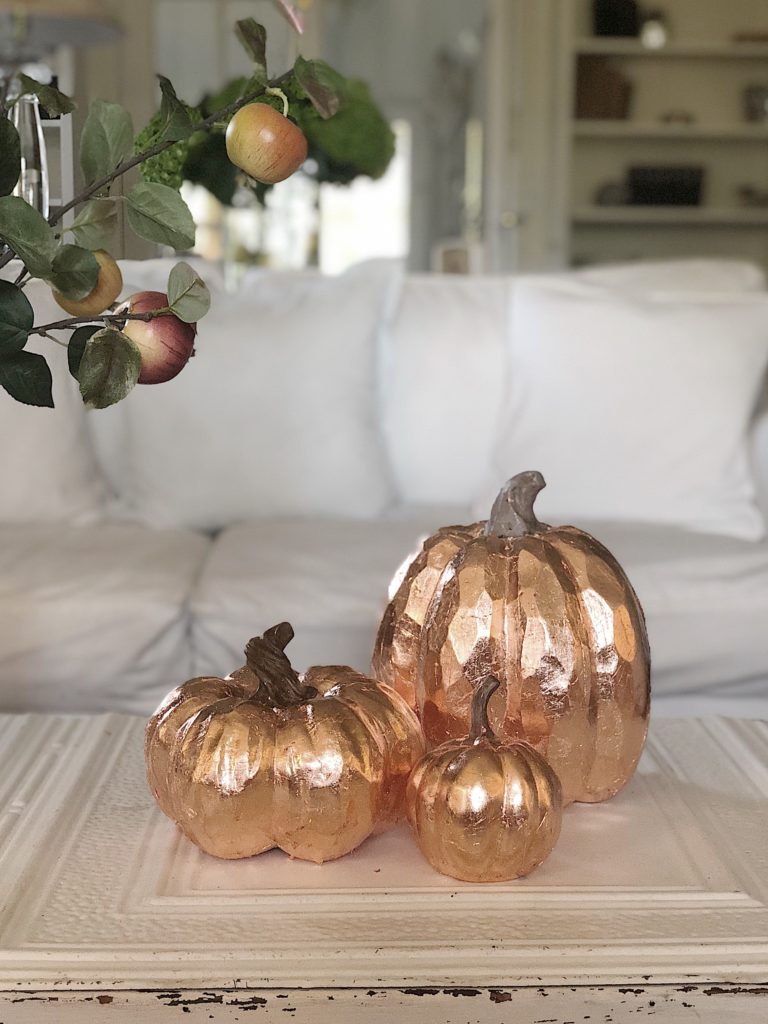
My good friend Leslie over at My 100 Year Old Home created these Copper Leaf Pumpkins!


 Hey there! I am Rhonda Hallstrom, creator and designer of Hallstrom Home. Making beautiful home decor is my way to inspire you to follow your dreams and amibitions. So come check out my shop and blog, I hope to get to know you. Thanks for stopping by at Hallstrom Home, Rhonda.
Wow these are so cute!! You did a great job
Thanks Claire! They were a lot of fun
I love those toilet paper pumpkins…so easy to add a pop of fall….loved the video you did!
Thanks mom! they were a lot of fun to make
Rhonda,
What a awesome project and I love the fabric you used! You did such a great job on your video! Bravo! Thanks for being a part of the this fun blog hop!
Thanks Janine! This blog hop was so fun!!