Here’s is a wonderful tutorial on how I Chalk Paint Pumpkins. It is easy and quick to do. Helping to add that farmhouse look to your fall decor.
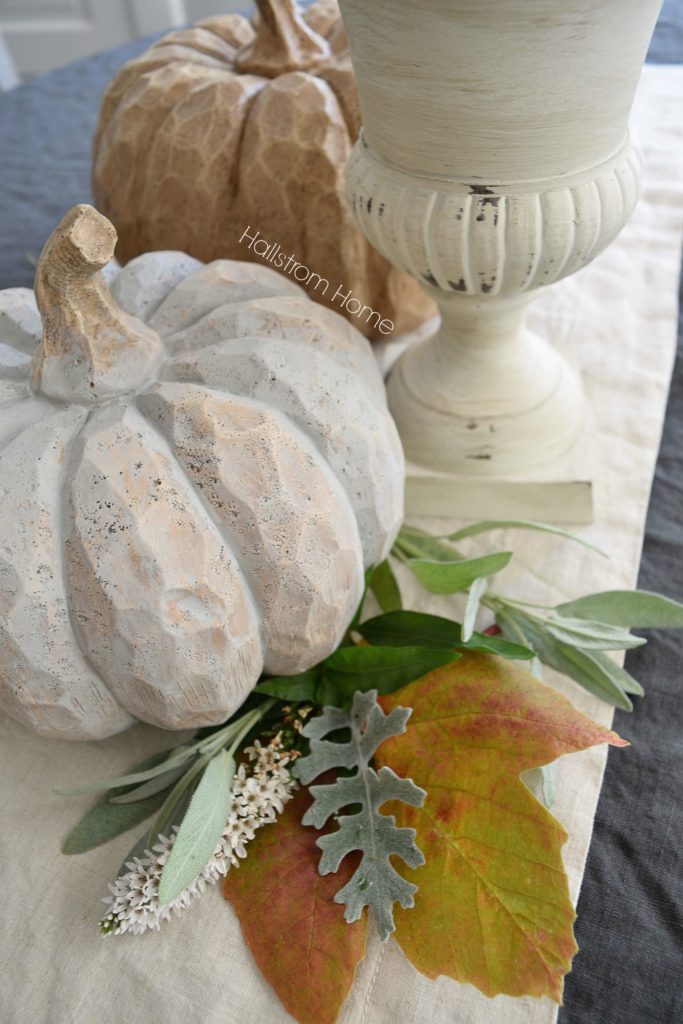
I’m scrolling through Pinterest and noticing all the beautiful fall decor, and thinking, “Well girl, it’s time to get crafty”. Seeing that I went to Home Goods and found these brown pumpkins. My only dilemma was deciding how many pumpkins to buy. 😉 I loved them, but I thought that I’d rather have a grey pumpkin to soften my tablescape. That’s when I decided I’d make my own Chalk Paint Pumpkins. Using my own chalk paint recipe which I will share in this post.
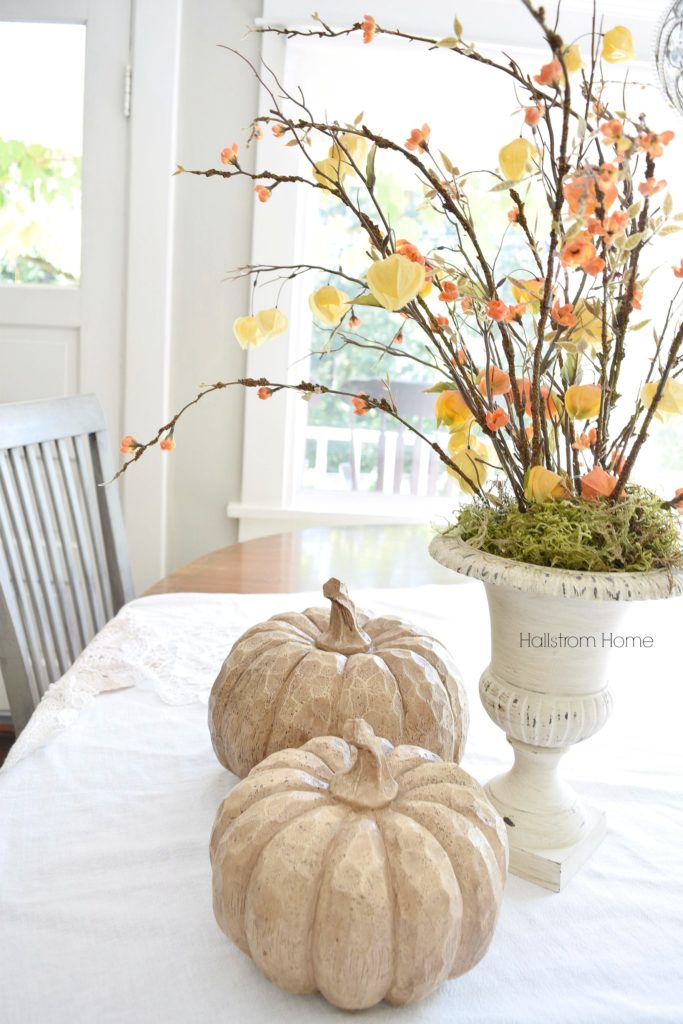
Chalk Paint Pumpkins
These pumpkins looked cute at first. Cute wasn’t calling my name. You can use any kind of pumpkins for this project, from foam to real live pumpkins. What is great is, chalk paint seems to love any surface.
- 3 simple ingredients: Plaster of Paris, water, and a sample paint quart from Miller Paint Store for only $5.
- Start with 2 Tbsp Plaster of Paris.
- Mix in 2 Tbsp water and mix well.
- Add 2 Cups flat or stain paint and mix extremely well. Use glass canning jars with a wide mouth for easy storage and use.
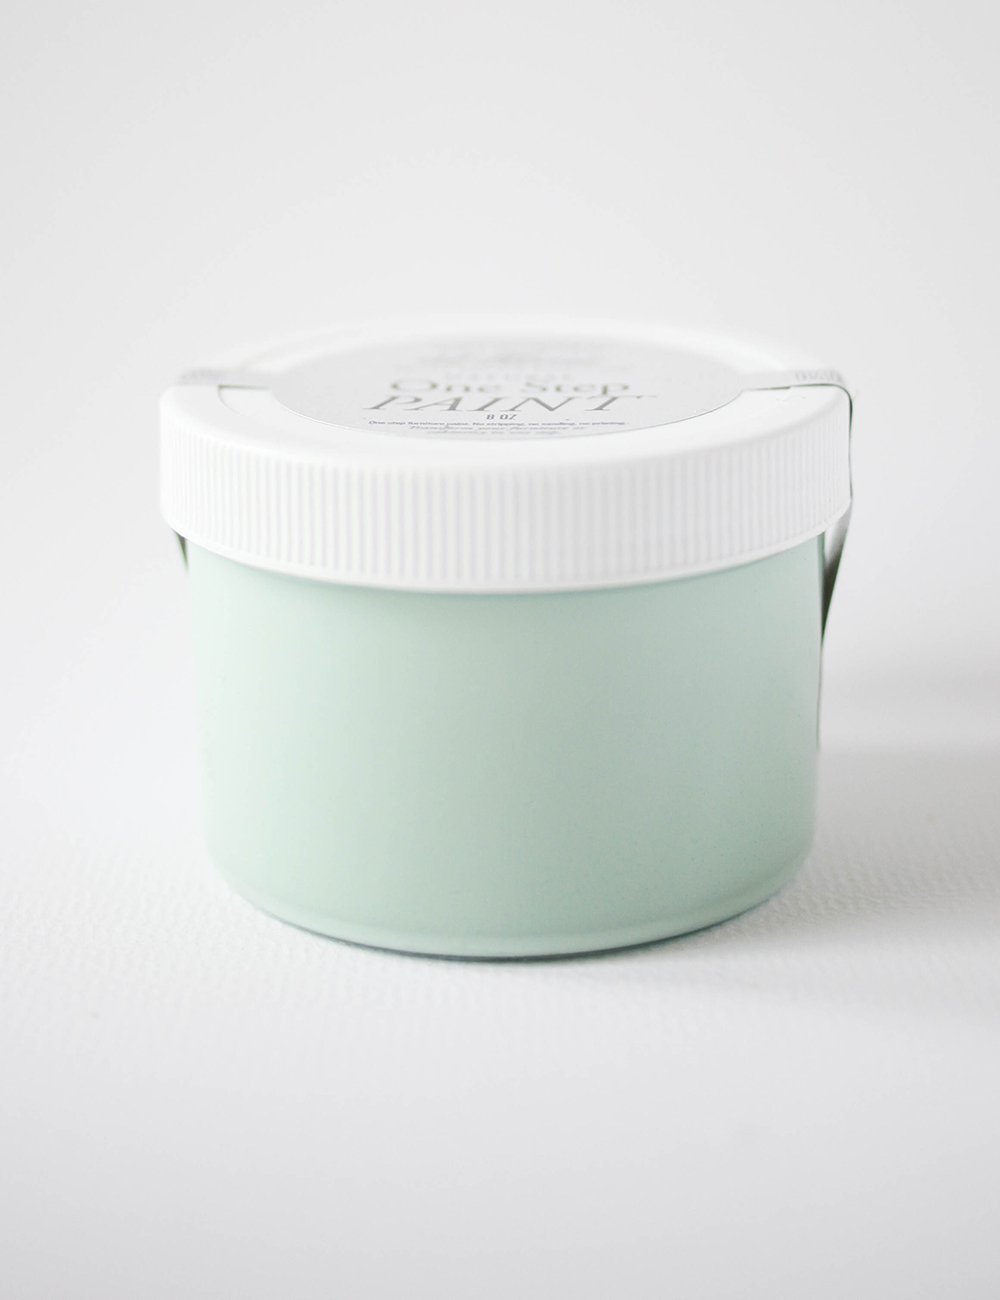
*DIY might not be your thing, you can buy chalk paint. Amy Howard is my favorite chalk paint (that is actually what I used for this project 😉 ).
Please share this post with your crafty friends if they don’t already make chalk paint.
Chalk Paint Pumpkins
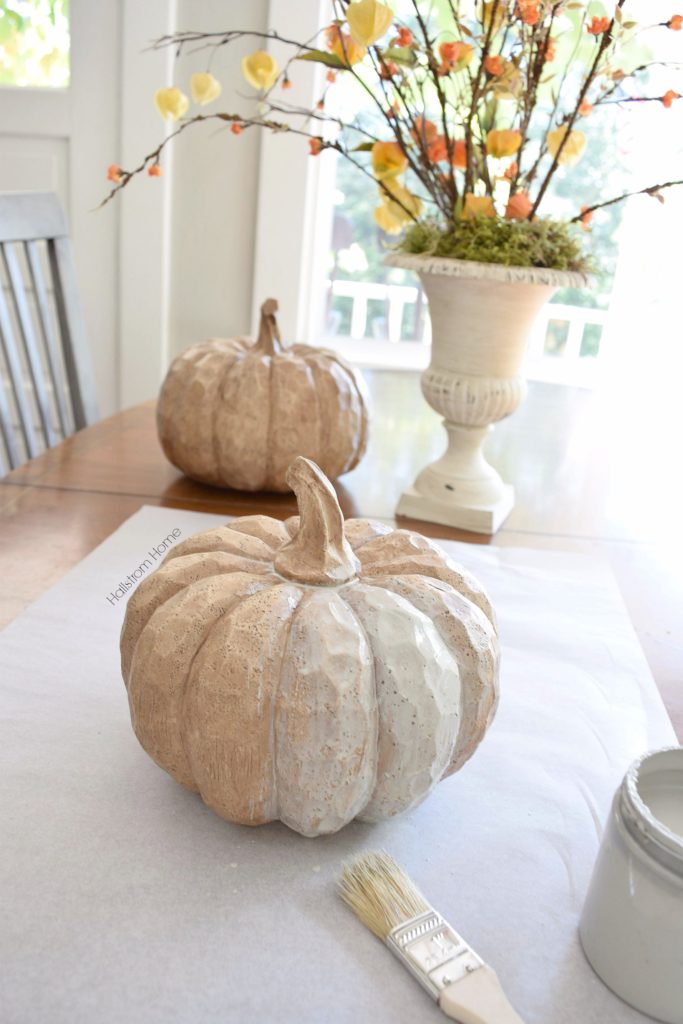
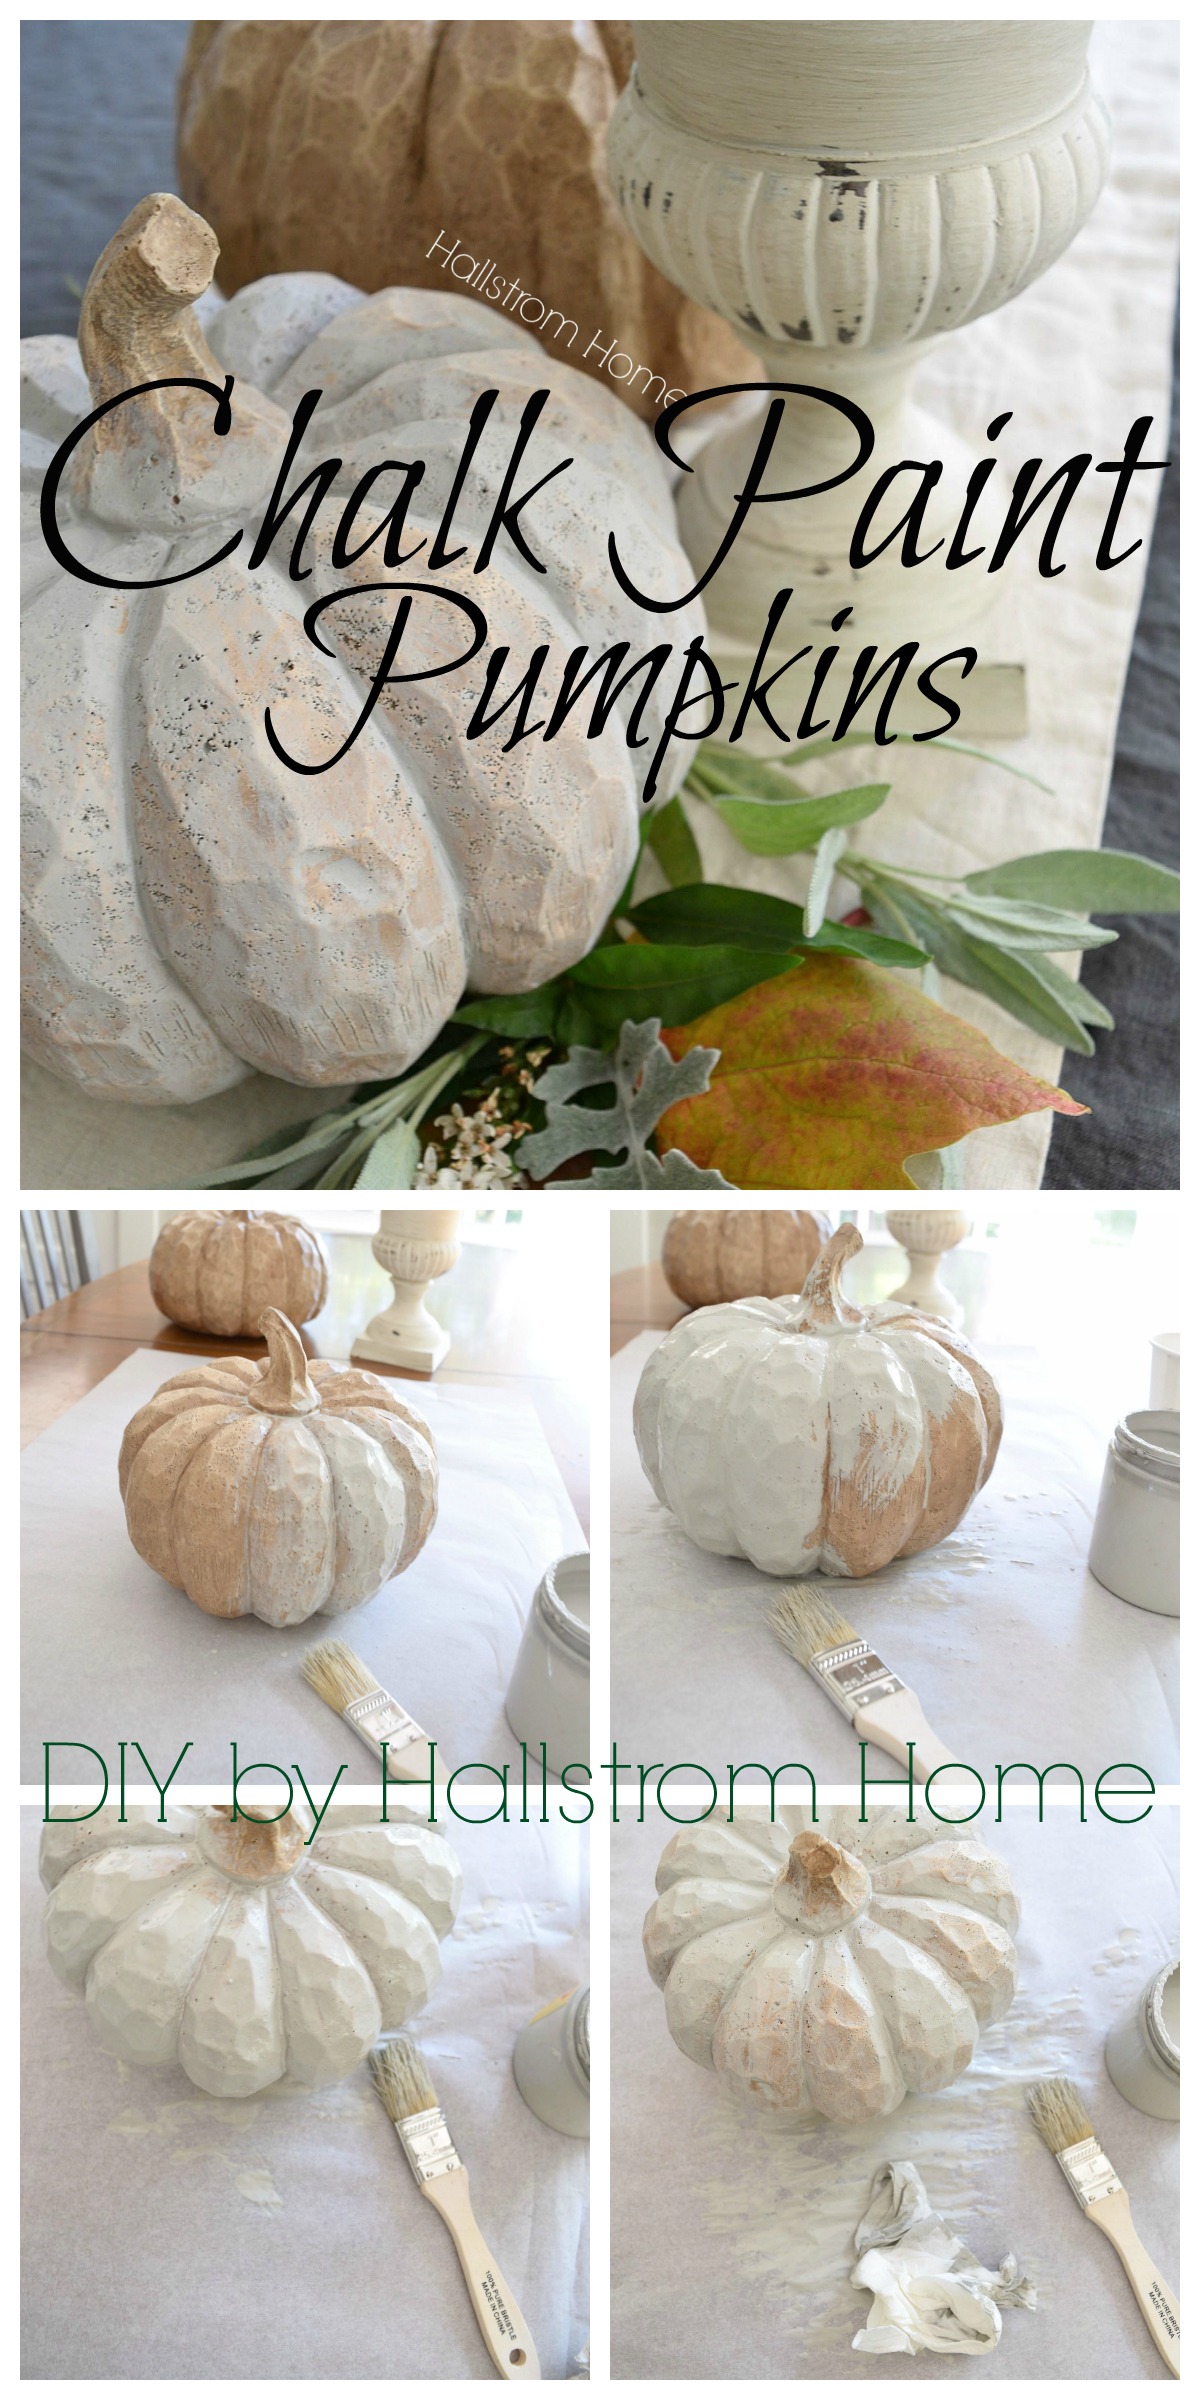
Once you’ve made (or bought) your chalk paint, all that’s left is the fun part—painting. I put down a drop cloth and got to work. Keeping your paintbrush really wet helps get a thinner coverage. I wanted to see the color underneath. It works well to keep a cup of water near you to dip your brush. If you want a thick, even coverage then don’t use water at all. Depending on what style you’re going for.
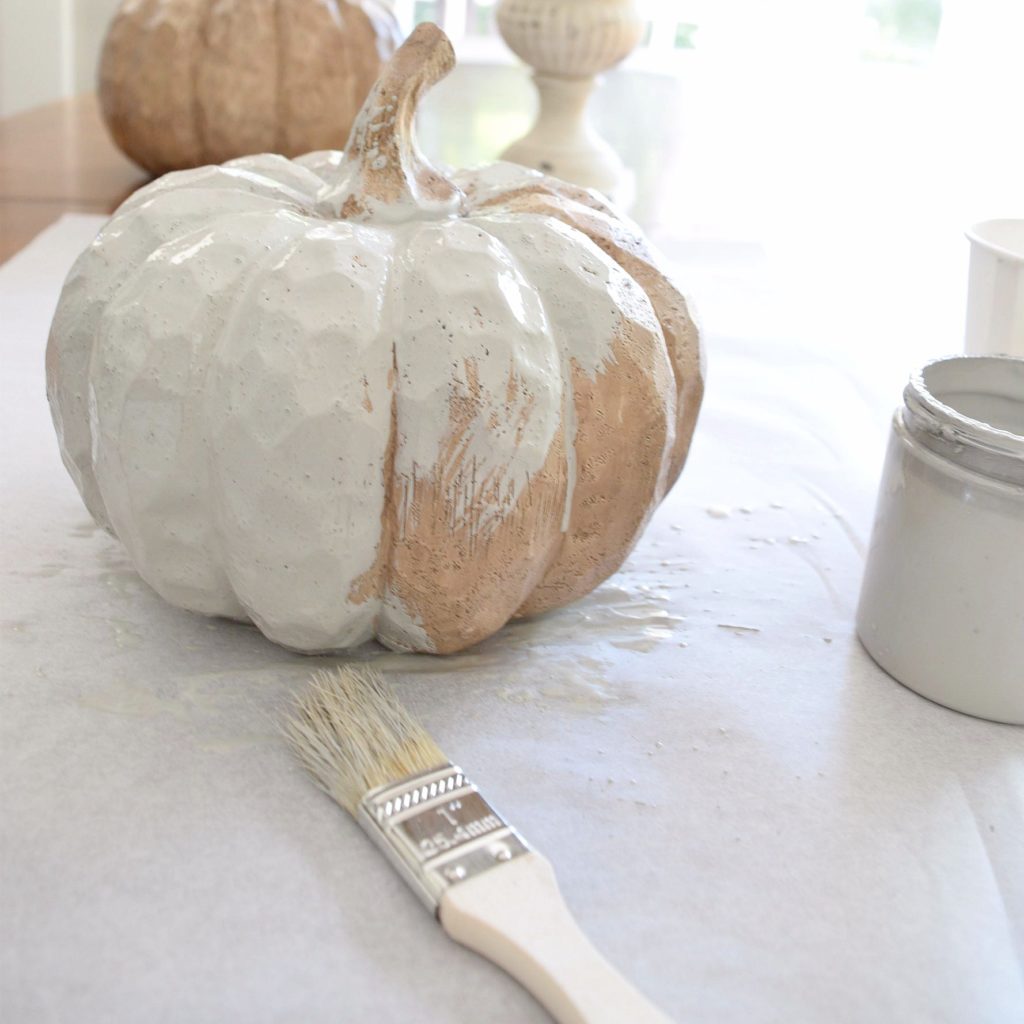
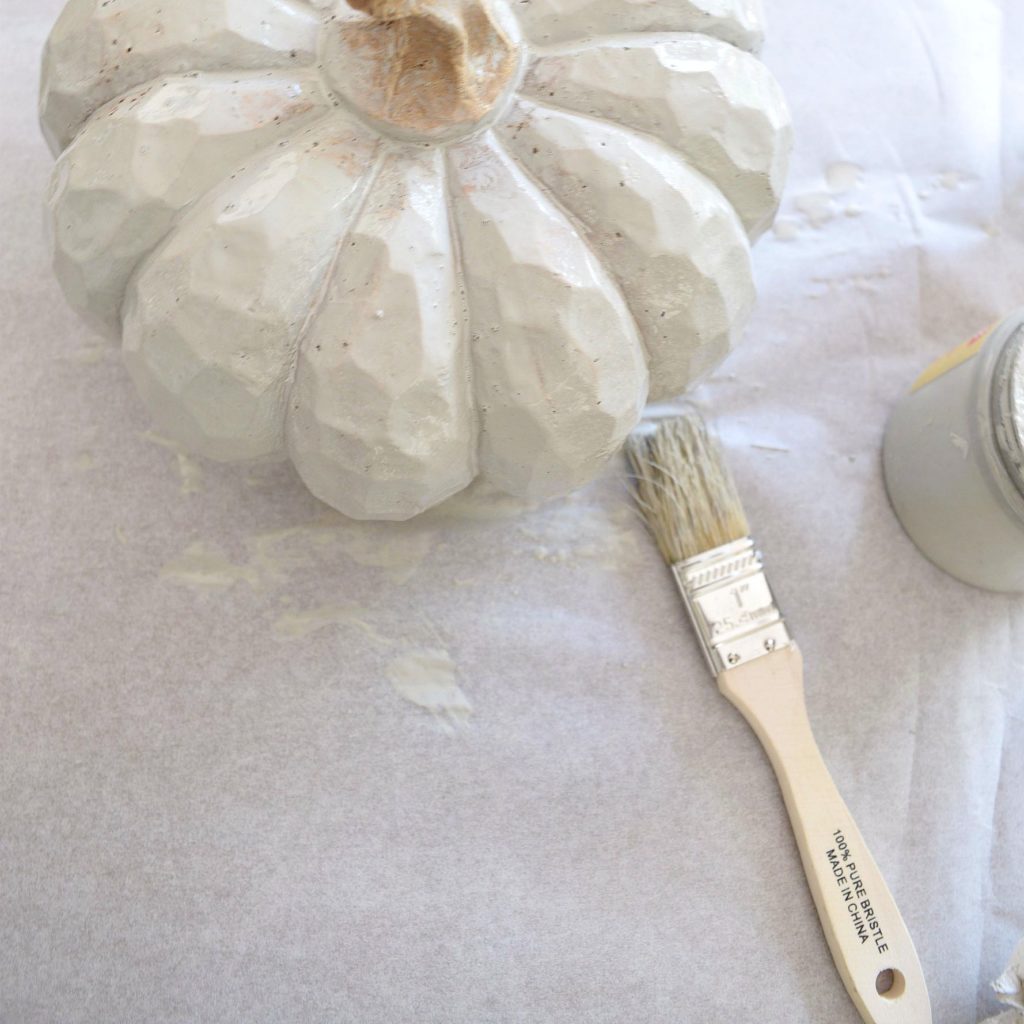
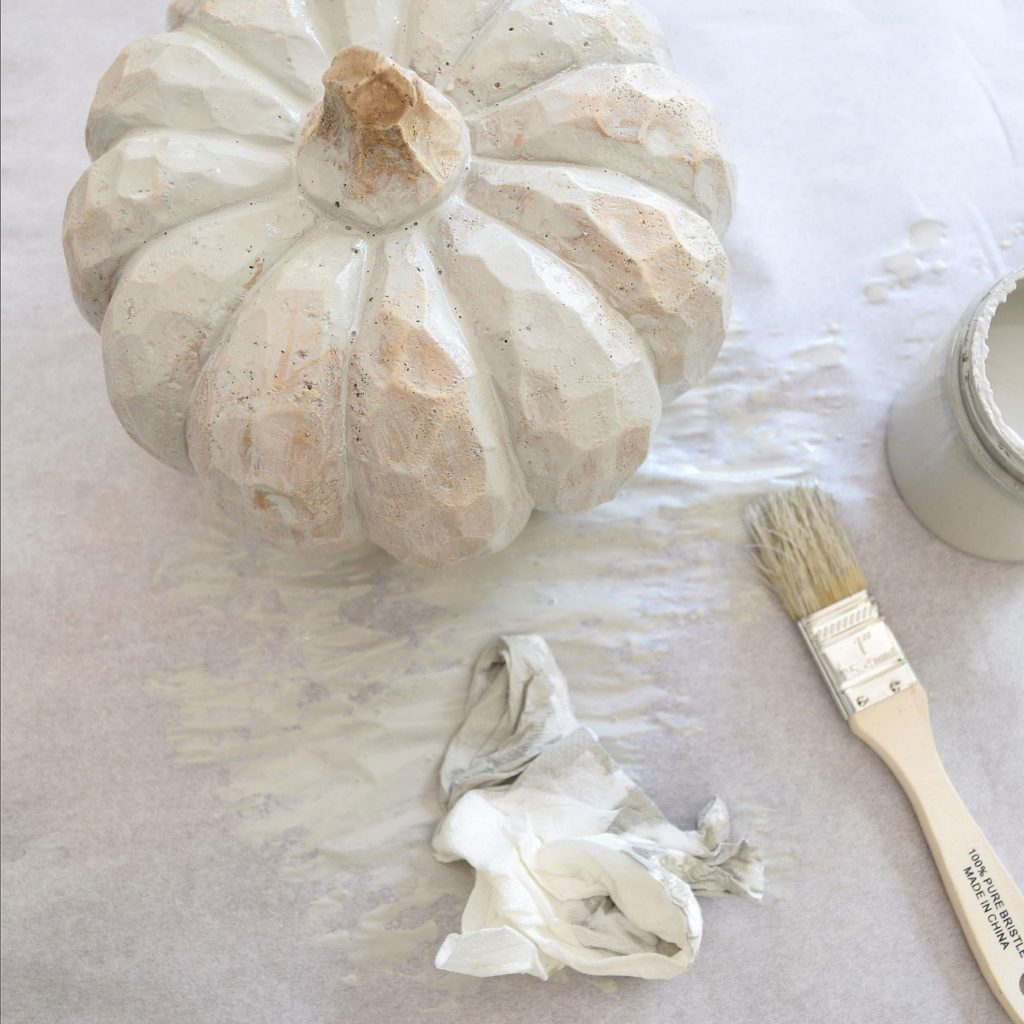
When I finished painting, I decided I wanted my pumpkin to have more of a washed look. To get this, I used a wet paper towel. Rubbing off parts of the chalk paint while it was still wet. Love this look after wiping it off.
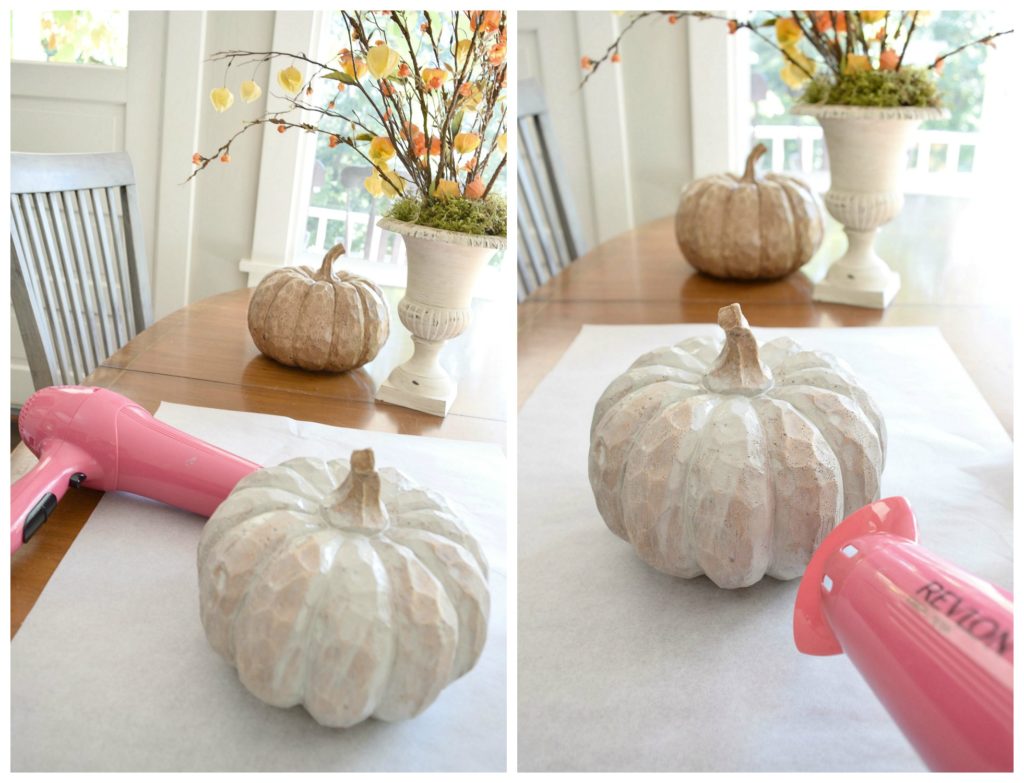
Get to the look you love and let it sit and dry. Unless you’re my type who likes to get things done fast and furious, then you can use a hair dryer. 😉
Chalk Paint Recipe
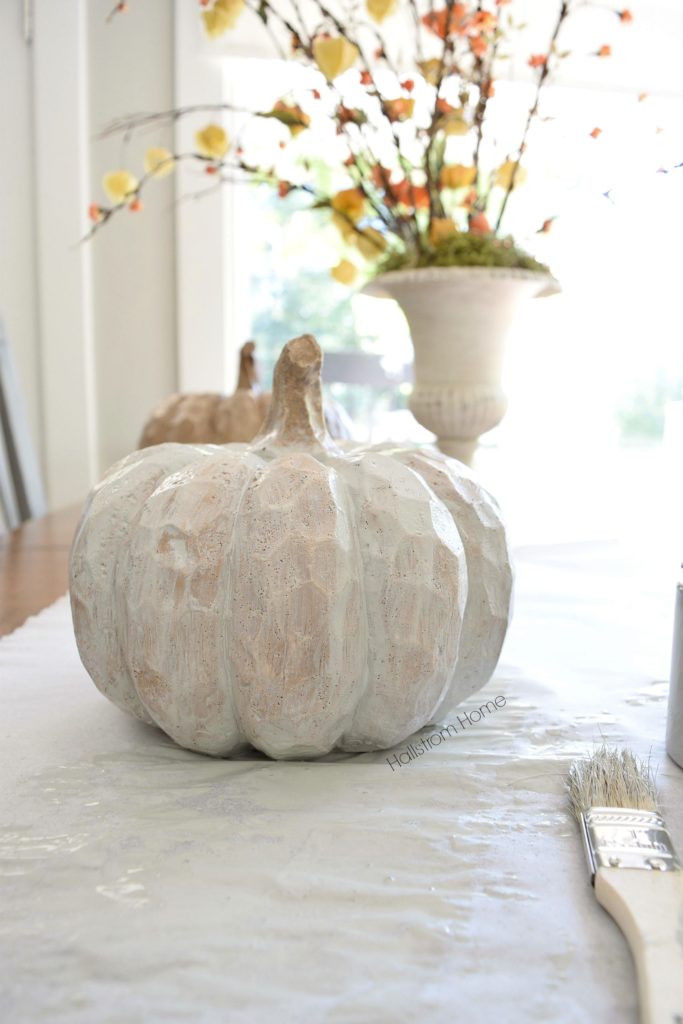
Styling Your Chalk Paint Pumpkins
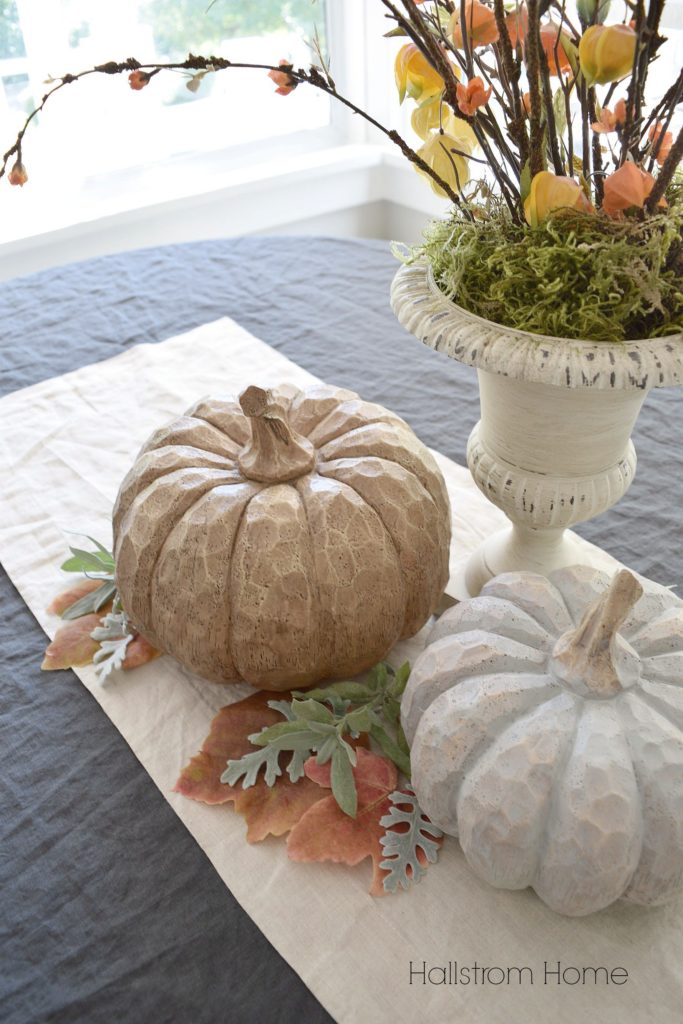
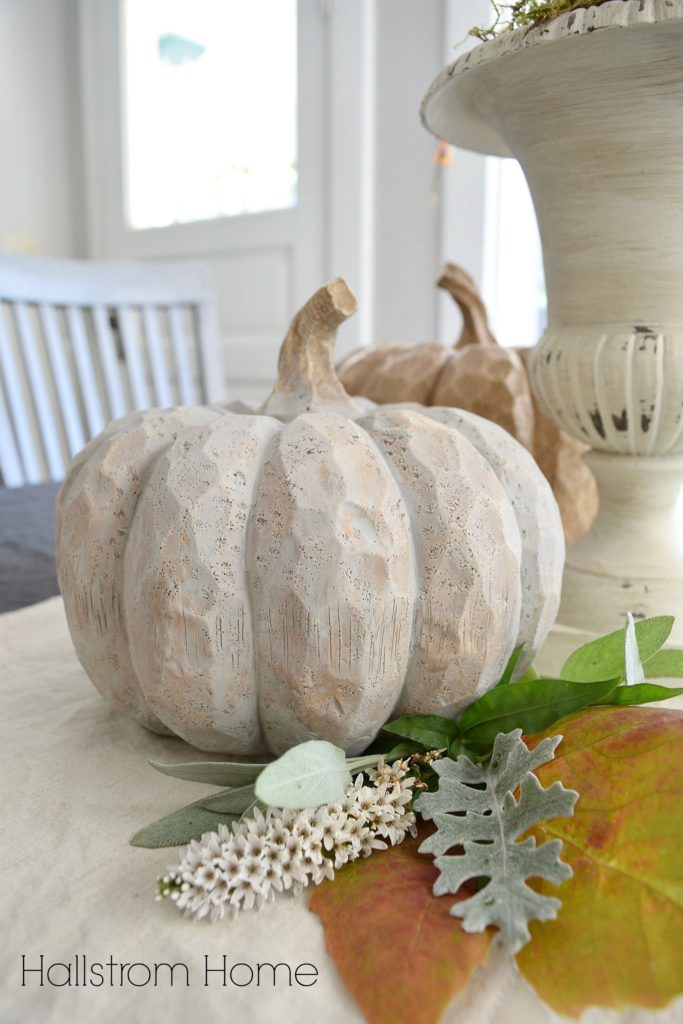
Adding table linens and a few fall leaves completed my tablescape. This was a quick and easy way to give my fall table a beautiful, relaxed look.
SHOP THESE GORGEOUS FALL PUMPKINS and ARRANGEMENTS
Follow our Fall Decor Pinterest board for more fun fall inspiration!
If you’re not into Pinterest, you can follow us on Instagram or Facebook.

 Hey there! I am Rhonda Hallstrom, creator and designer of Hallstrom Home. Making beautiful home decor is my way to inspire you to follow your dreams and amibitions. So come check out my shop and blog, I hope to get to know you. Thanks for stopping by at Hallstrom Home, Rhonda.
Great ideas! Love these chalk painted pumpkins!
Thank you Lorraine!
I love them painted… so much more charming!
Love the recipe and ideas with pumpkins…even real pumpkins… You’really Awesome! Love seeing skipped John jones..on your ig stories…She”s So much fun! The names fits her perfectly! We were just reading all our skip John Jones books.
Beth
It is so easy to do too! We sure do love Skippy.
Thanks Rhonda
I went out looking for pumpkins like the ones you did and I’m not having any luck. I like the wood look, but all i’ve found is the foam ones. Where did you pick the wooden ones up from?
Hi Mom, these are from Home Goods
You make it look so simple. I’m going to go out today and buy a pumpkin and chalk paint it for our new home! Love ya, Mom
Yes, you will love it! It’s so fun.
Love this, I’m always passing up these pumpkins because of their colors. Now I will chalk paint them to fit my home!
Yes, do it!! And you will have to tell me what you think of them!