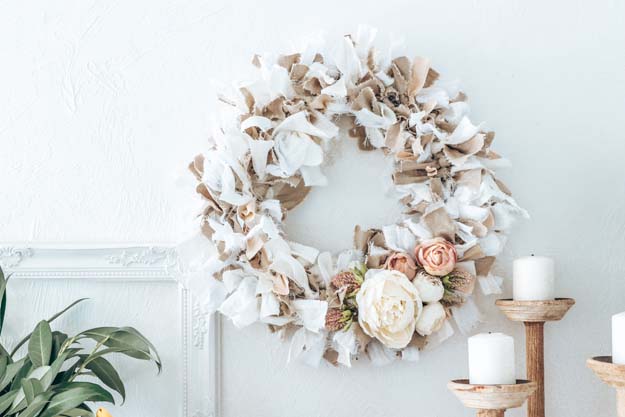
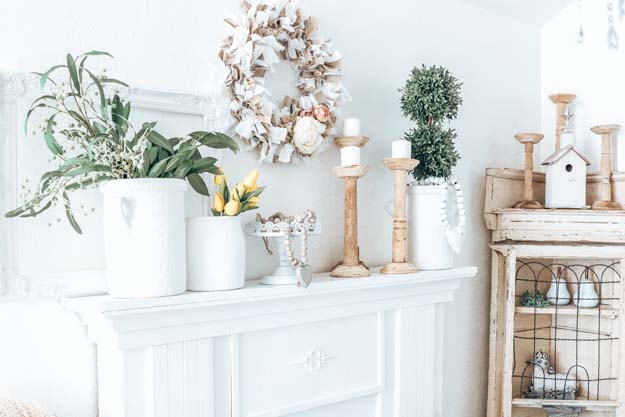
This Fabric Rag Wreath Tutorial is such a fun twist on your typical wreath. It is super easy to create and you can use any fabric you love.
Be sure to sign up for my email to get new recipes, crafts and home ideas in your inbox!
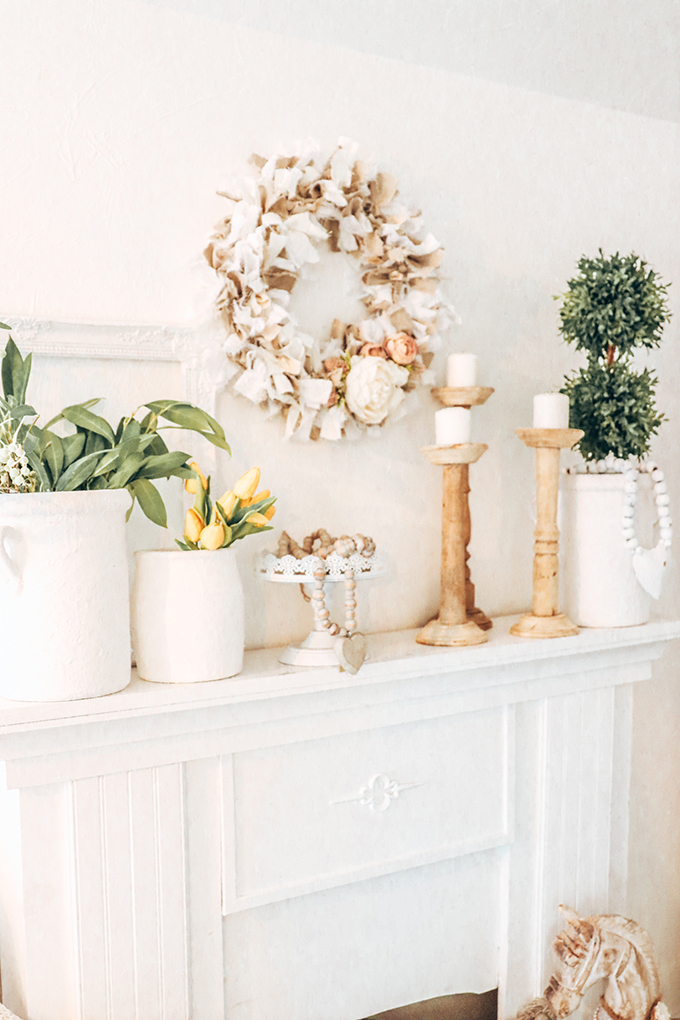
Fabric Rag Wreath Tutorial
Here are the items you’ll need: *this post contains affiliate links*
- 5 yards of Fabric
- 14 inch metal wreath
- Scissors
- Glue Gun
- Faux Florals
You’ll want to start by cutting all your fabric strips. We cut ours about an 1″ wide and about 6-7″ long. We didn’t really do exact measuring, because we like to wing it around here. Nothing is perfection, just have fun with it!
Keep on reading to find many more amazing Spring wreaths!

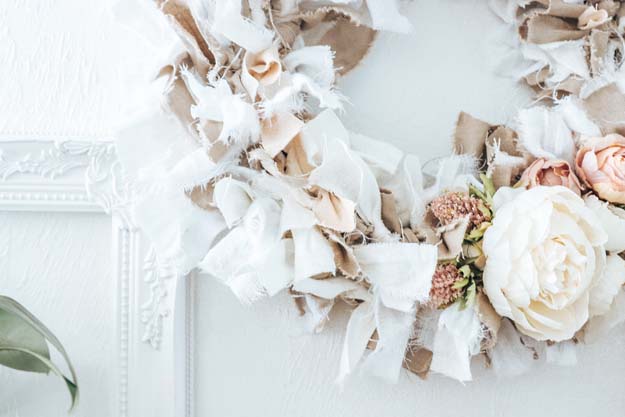
I think linen and cotton would be the best fabric. As linen will hold its shape well and not droop. What I liked about cotton is that it was easy to rip into strips. Now to start tying, get ready for some sore hands. Make sure your metal wreath is bowed upwards when tying. Make sure both ends of the fabric turn upwards.
Tattered Fabric Wreath
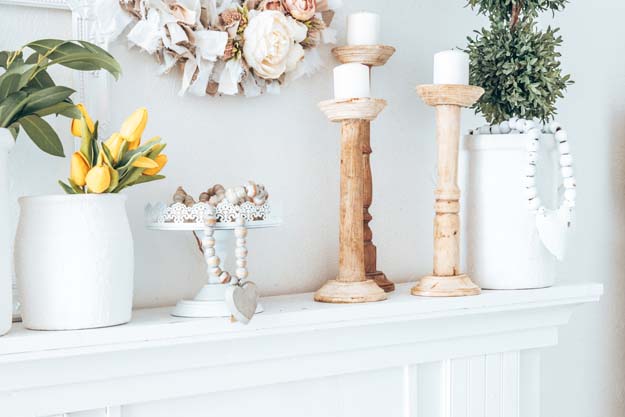
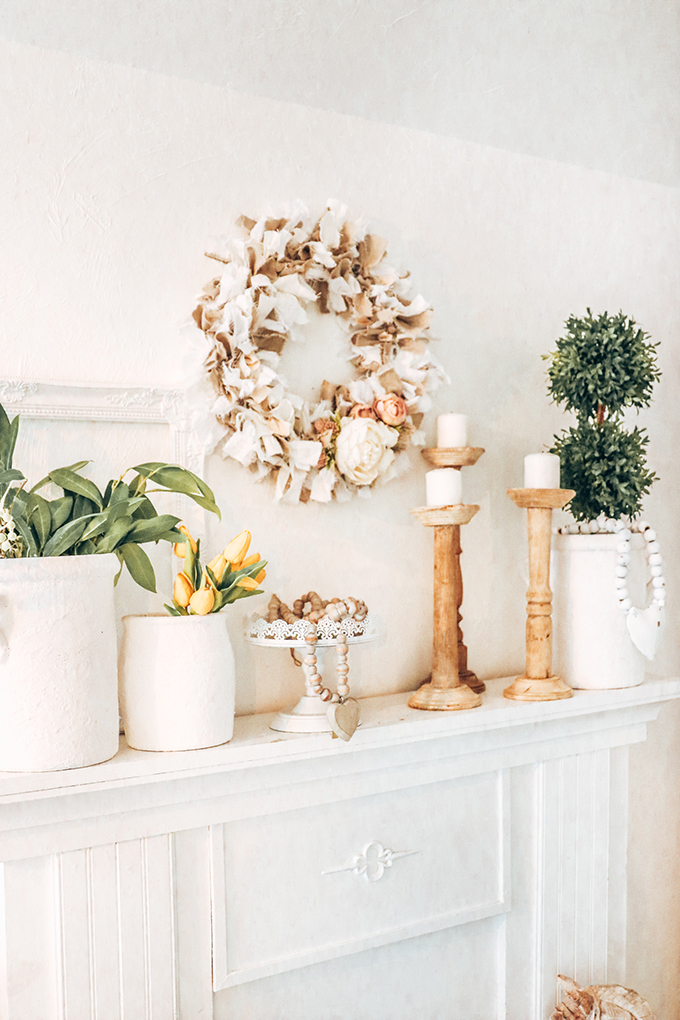
I have made many wreaths that can just about go with anything. What I love about wreaths is that you can customize and change out parts to fit a certain season or style. Part way through tying the fabric on, I would adjust the ends of the fabric so they are upwards. Sometimes they twist around and are on the underneath side.
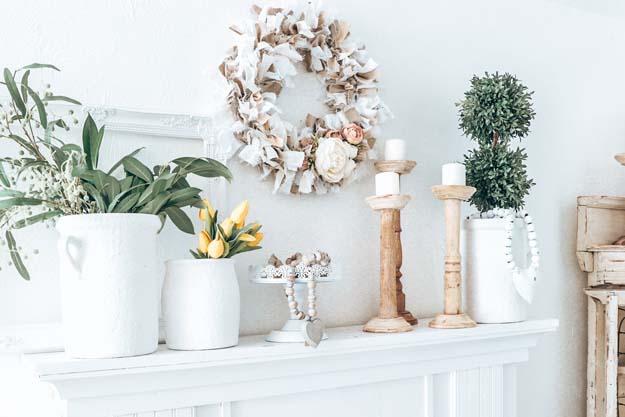
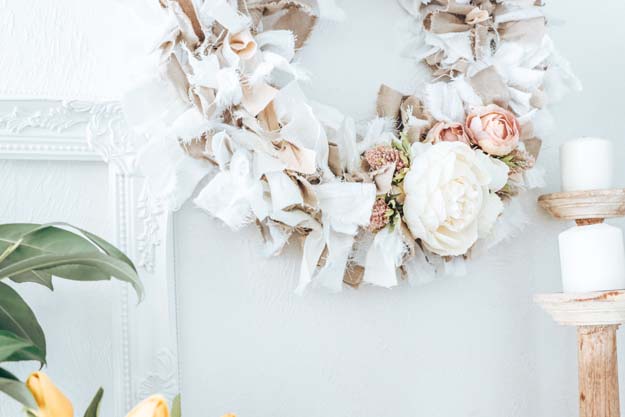
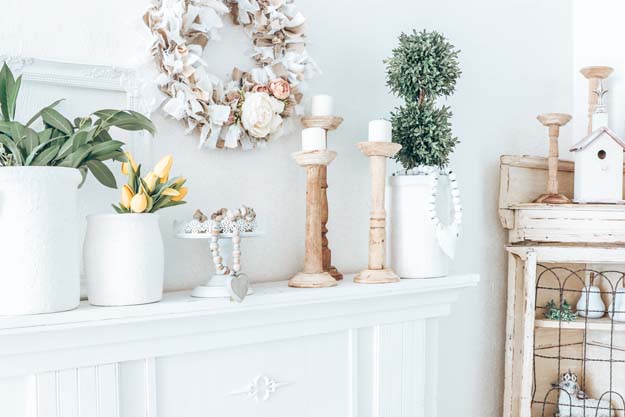
You can keep your wreath simple with just the fabric. But if you know me I love some florals. I simply added on some peonies, ranunculus, and thistles. Just use a hot glue gun to place these or some floral wire.



Be sure to follow me over on Instagram to see all the behind the scenes and craziness that goes on here! If you would like more tips about Etsy, chalk painting, or how to build amazing pieces. Take a look at our ebook page to find all the goodies!
How much material do I need?
For a 14″ frame I would get 5 yards of fabric for the best results. If you get many different materials just split it up evenly between the yards.
Do I have to cut all my strips?
No! Do not do this it will waste a lot of your time. Cut about an 1″ into the fabric and then tear apart. But if you do want a more refined look without fringe. Then I would cut the fabric.
Which kind of fabric would be best?
Linen or cotton would be best. I used a mixture of both.
 Today I’m joined by some of my talented blogging friends who are also sharing their DIY Spring Wreath tutorials with you! Be sure to see what they are sharing (and how they made it!) by clinking the links below the images.

Ombre Tulip Spring & Easter Wreath at The Happy Housie DIY Moss Wreath for Spring at Modern Glam Spring Wreath Basket at Rambling Renovators Woodland Spring Dogwood Wreath at Deeply Southern Home

DIY Spring Hanging Basket at Rooms FOR Rent Spring DIY Faux Fruit Wreath at Zevy Joy Moss and Pussy Willow Wreath at Finding Silver Pennies DIY Unique Spring Wreath at She Gave it a Go

Farmhouse Spring Egg Wreath at Tatertots & Jello Dollar Store Hanging Flower Basket at Craftberry Bush Mushroom Spring Wreath at Life is a Party Rainbow Pom Pom Wreath at Cassie Bustamante

DIY Dollar Tree Lavender Candle Wreath at The DIY Mommy DIY Wood Shim Wreath at My Sweet Savannah Modern Dollar Store DIY Wreath at Lemon Thistle DIY Macrame Rose Spring Wreath at Place of My Taste

Easy DIY Spring Hoop Wreath at Cherished Bliss Fabric Rag Wreath Tutorial at Hallstrom Home DIY Dollar Store Lavender & Lambs Ear Wreath at All Things With Purpose DIY Butterfly Wreath at Paint Me Pink Spring Starburst Forsythia Wreath at Inspiration for Moms


 Hey there! I am Rhonda Hallstrom, creator and designer of Hallstrom Home. Making beautiful home decor is my way to inspire you to follow your dreams and amibitions. So come check out my shop and blog, I hope to get to know you. Thanks for stopping by at Hallstrom Home, Rhonda.
Wreath is super cute but I’d probably rather fly Claire here and have her make it for me 🤣
Well I think she’d be down for that!
This looks like so much fun to make! Thanks for sharing on the blog hop Rhonda.
You’re the best Krista! Thx for all you do
This turned out so pretty Rhonda! Love the flowers you added. xo
Thx Girl! It was a lot of fun to make
what a pretty wreath full of texture!
Thx Cassie!