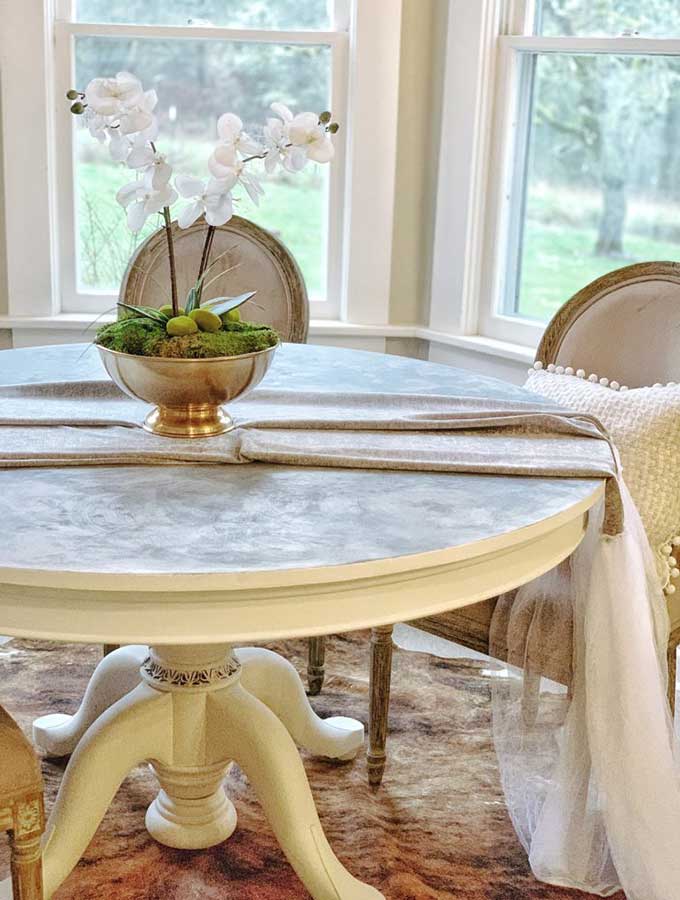
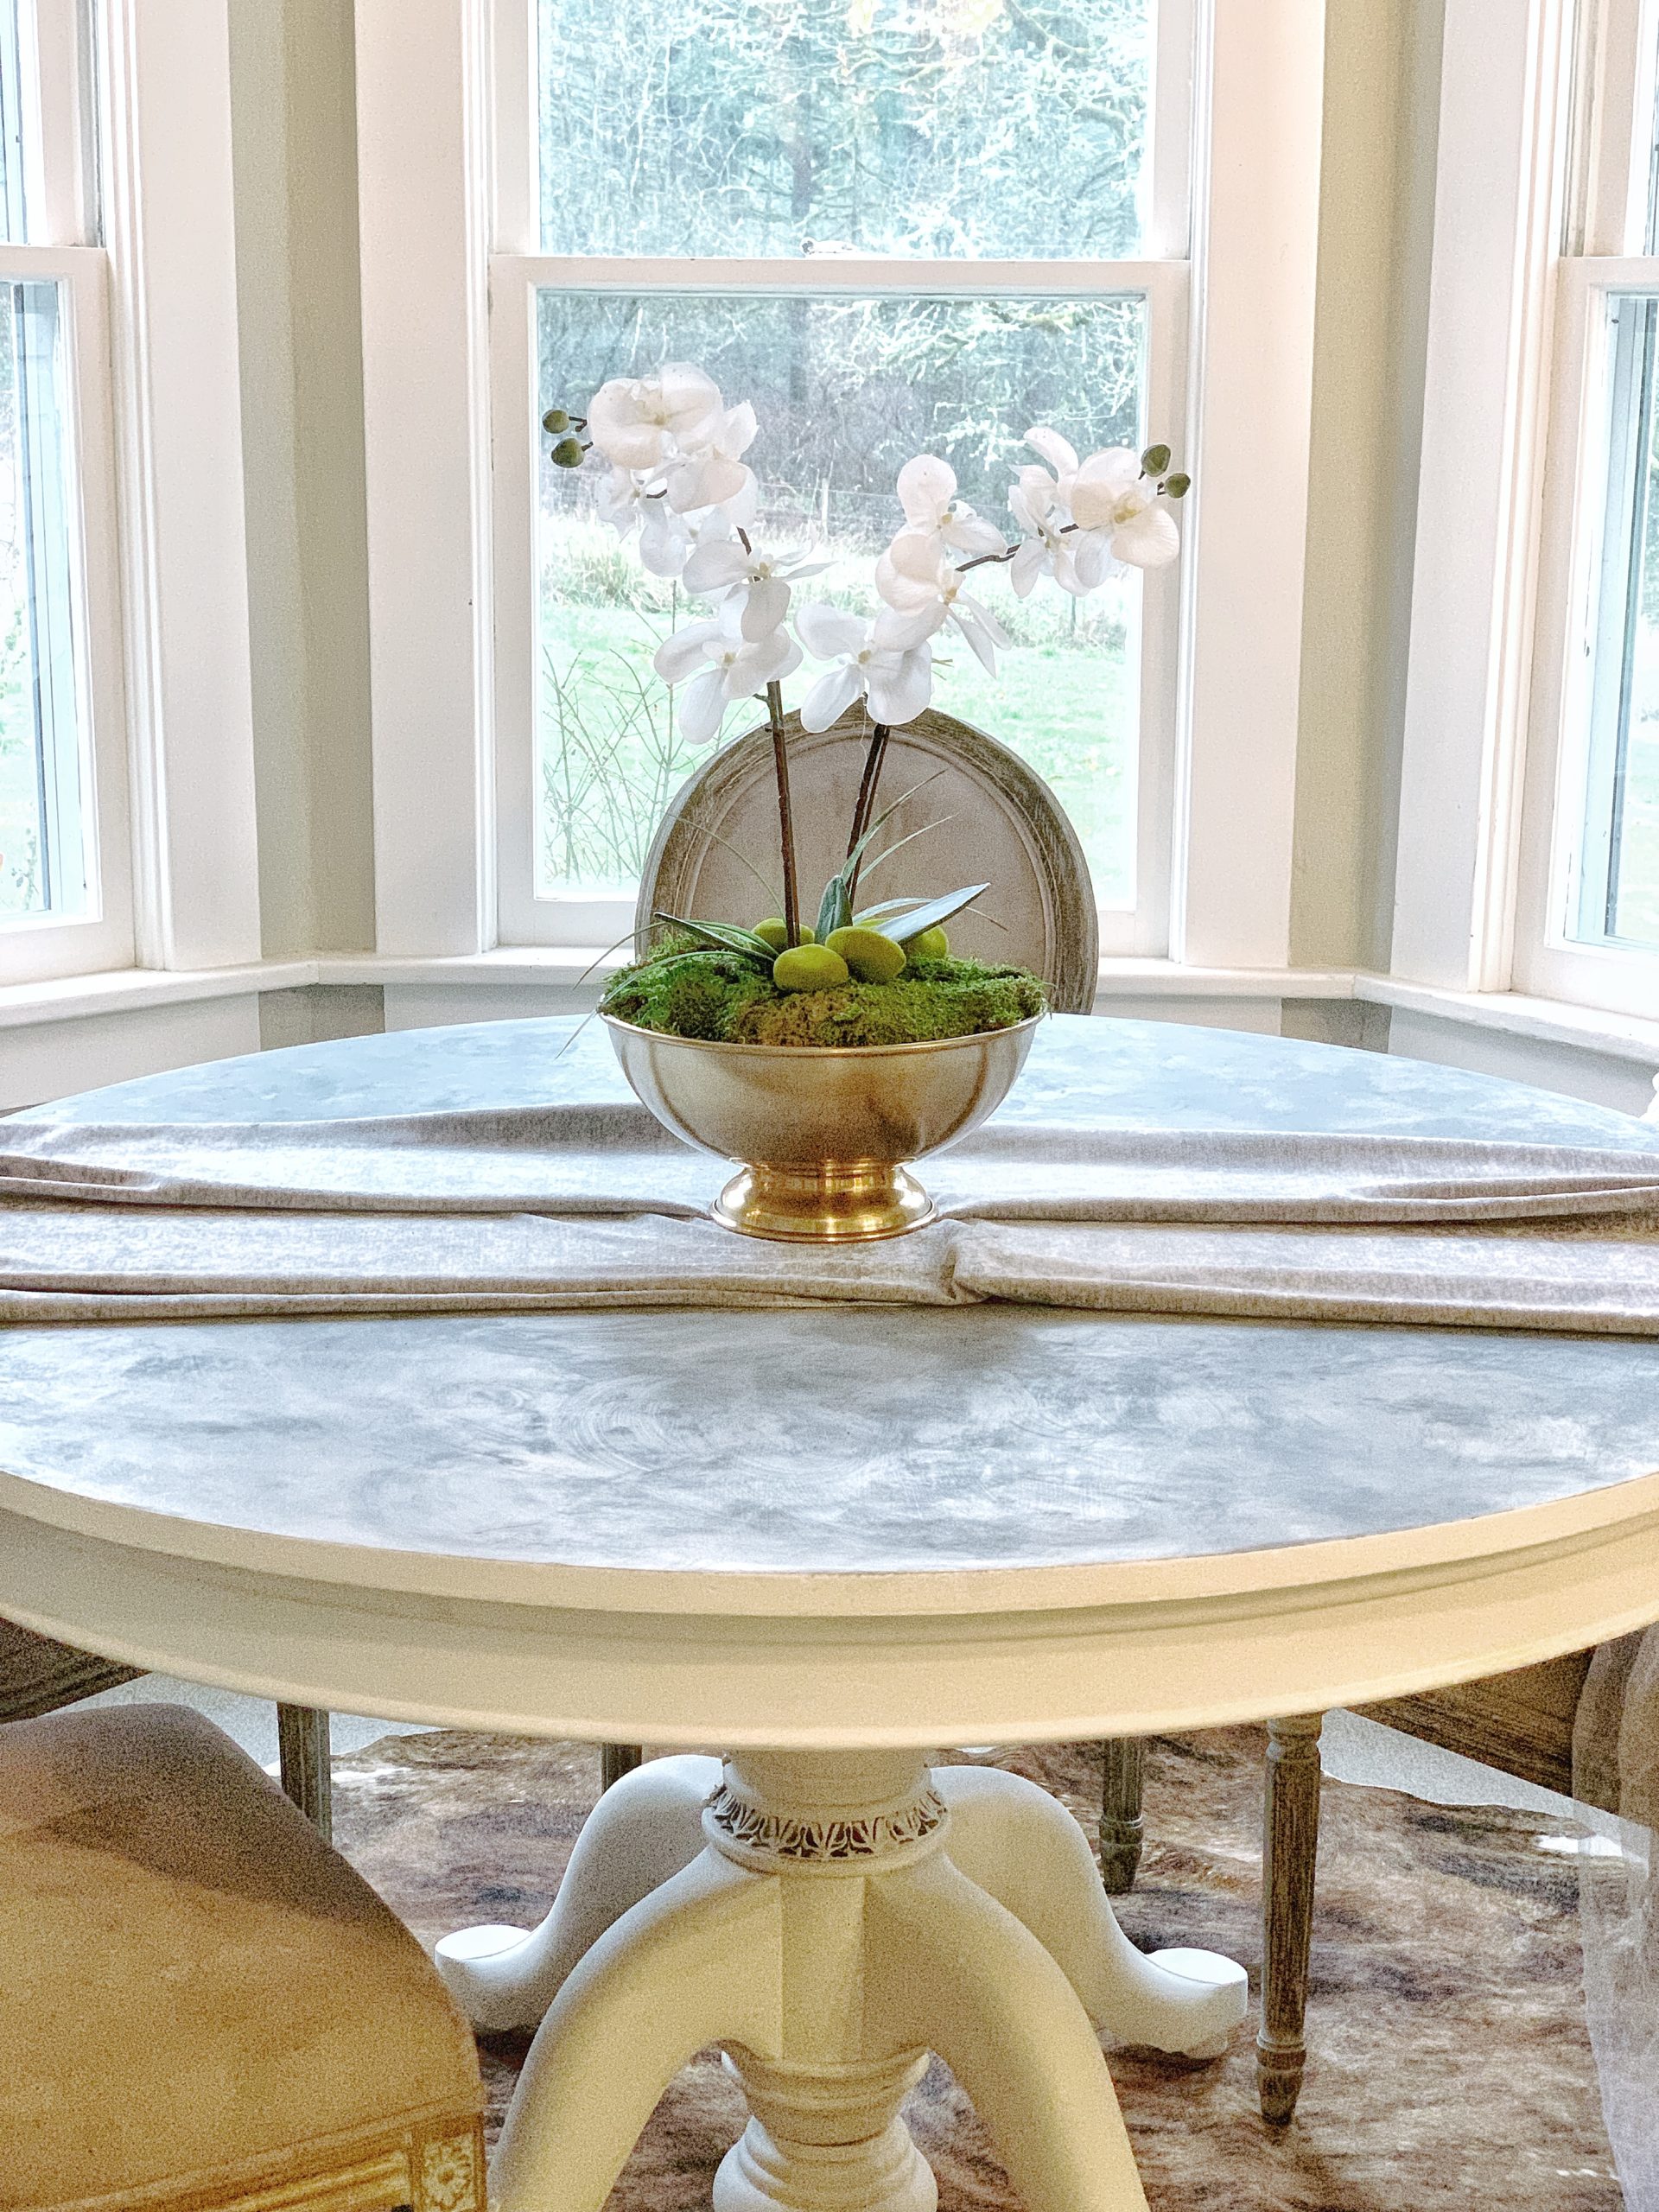
Let me start off by saying this Faux Marble Chalk Painted Table Top Tutorial is a lot easier than you’d think. I actually created this look by accident and now I have requests to do more tables like it. This faux marble tabletop diy, is so simple and a ton of fun. So let’s get started.
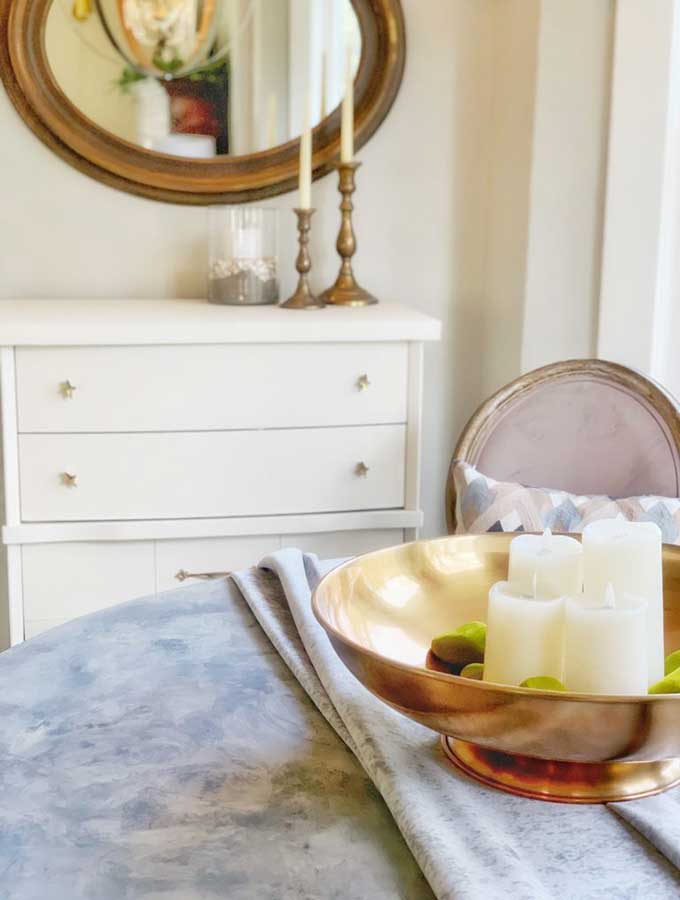
Faux Marble Chalk Painted Table Top Tutorial
There are some important things I’ve learned and I’ll share those with you. I want your faux marble painted tabletop to turn out beautiful and be very easy.
Step 1: I started with an old antique oak table. I lightly sanded it just so my chalk paint would adhere the best. Most any grit will do if it’s around 100. Just don’t apply too much pressure.
Step 2: After sanding I painted the top a classic white, just like the base. I applied a light coat as you’ll be covering most of this white with two colors of grey. I almost forgot to share with you my favorite supplies when painting. This will be really helpful, as it shares the paint brushes, paint, and sander with you.
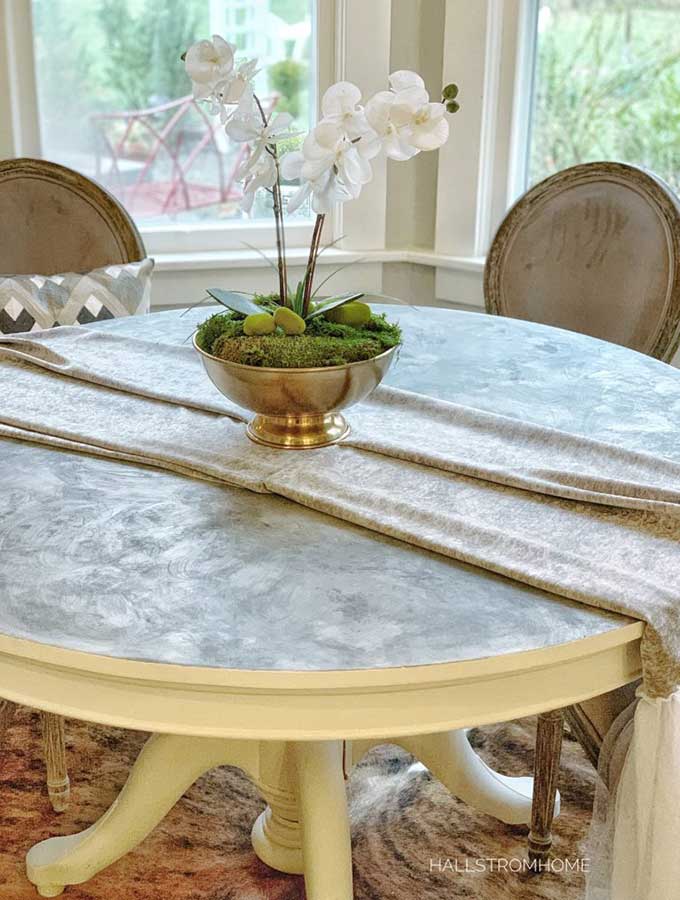
Step 3: Apply a lighter color grey chalk paint on top of your almost dry white painted tabletop. Having the paint slightly wet will come in handy once you get going. If the white is completely dry then you won’t get the mixed look as well. Just spotty wet paint is good. This part is where you’ll grab a soft rag, sock, or tee shirt. Start dabbing the light grey chalk paint on top of your slightly wet paint. Work in small sections so you do’t get overwhelmed. Blend as you go. So dab, swirl and mix with very soft pressure. Once mostly dry then you’ll add the next color. Who knew chalk painting a marble effect could be so easy.
Step 4: Apply a dark grey chalk paint over the mixed grey and white chalk painted table. Again if it’s slightly wet it will be better. This part I watered down my dark grey chalk paint by getting my rag wet and then started to dab and swirl the dark paint on the table. Anywhere that gets thick in color just add a bit of water and blend. You want some dark grey spots to stand out.
Faux Marble Chalk Painted Table Top Tutorial
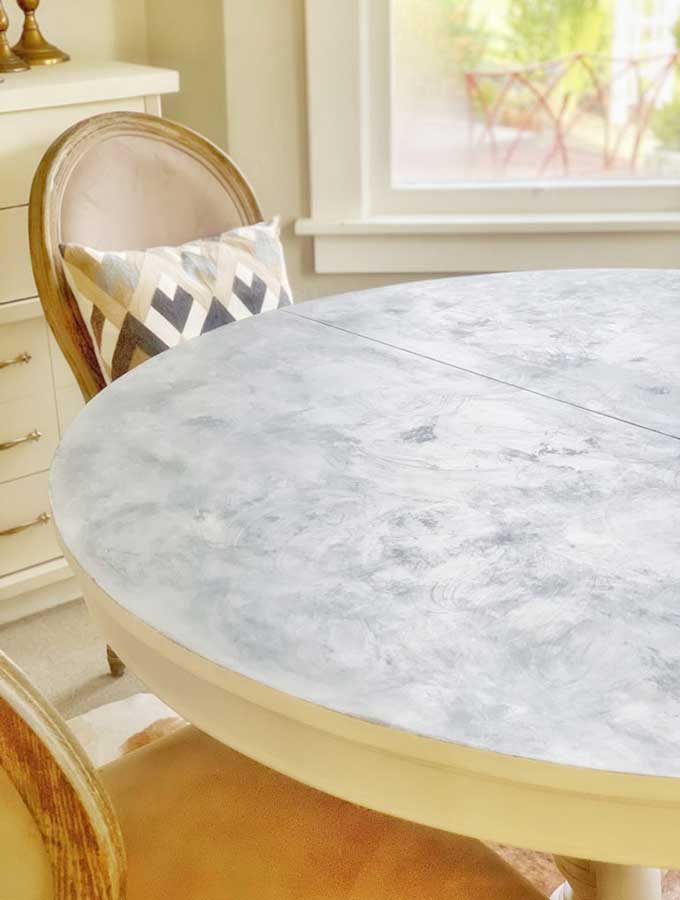
Step 5: Don’t go for perfection. You can overwork your paint, by getting it too smushy. So just work in small sections and blend into the next section. This really is easy and a great way to let your creative juices flow. Don’t be critical or hard on yourself. It’ll look cool once it dries.
Step 6: Repaint if needed. Maybe it’s not really your style after all. You can repaint it with any color after it’s dry.
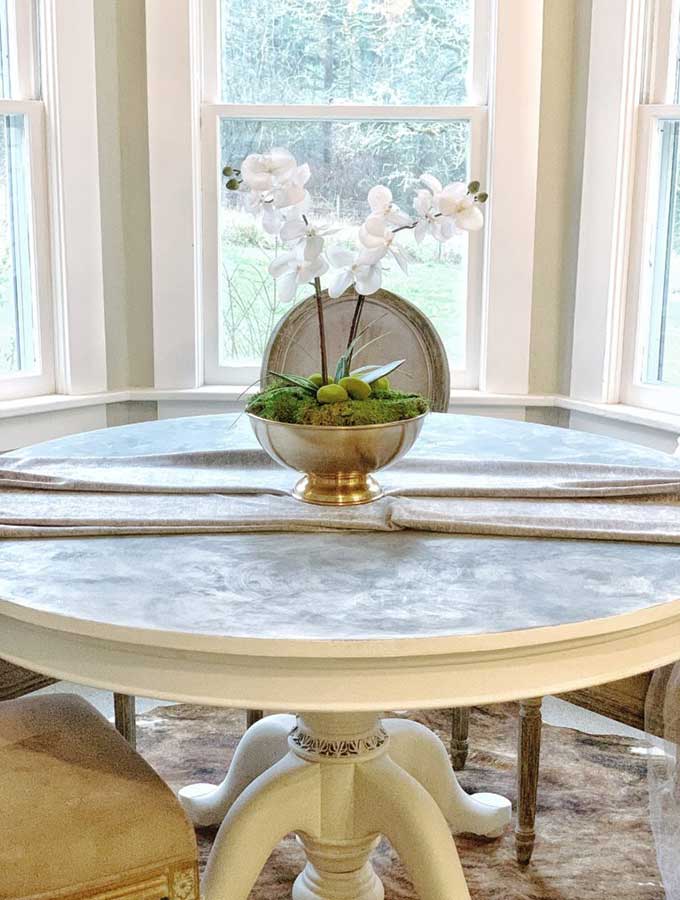
Step 7: Seal your tabletop. This can be done by using a clear wax, poly coating, or other sealer you are comfortable with. I cover the pros and cons of different sealers and chalk paint brands in my chalk painting ebook. This is super helpful when getting started with chalk painting.

Now lets cover some common questions about chalk painting tables.
Does chalk paint work well with kids?
Yes, it may depend on your prep and finish work. If not done correctly you may get scratches, however you can always reapply paint later.
What’s the cure time for chalk paint and wax?
3o days is best for your surface to harden completely. This goes for most any paint so don’t feel discouraged. I’ve honestly used my chalk painted table the same day. The piece can be used gently the same day.
Can I chalk paint the base but stain the top of my table?
Absolutely! It’s all a style preference and a need for durability that you want to consider. I love a beautifully stained table top. I do recommend sealing a stained tabletop for best protection. For this I like a non-yellowing poly acrylic spray. It also comes in a brush on form. Those are included on my paint products page.
I hope you found this helpful. If you have any questions please let me know. I’ll include some other blog posts that may help you in your chalk painting adventure. We have 12 techniques to painting a antique mirrors, how to chippy paint corbels, and so much more!

 Hey there! I am Rhonda Hallstrom, creator and designer of Hallstrom Home. Making beautiful home decor is my way to inspire you to follow your dreams and amibitions. So come check out my shop and blog, I hope to get to know you. Thanks for stopping by at Hallstrom Home, Rhonda.
I want to say thank you so much for showing me on how to paint this beautiful marble design!! you’re the best!!
I want to say thank you so much for showing me on how to paint this beautiful marble design!! you’re the best!!
For the dabbing, what do you find the most effective?
I used a rag, but you could use a sponge. I would swirl it around and then dab lightly just so the marks don’t look like a sponge. A sock would work too
Rhonda, love the way this table turned out! I’m looking forward to trying this one.
-Amy
Thanks Amy! Let me know how it goes!
How small of an area at a time? My table is huge, either going to do a soft grey on top and the chairs white…..or the marbled on top same chairs……I’ve never chalk painted furniture before……
That sounds gorgeous! I would do about 8 inch areas. If you have any questions feel free to ask
I love what you did and I’m going to try it on my small dresser in one of my quest bedrooms. Beautiful job!!
Love ya, Mom
Thanks! That should look great!!
Omg it came out so well!! Thank you for sharing❤️ I think I may have the courage to try this on my “make-shift” kitchen countertop in the mean time of waiting for the real thing!
Yes give it a try! It is a lot of fun to do.
You made it look so easy. Very pretty 💕
It’s so easy! Thank you Kim