Are you ready to update your walls? Yeah, me too I was tired of our blue wallpaper. How to Install Wide Shiplap is super fun and not very hard to give your old walls and amazing look.
Be sure to sign up for my email to get new recipes, crafts and home ideas in your inbox!
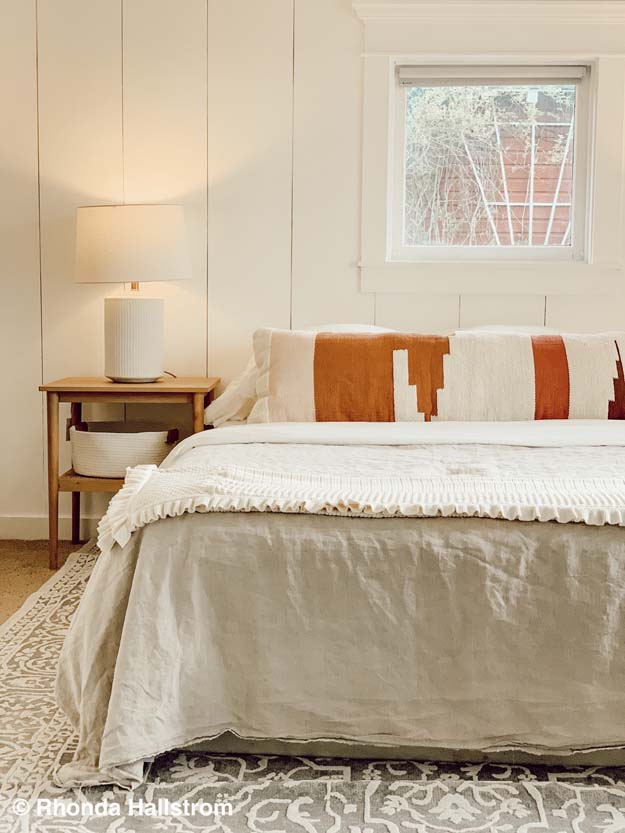
Shiplap is my go to for changing up the space. You just want to make sure you don’t go too overboard with it. Here are the supplies you will need for shiplapping your wall. This post contains affiliate links.
- Plywood
- Construction Adhesive
- Nail gun
- Table Saw
- Jig saw
- Nickel/Penny
- Level
- Putty
- Sander 220 grit
- Paint/Primer
What is shiplap?
It is wooden boards that’s are often used for constructing sheds, barns, and other rustic buildings. Traditional shiplap has a groove cut into the top and bottom, it allows the pieces to fit together snugly, forming a seal. This also gives shiplap its distinctive appearance, with subtle space between each piece. But a budget friendly way to get a similar look is to use a thin plywood.
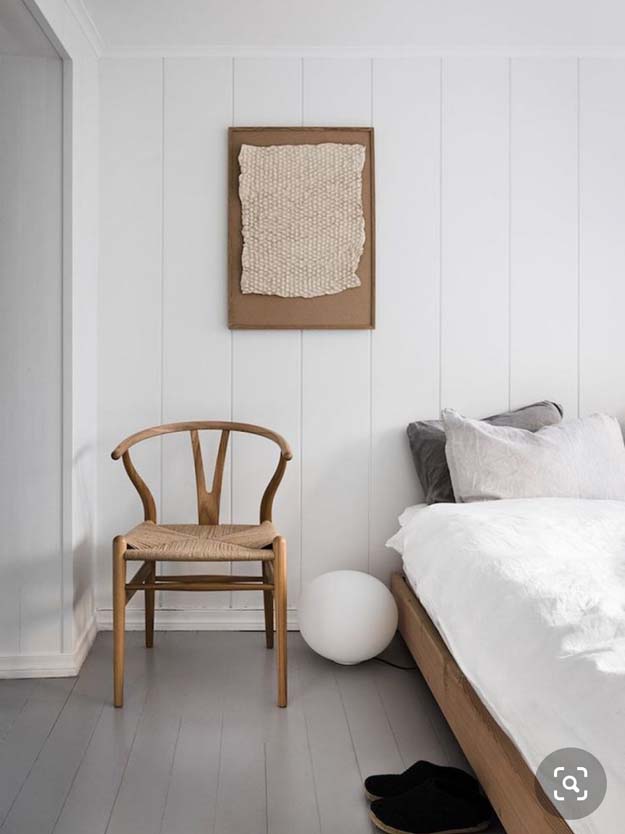
This was my inspiration above. Once I saw this I knew I wanted vertical wide shiplap. I’ll help you out on which direction you should go.
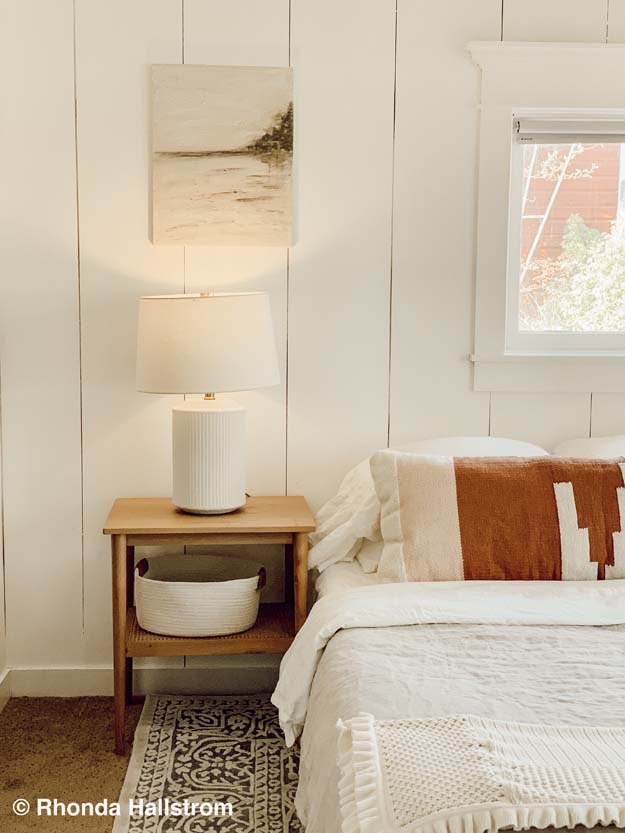
How to Install Wide Shiplap
You will want to start by deciding if you want your shiplap vertical or horizontal. I have done shiplap horizontal and thin before. I really liked it, yet we definitely winged it. This time I wanted to do a different take on it. So you pretty much have to decide what look you like. What one catches your attention the most? Go with that!
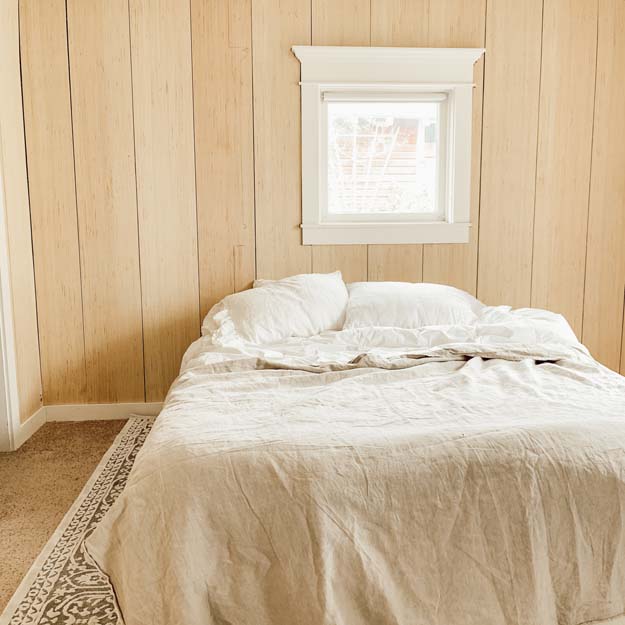
To start you will want to paint the wall the color you want the shiplap. But if you are painting white I have a great tip! Don’t paint the wall first. After you hang your shiplap you can get white primer and prime the gaps. But we’ll get to that later.

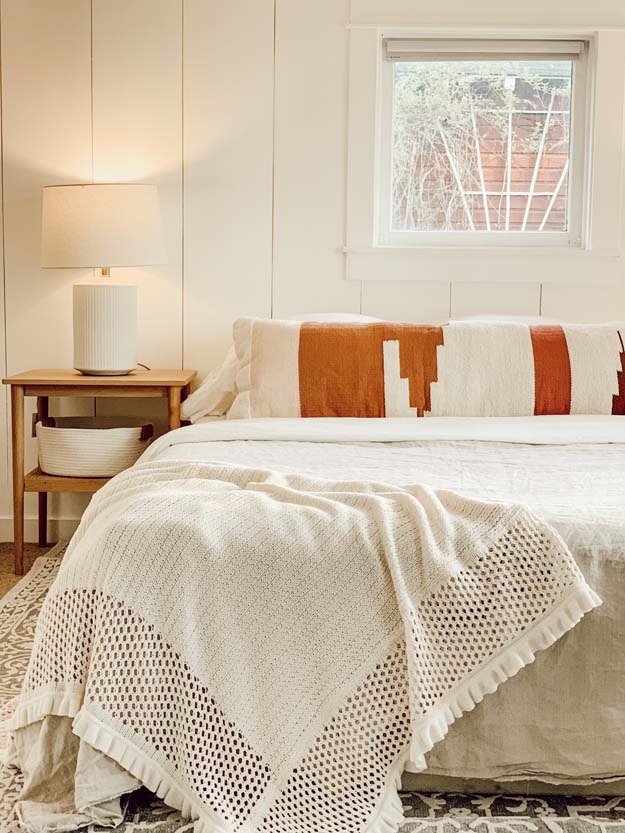
How wide should I make my shiplap?
So I went with 9″ wide shiplap for this look, we just bought the plywood and cut it on the table saw at home. But if you don’t have a saw available the hardware store can cut it for you. If you go horizontal you might want those staggered lines. So I highly recommend getting some sort of saw to cut those lengths at home.
Here’s an easy way to figure out the width of each plank. Measure the height and width of the wall and then draw it out on a piece of paper. This will help you figure out how many wood planks you will need and what size will work best so you can use up all the wood with no scrap leftover. You will also want to get time pieces to make clean lines at the top and bottom of your wall.
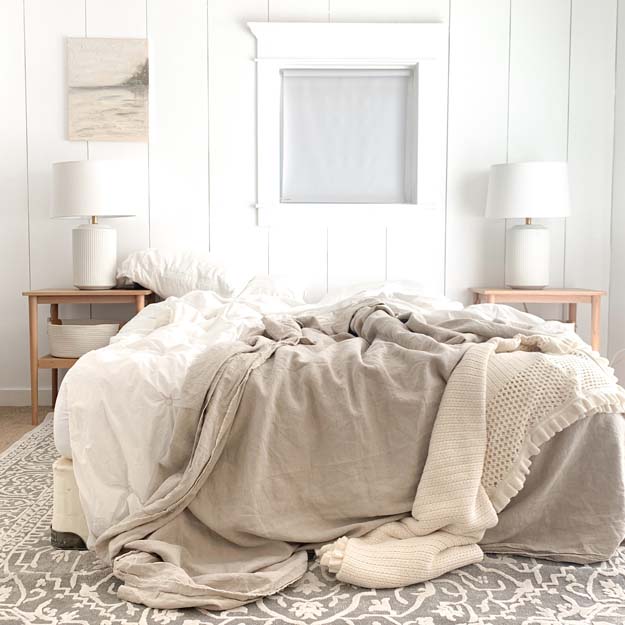
How to hang shiplap?
I start by sanding the edges of the boards because after they run through the saw the edges are a bit rough. It is nice to have couple people doing this job, it just makes it a little easier. Before I hung each board I dabbed a little construction adhesive on each piece. Once in position you can use a level to be sure each board it level. Then take the nail gun and nail each board a few times. Once you have hung your first board you will want to use a nickel or penny to use a spacer.
This is some wall art I created with plaster and paint. It was so much fun and it ended up looking perfect in my room.

How to Install Wide Shiplap
You repeat that until all the boards are hung. Then add your trim pieces to give it a finished looked. Time to putty the nail holes. You can use a putty knife or your fingers, you just go to each hole and fill it. Give that a few hours to dry and go back over with your sanding block and sand until smooth.
How to paint shiplap?
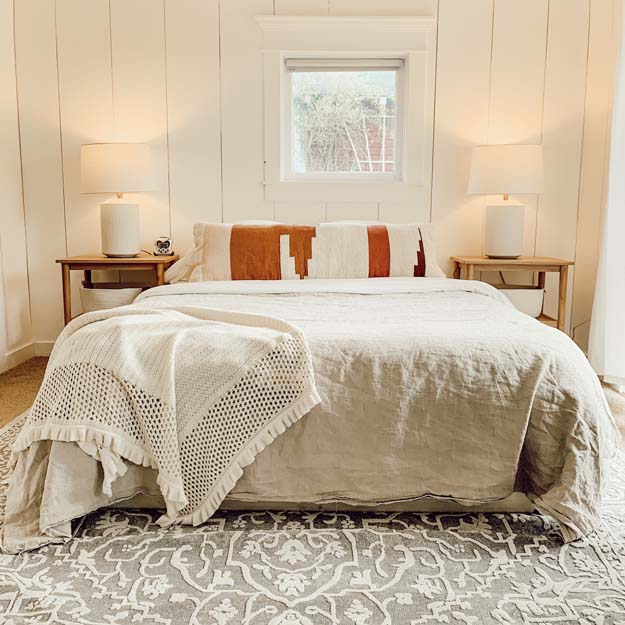
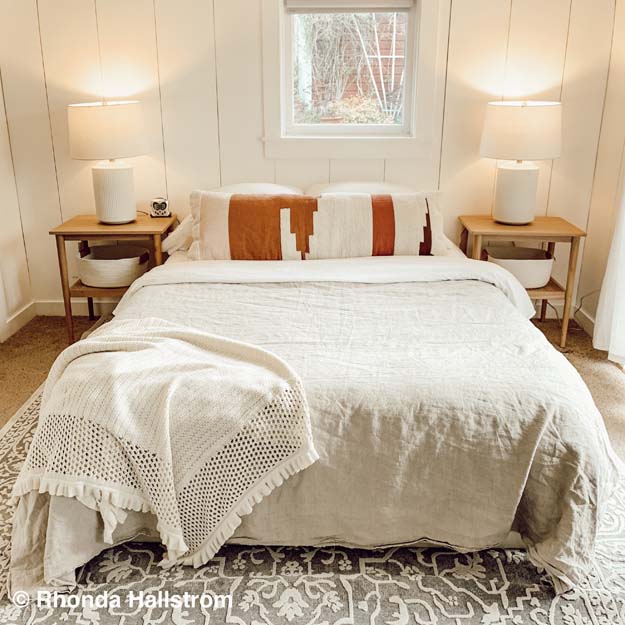
So if you are painting it white my special tip was tip prime the cracks, I promise that will save you so much time. Once you give the primer a couple hours to dry you can start the painting process. I went with Dixie Belle Fluff, but you can definitely go with a wall paint. If you need more ideas on your home decor pillows we have the best trending pillows!
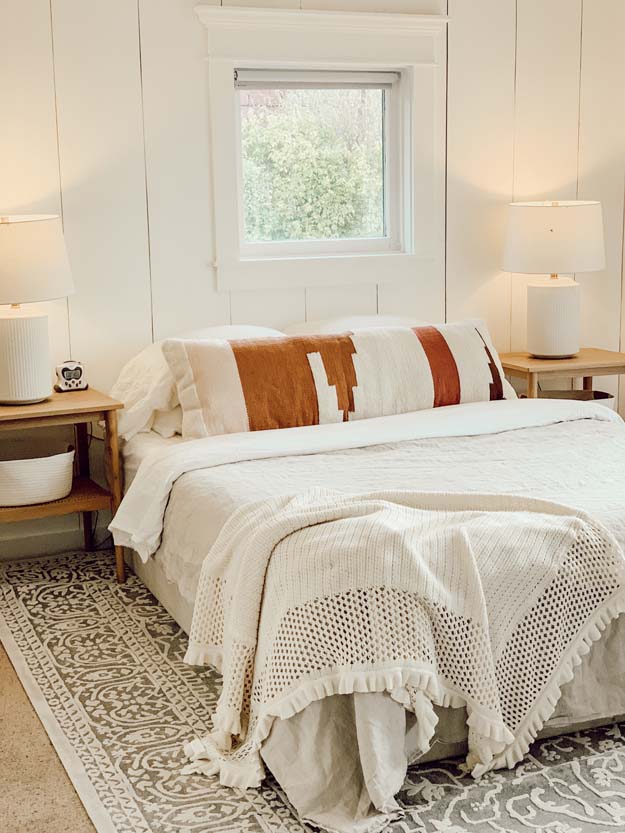
There it is you have shiplap! So fun and such a great accent to your home.


 Hey there! I am Rhonda Hallstrom, creator and designer of Hallstrom Home. Making beautiful home decor is my way to inspire you to follow your dreams and amibitions. So come check out my shop and blog, I hope to get to know you. Thanks for stopping by at Hallstrom Home, Rhonda.
Any recommendation for type of nails to use if using a hammer / nails instead of a nail gun? Thank you!
If you’ve got pretty good glue on your boards I would just use a small zinc plated wire nail.
Rhonda
beautiful job. I love the picture you did…true artistry!
Well thanks mom!
I love the new look of your room!
Thank you Shelley!
Yes! I want to do this.🤍
It would look so great!
Love the wide shiplap!
Thanks girl!
I am in love with this new look!! So stunning!!
I’m so happy I went for it!