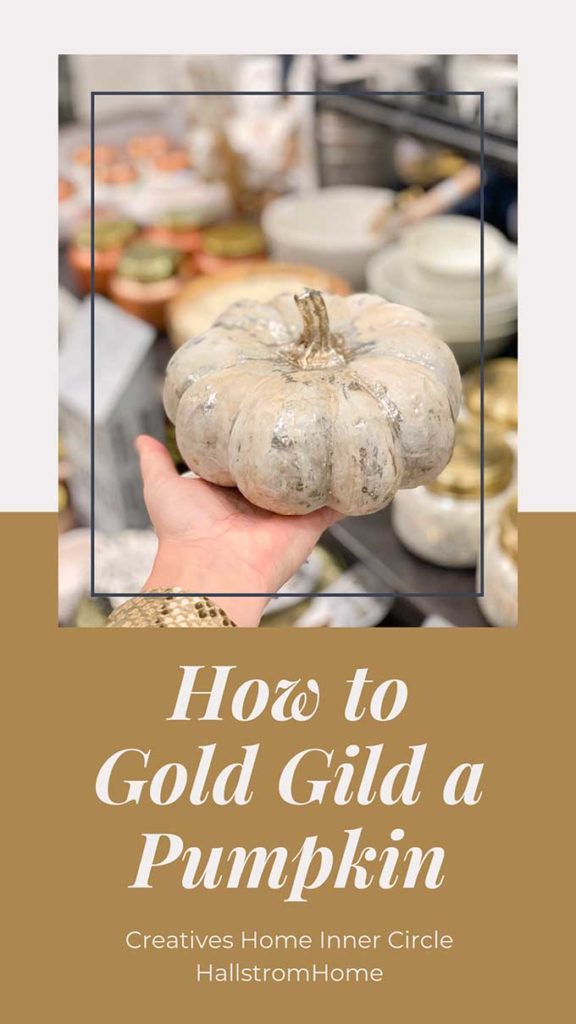
Save your pumpkin carving skills for the turkey, here we are going to do a pumpkin craft that limits our mess and makes life beautiful. No more soggy, moldy pumpkins on your mantle. Yes, that happened to me. To get started you can purchase a faux pumpkin and add gold leafing to it or you can chalk paint a pumpkin like we did and then add gold leafing. This is an easy Pumpkin Crafts-How to Make Gold Leaf Pumpkins, with all the supplies you’ll need. At the end of the post there is a list of pumpkin crafts that other bloggers are sharing, so be sure to stay till the end!
Be sure to sign up for my email to get new recipes, crafts and home ideas in your inbox!
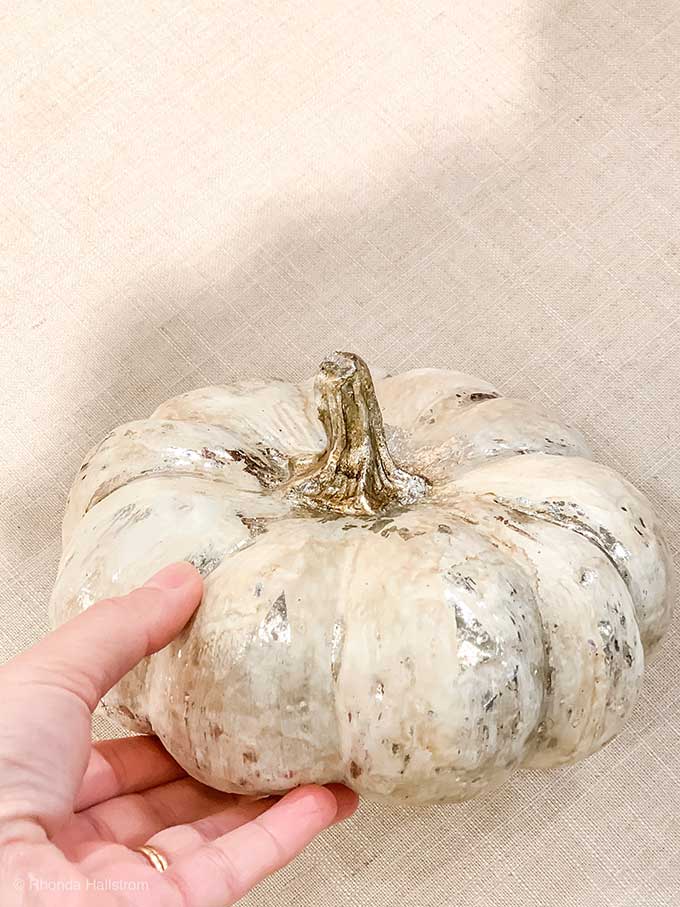
Pumpkin Crafts-How to Make Gold Leaf Pumpkins
Pumpkin crafts are so much fun! When gold leafing there are a few ways you can do it, I will share with you my favorite way to do it. I will also answer a few commonly asked questions below.
Applying the Adhesive
When applying the adhesive you only want to paint on the adhesive where you want to gold to stick. So for this look, I just dabbed on adhesive in random little spots. Once you apply the adhesive where you want the gold to stick, you want it to dry for about 30 minutes.
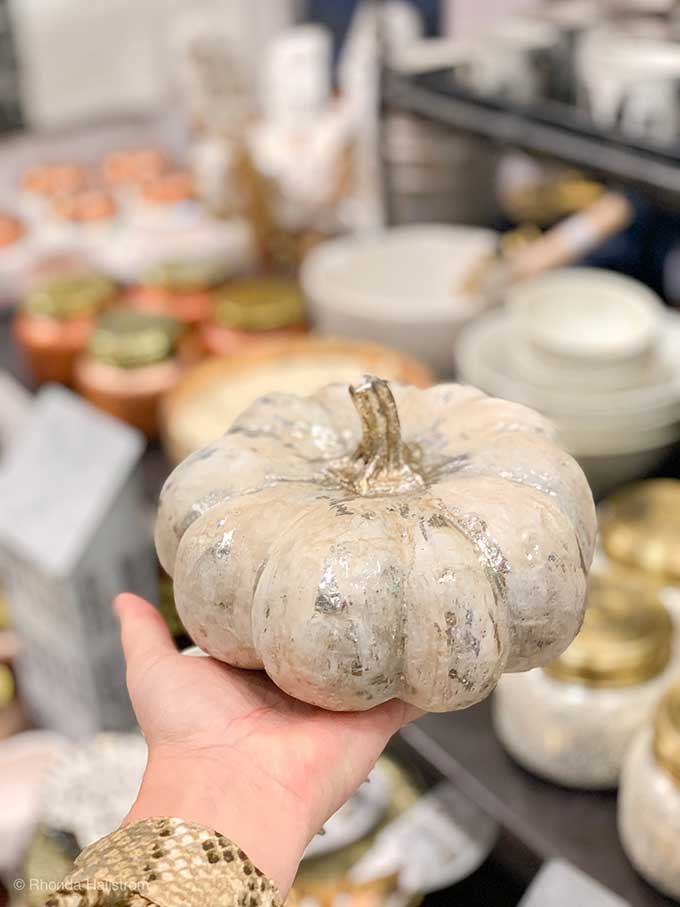
Adding the gold leafing
I like to use gold leafing that is in a roll. It is much easier for me to use, but there is also gold leaf sheets which work just as good! To begin you gently lay the roll or sheet onto the areas that you applied adhesive. The gold will stick to the adhesive, then with a dry brush you rub on the gold for better adhesion. The brush will help take off the extra gold.
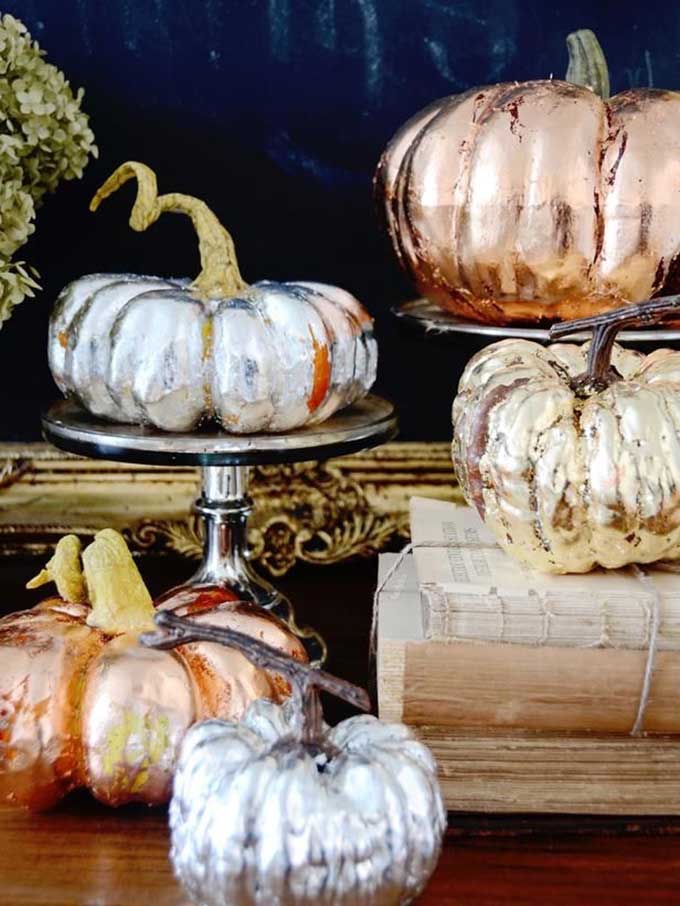
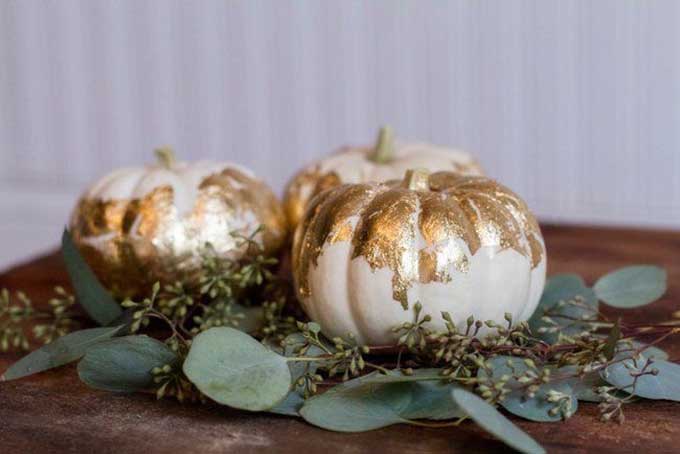
Above is some inspiration. I love the rough look of the fully gilded pumpkin. They are so cute! The gold and white ones are the perfect soft touch of gold. Ok if you want to get a little creepy for Halloween I have a creepy Halloween wreath.
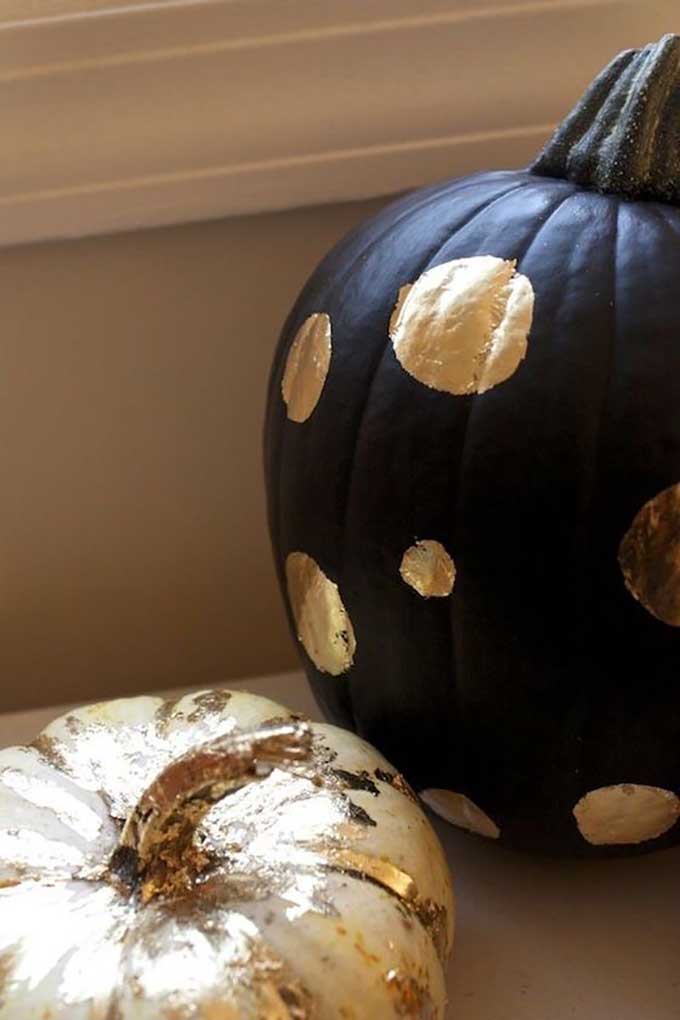
Polka Dot Pumpkin
It you don’t like the colors of your pumpkins, you can chalk paint it then add on your gold leafing. So for gold leafing polka dots you can apply your adhesive in the little circles and follow the steps above. But another option is to use gold leaf paint. With a round foam brush, dip it into the gold leafing and apply it to your pumpkin. Another fun diy pumpkin craft is making a pumpkin floral table centerpiece.
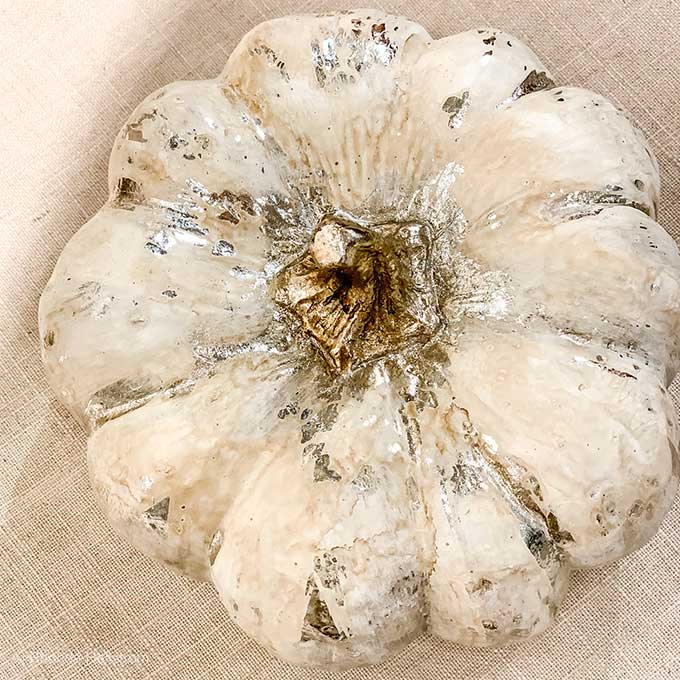
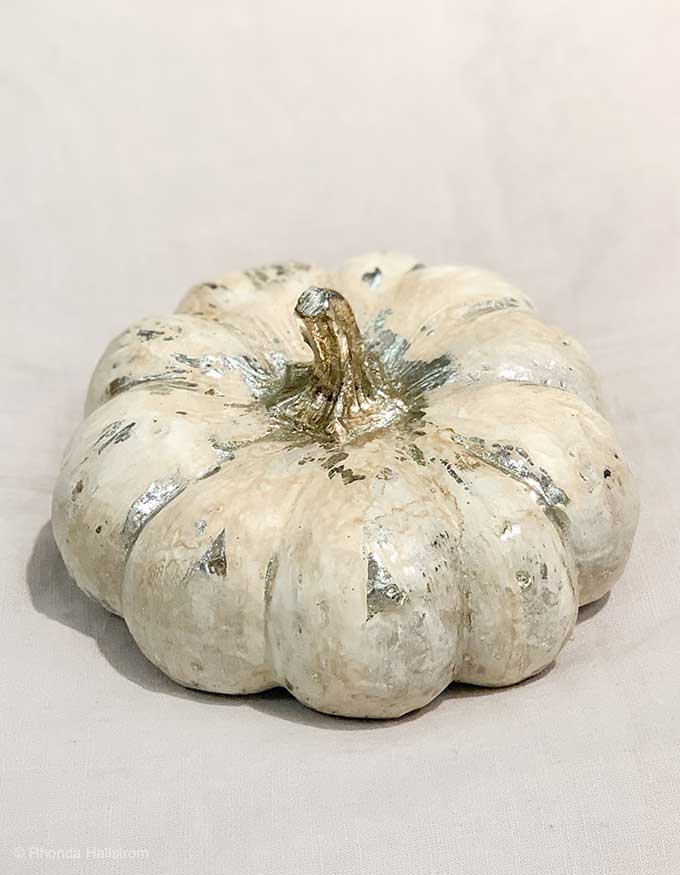
Do you have to seal your pumpkin?
You actually don’t have to seal you gold leaf pumpkin. If you are gilding furniture or something that is going to be in high traffic and getting touched I would seal it. If you are going to seal it I would seal it with a clear poly acrylic.
Can I use this same technique on furniture?
Yes you can. Just do the same steps as above, but once again if it is going to get high traffic I would seal it.
Below are my friend’s decorating pumpkin ideas! Take a look at them for some great inspiration.

Pumpkin Decorating Ideas | Modern Glam
Decorating Pumpkin Ideas | Happy Happy Nester
Fall Pumpkins | Pink Peppermint Design
Vinyl Decals | Twelve on Main
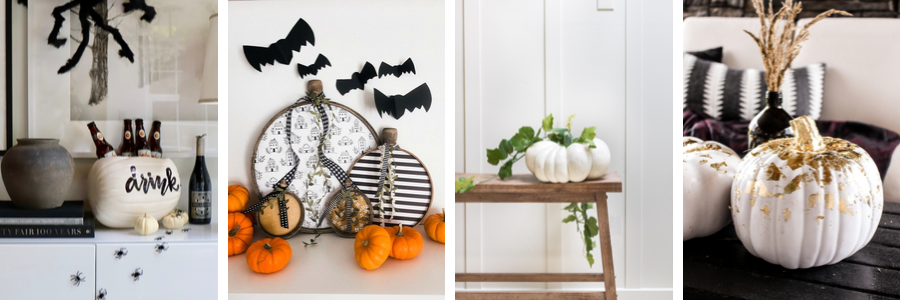
DIY Pumpkin Beverage Chiller | My Sweet Savannah
Embroidery Hoop Farmhouse Pumpkins | Tatertots and Jello
DIY Pumpkin Patch | Zevy Joy
Gold Leaf Pumpkins | Taryn Whiteaker Designs
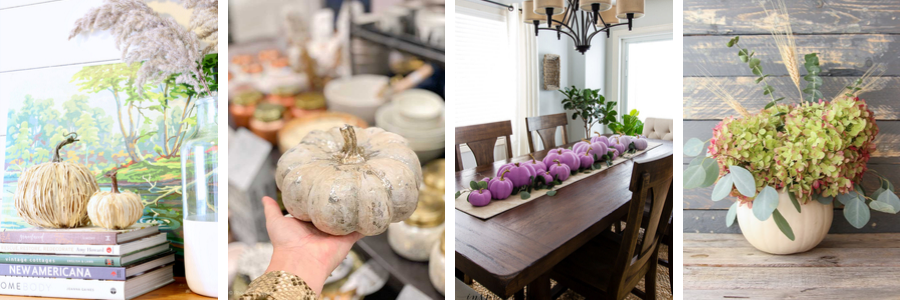
Raffia Pumpkins | The Tattered Pew
How to Make Gold Leaf Pumpkins | Hallstrom Home
Ombre Painted Pumpkins | Inspiration for Moms
Ways to Decorate with Pumpkins | The Happy Housie
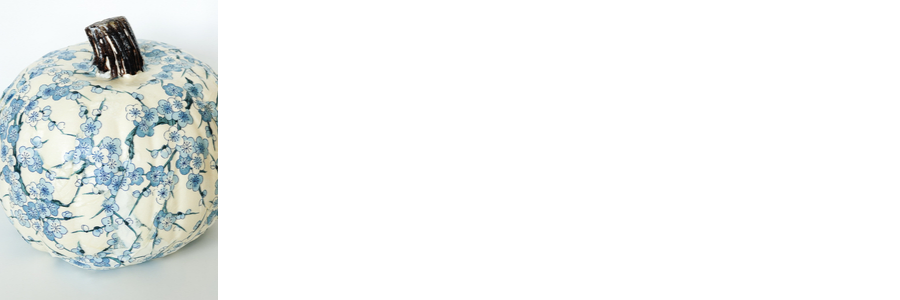
Tissue Paper Pumpkin | Sincerely, Sara D


 Hey there! I am Rhonda Hallstrom, creator and designer of Hallstrom Home. Making beautiful home decor is my way to inspire you to follow your dreams and amibitions. So come check out my shop and blog, I hope to get to know you. Thanks for stopping by at Hallstrom Home, Rhonda.
Idk how I missed this! I love the gilded punkins ❤️ Definitely going on my list for next year.
Gilded are so fun! Sounds perfect!
These turned out so pretty! I want to try this for sure!
Thank you Kelly! They add such an elegant look to a pumpkin.
Absolutely gorgeous, Rhonda! I have to try this!
Thx Krista! It is so easy