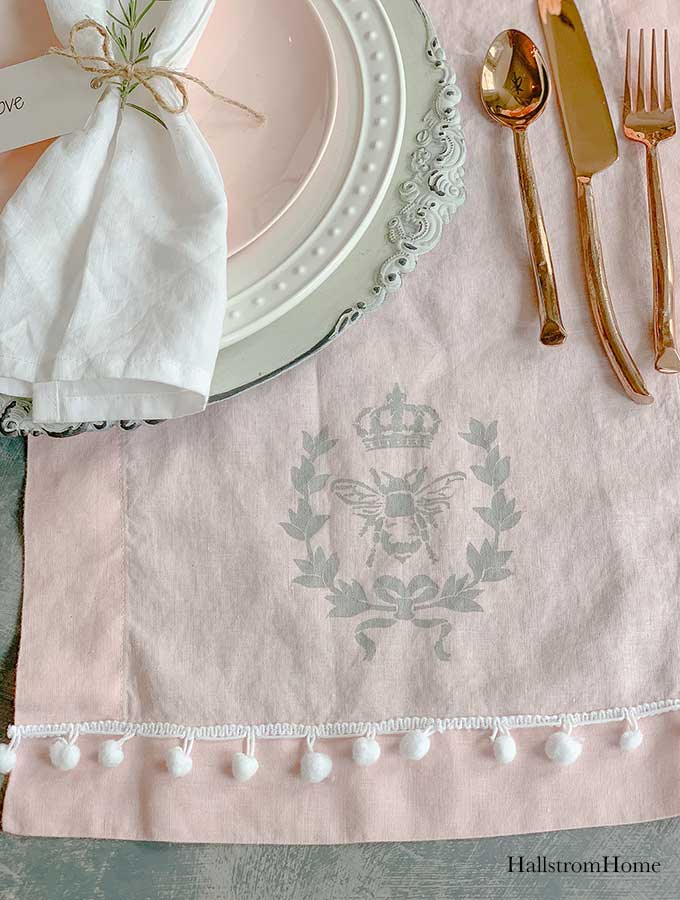
A group of us bloggers have gotten together to create a craft with 3 ingredients using Paint, Fabric and Trim. We have lots of options in this post as well as our own creation on how to stencil a tea towel with chalk paint. Now lets get started with this easy craft. It would be great for gift giving or to set the stage for French country decor.
Be sure to sign up for my email to get new recipes, crafts and home ideas in your inbox!
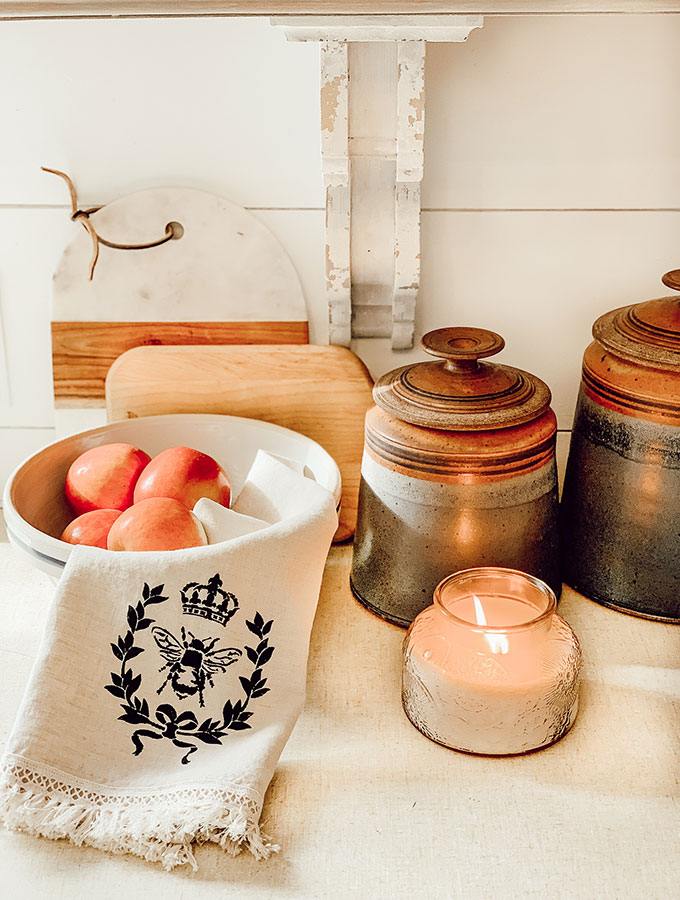
How to Stencil Tea Towel with Chalk Paint
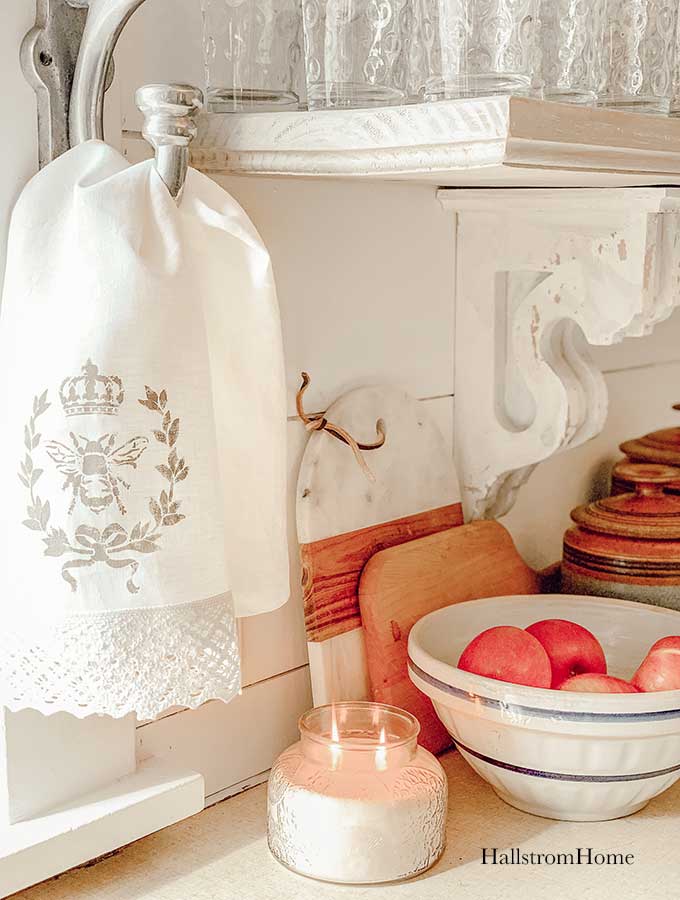
For these 3 ingredient crafts you have to get pretty creative and that’s what I love about it. I stenciled a linen tea towel and added some fringe because who doesn’t love a little fringe! But let me tell you the stenciling was not the easiest thing to do. I will also share with you some important tips at the bottom of this post, so keep reading.
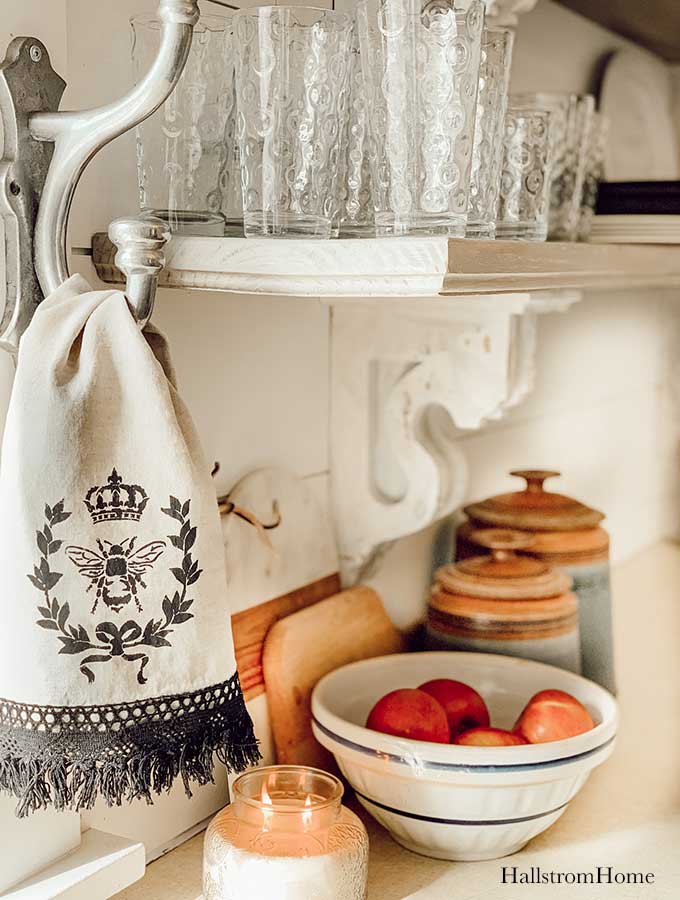
I honestly love how these turned! They are very French and perfect for a touch of farmhouse. I tried different colors and different styles of trim as well as a grey chalk paint and a black chalk paint by Dixie Bell. I think I like the black chalk paint the best for this style.
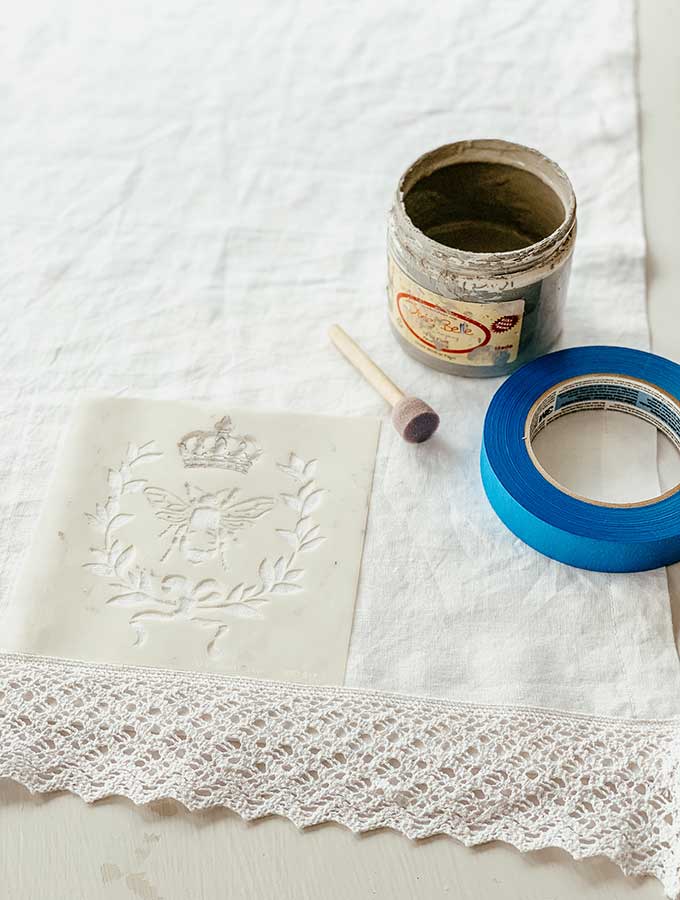
Here is a list of the supplies I used:
Dixie Belle Chalk Paint in the colors of Mason Dixon Gray and Caviar.
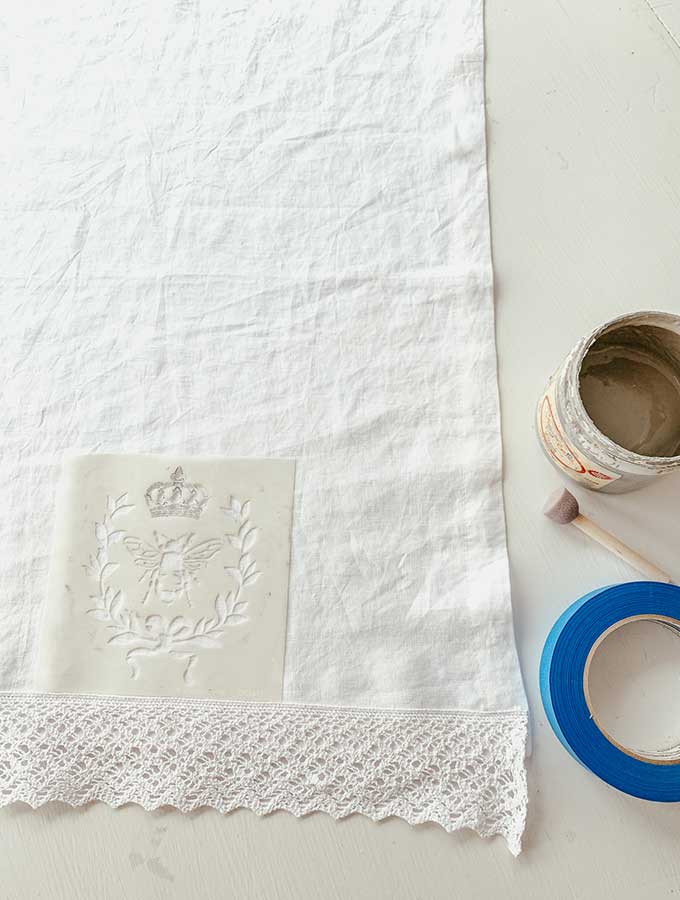
The first step is sewing on your fringe. You don’t have to sew if you don’t want to. Hot glue will keep your trim on as well. I found and personally use a commercial hot glue gun. It gets very hot and once your materials are put together, they wont come off. Even after years of washing. I will include the hot glue gun I use at the bottom. I happened to use linen for this project, but any fabric will do.
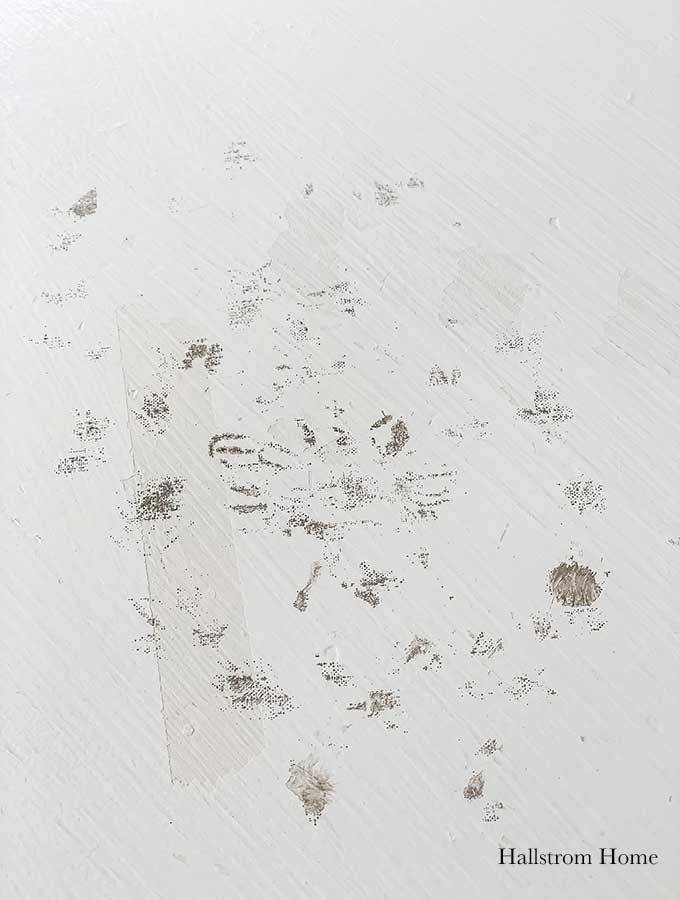
Now time for the stencil. I am going to be completely honest here, there were some mistakes made in this process. To begin start by placing a piece of paper underneath your towel. Otherwise you’re going to get some bleeding. Above is what happened to me when I did not use paper underneath. It was totally fine, as I just wiped it off. That’s real life over here on the crusty farmhouse.
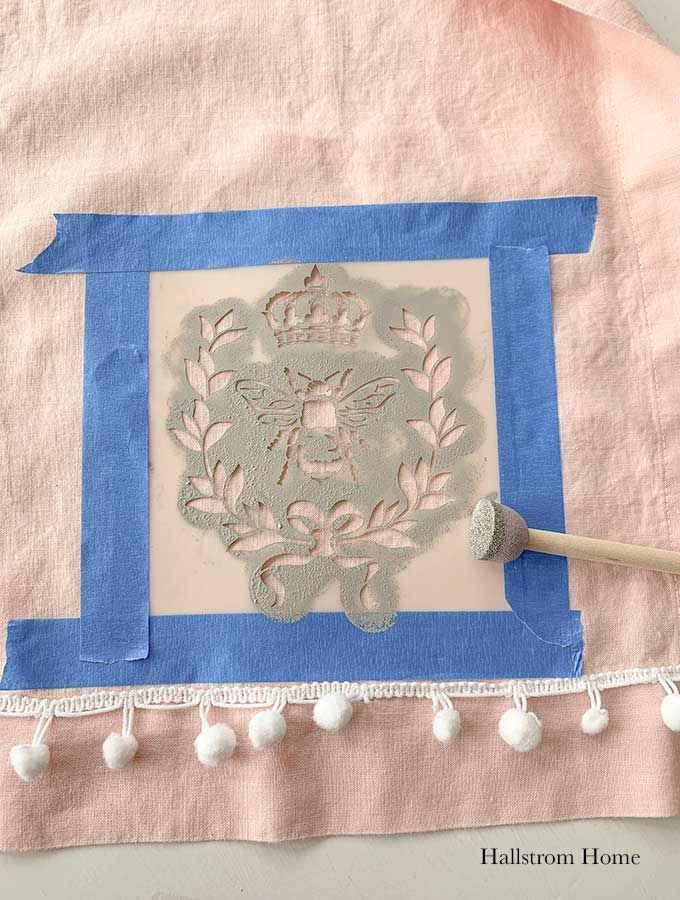
How to Stencil Tea Towel with Chalk Paint
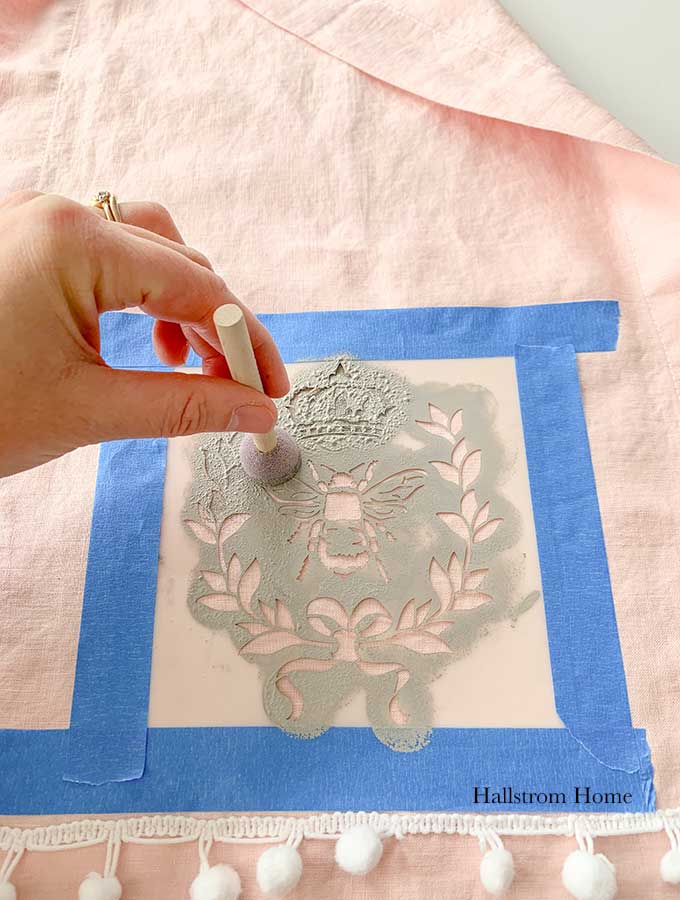
Now it’s time to put your stencil in place. I used blue painters tape as its not to sticky. Apply the tape around all the edges but make sure the stencil doesn’t bubble up in the center. Very carefully I dabbed on paint. I highly recommend a high quality chalk paint. If its a cheap chalk paint it is more likely to bleed under your stencil and then it will look smoochy. Just apply the chalk paint in straight up and down motions to achieve clean lines. If your stencil starts to bubble, just hold it down so the paint doesn’t get underneath the stencil. Also try not to overload your foam brush. I would dab some chalk paint off before dabbing over the stencil.
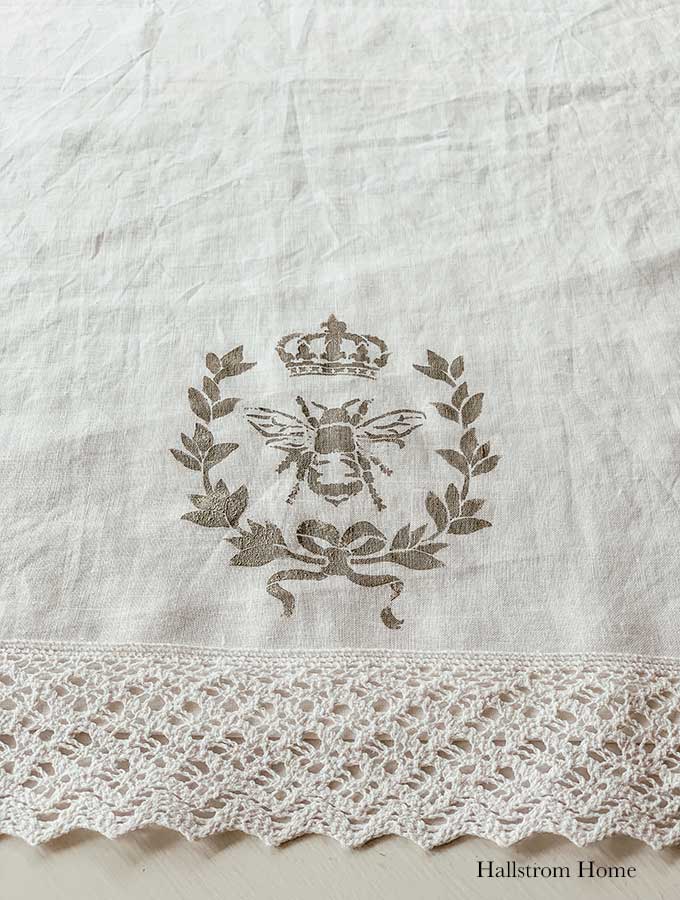
The stenciling can be a bit tricky and if you’re anything like me you like to get things done. I was so excited to see the end result, but I knew I had to take it slow. You can also get very creative doing this. I have combined multiple stencils before to create something super fun. Of course you can change up the colors of the paints.
If you love diy’s as much as I do, you will love to see how we chalk painted hard wood floors in our daughters room. Years later they are still holding up great. One of the chalk paint projects we have also done this month is a chalk paint furniture technique on a Swedish armoire. So stay tuned by following us on Instagram.
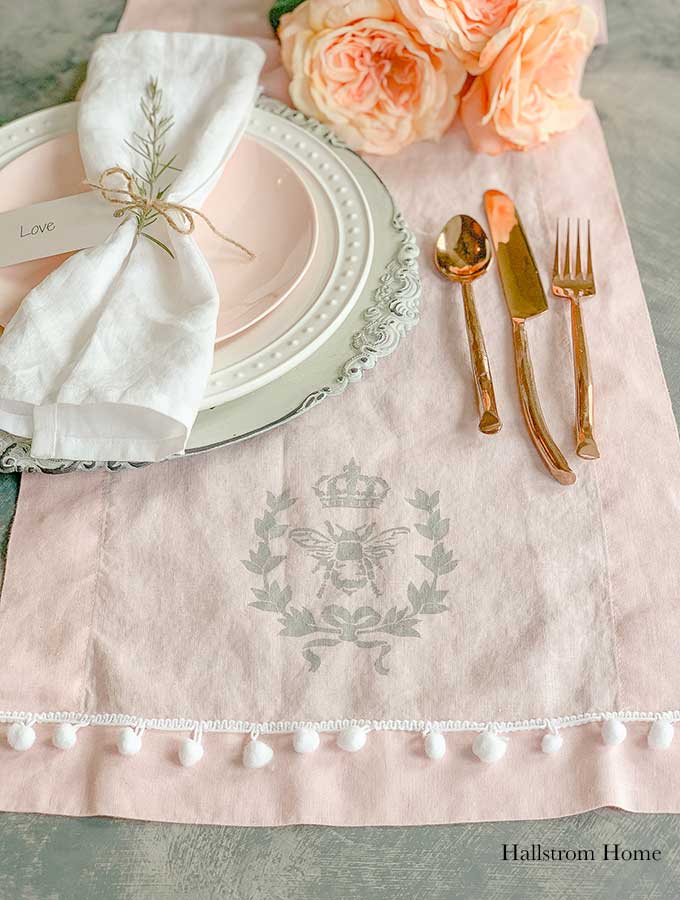
The ladies below also joined this 3 ingredient challenge. We will share a couple weeks in advance on what the ingredients will be. The best part is you guys can join in with us and show us what you created with the 3 ingredients. You have to use those 3 ingredients and you can use more items as well to complete the look. Just use the hashtag #3ingredientschallenge on your instagram post and we will share your craft on our stories. We would love to see what you can come up with next!
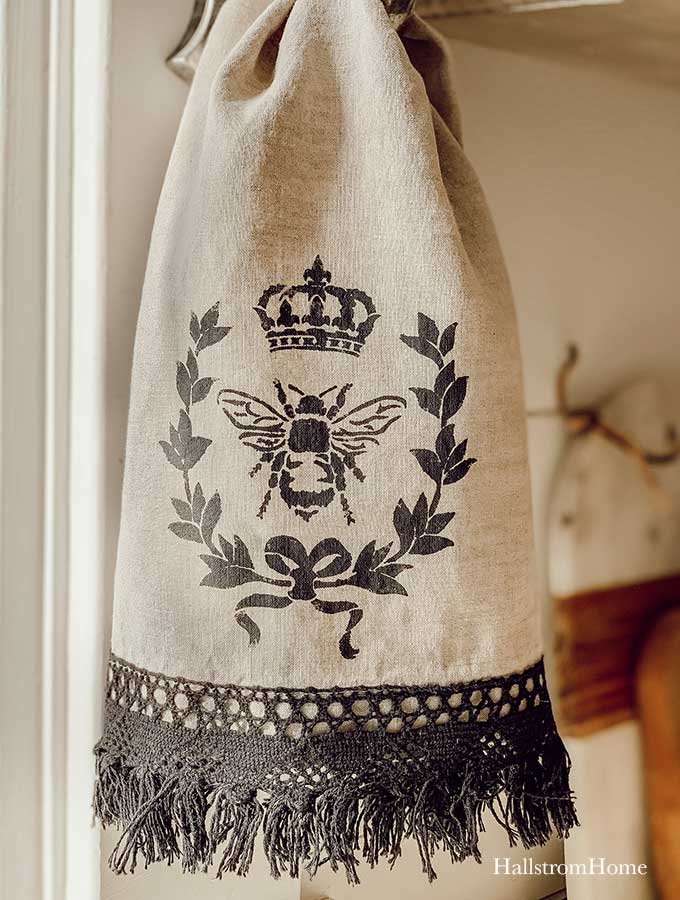
How to Stencil Tea Towel with Chalk Paint
Time to see how these ladies got creative with fabric, paint, and trim.
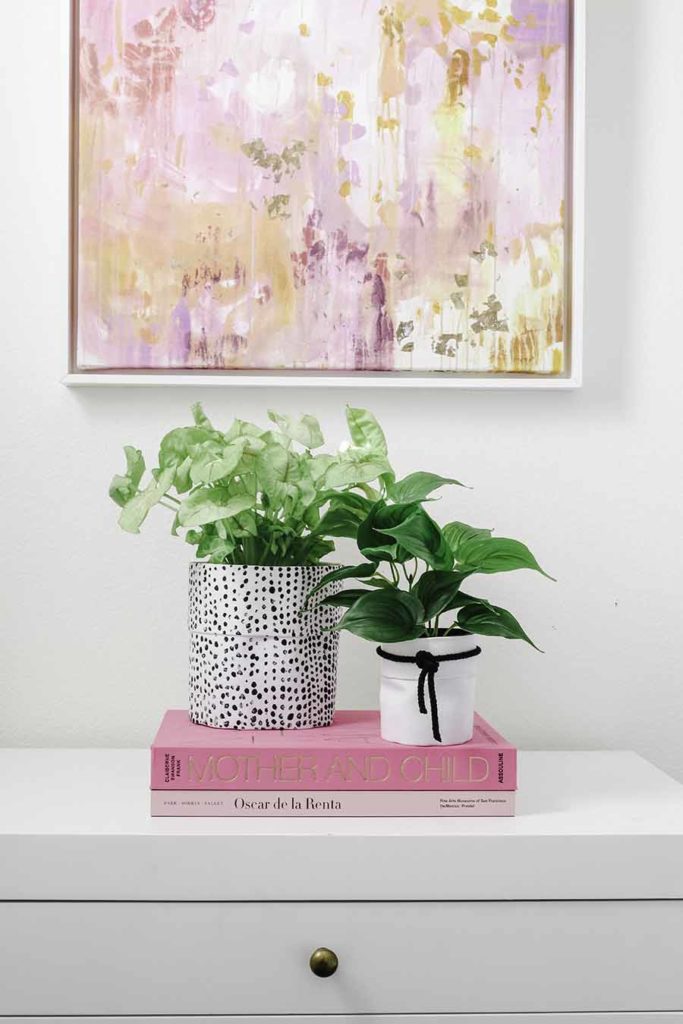
Modern Glam|Fabric Plater DIY:No-Sew Project
Oh man, Ashley created this darling fabric planter. It is modern and adds such a cute touch to her home. The best part about it, is it is a no-sew project!
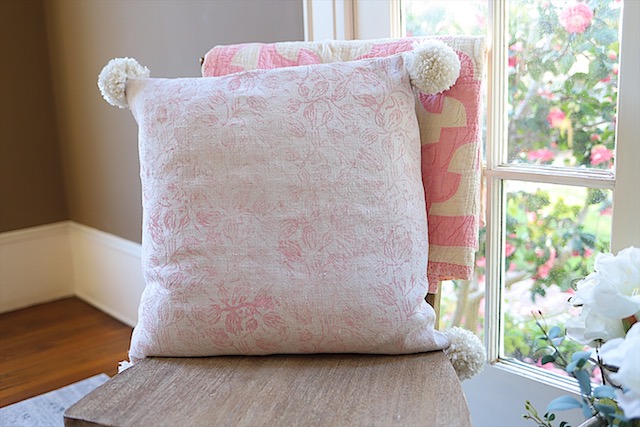
My 100 Year Old Home|Pink Painted Fabric Pillow
I love how the pink is so subtle, it makes for a really elegant pillow. Did you know Leslie used a printed roller to get this look? check it out for all the details.
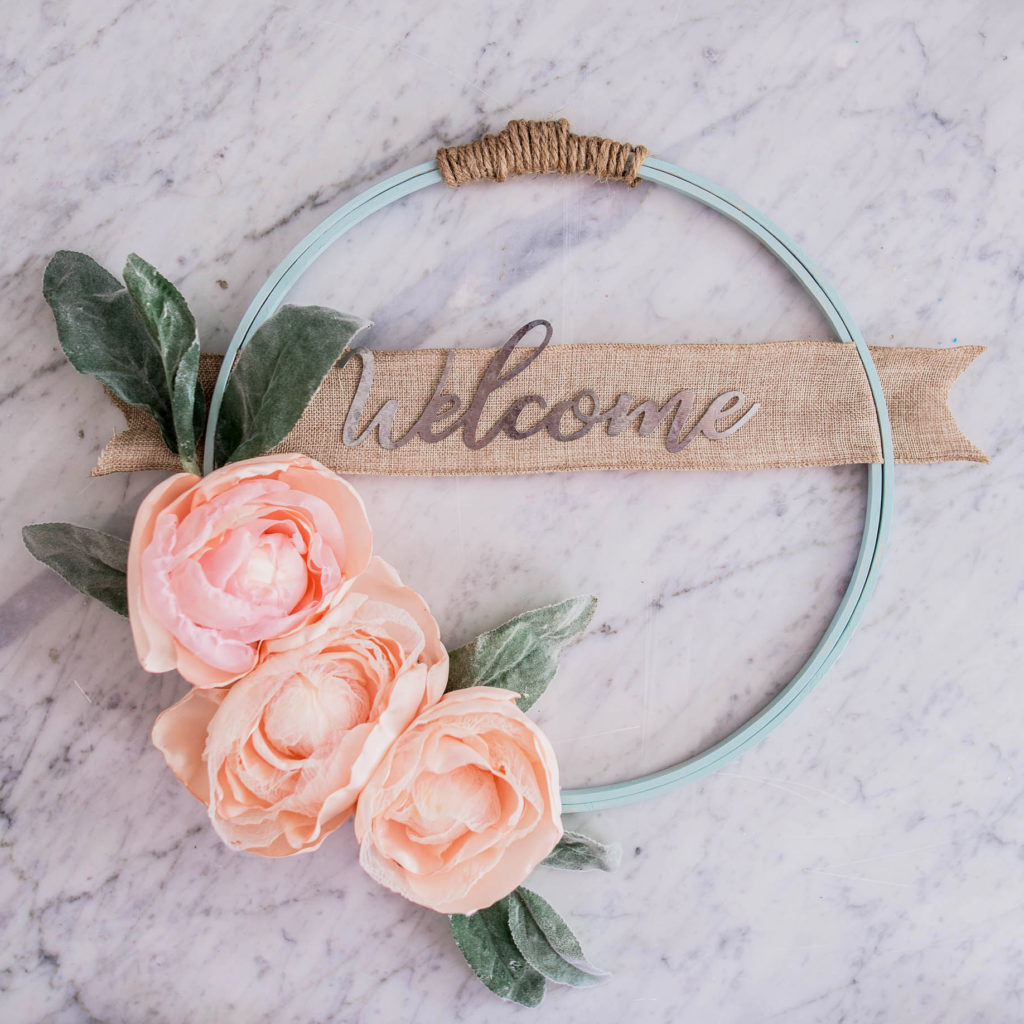
The Diy Mommy|Hoop Wreath with Diy Fabric Flowers
This is such a cute and easy project using the 3 ingredient challenge with her hoop wreath and fabric flowers and trim.
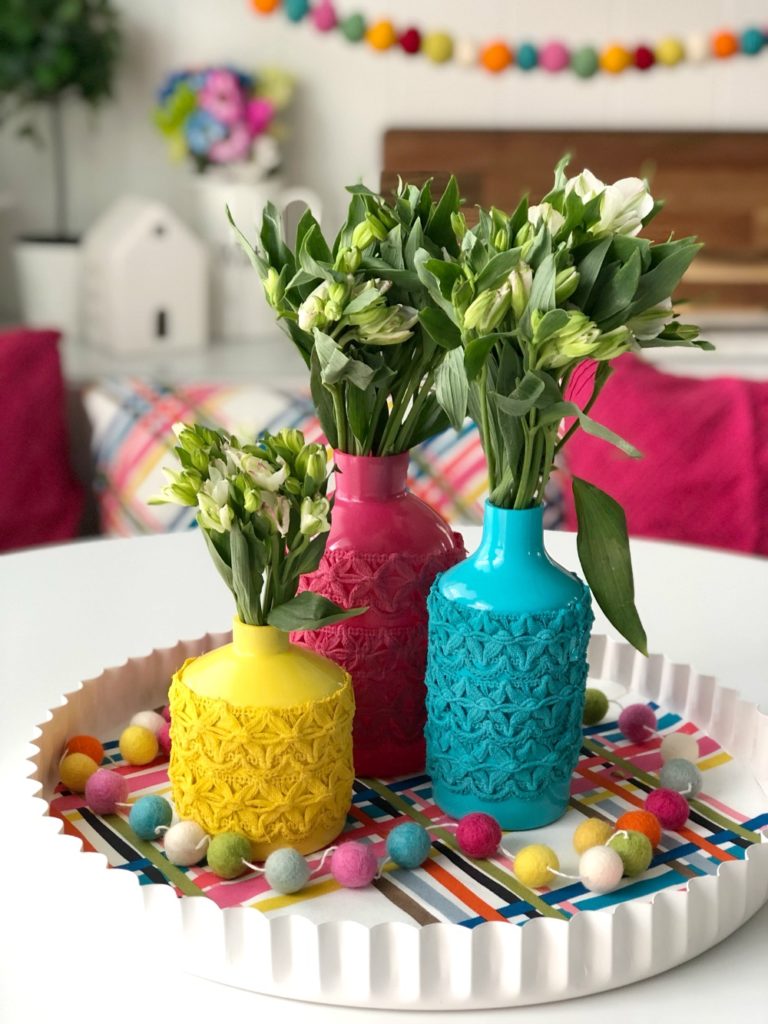
Tater Tots and Jello|Anthropologie-Inspired Spring Vases DIY
Jen created an Anthropologie look with her 3 ingredients by creating these colorful vases. Such a fun way to add color without a lot of cost.
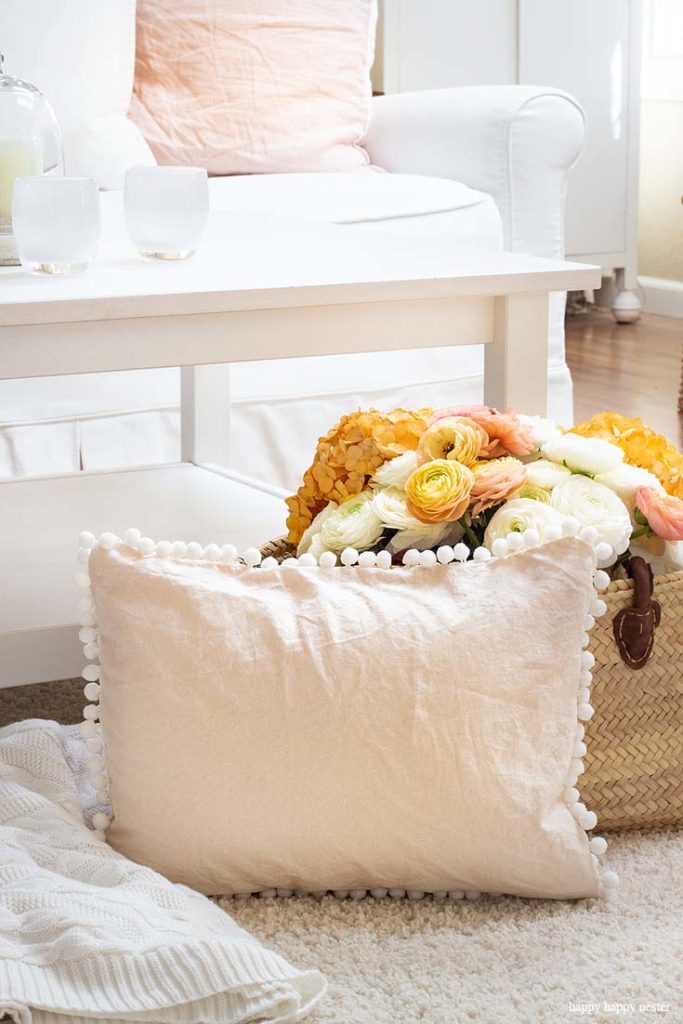
Happy Happy Nester|Natural Dyes:Use Avocado Skins on Fabric
I cannot get over how creative Janine is! Dying fabric with avocado skins, how cool is that? There are so many things you can do with 3 ingredients!
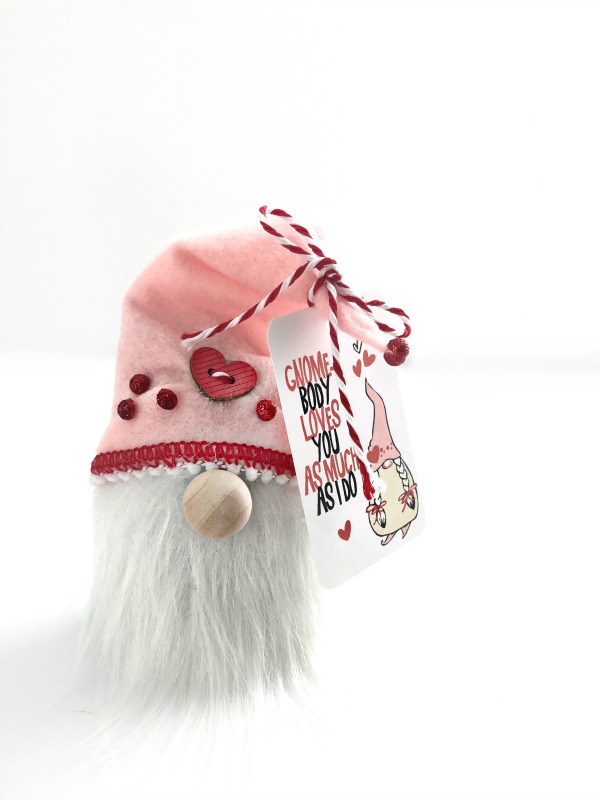
Tauni Everett|DIY 30 Minute Valentine’s Day Gnome
Take a look at Tauni’s super cute gnome. And she did this under 30 minutes, that’s my kind of craft. Every time I see one her printables, I want to go straight to my printer and print it out!
This has been so much fun creating with the 3 ingredients. Make sure give us a follow on Instagram to see what the next 3 ingredient challenge will be!
Question and Answer on How to Stencil A Linen Tea Towel with Chalk Paint
Do I have to use linen?
Any fabric will work great for this project, you can even use oil cloth but it may not last as well as cotton or linen.
What brand of chalk paint would work best?
I would use a thicker chalk style paint like Dixie Belle. Avoid any of the thin chalk paints like rustoeum or Martha Stewart
Do I have to sew on the trim?
No, you can also use a commercial glue gun, which I will link below.
Here are the products I used.


 Hey there! I am Rhonda Hallstrom, creator and designer of Hallstrom Home. Making beautiful home decor is my way to inspire you to follow your dreams and amibitions. So come check out my shop and blog, I hope to get to know you. Thanks for stopping by at Hallstrom Home, Rhonda.
I love these ideas!!! Can you tell me where you got the embossed glass candle that is in your very top photo with the darker bee stencil, which is my favorite to be honest! I just found you again and am thrilled with all the ideas you’ve got running through my head. Thank you!
https://rstyle.me/+uKHWPBfg-jtyeBfMmTnxvA
Thanks so much much Heather! I can’t find the exact link for this candle but here’s a similar candle listing, hope this helps!
Best
Rhonda
Ohhh myyyy goshhh! This is the cutest idea! Especially for all holidays, adorable teacher gift! ❤️
Thank you!! That would be a great gift!
HOW DO YOU KEEP THE DESIGN FROM COMING OFF IN THE WASH??? OR DO YOU NOT WASH IT?
MAYBE JUST DRY IN DRYER AFTER TO SET?
KMILLER
We haven’t had a problem with it coming off when you wash it and dry it. I think it’s just the nature of the kind of paint you use. Hope that helps.
Rhonda
Beautiful post! Can you please tell me about the candle in the photo?
Hello thank you! I got this candle from a little store in my town. I found one similar off of Amazon, I will share it with you below.
Rhonda
https://rstyle.me/~aKwlB
I love your towel!! It’s beautiful. Thanks for the tutorial!
xoxo
Thanks Jennifer!!
Pretty tea towels are a collectors item in my house. Thanks for the DIY inspiration shared in this tutorial! Pinning for future use! xo
Thx Tauni! Tea towels are one of my favorite things too
This is adorable! Learn something new from you every day 💗 thank you
Rhonda,
Oh my goodness this is soooo amazing! Love every version of your gorgeous tea towel! Let’s just say that I’ll be making this soon with my extra avocado dyed fabric!
Thx Janine! I’d love to see you try that!